
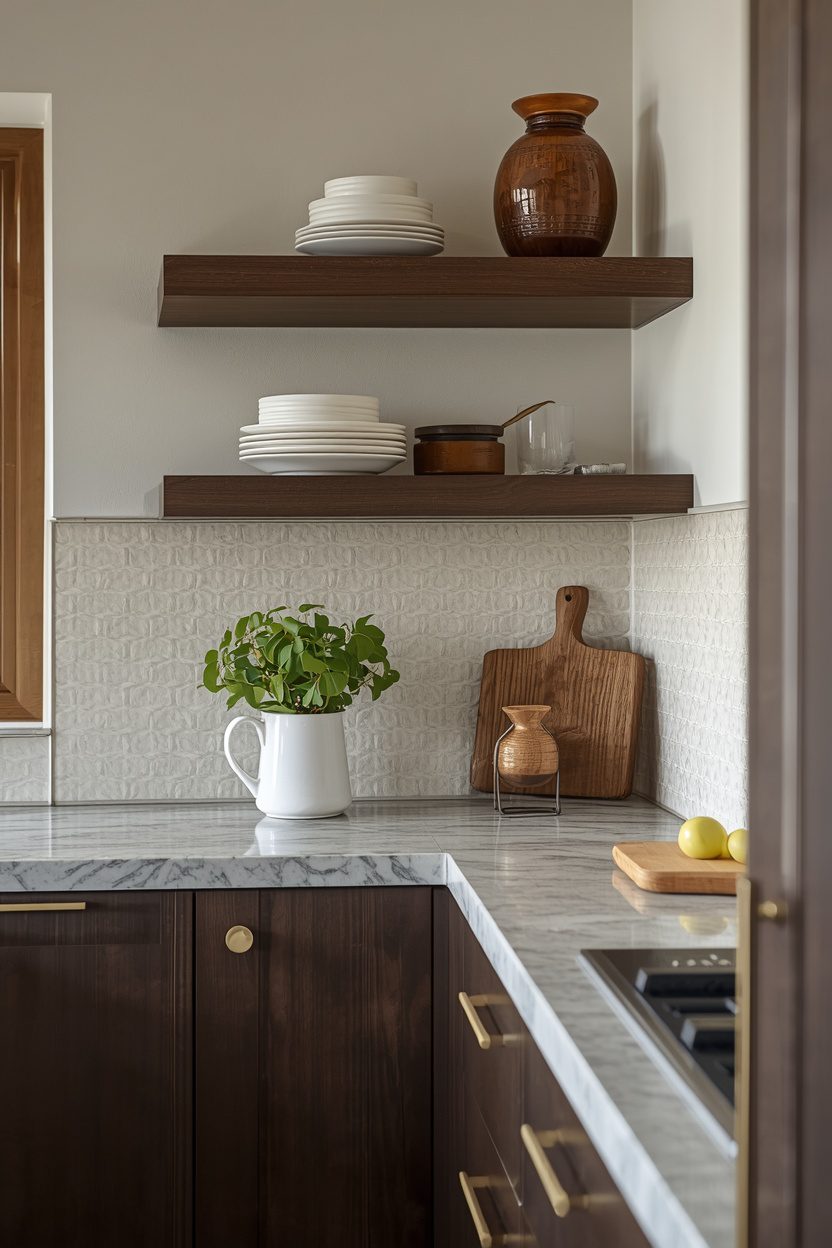
You notice a kitchen backsplash the moment you walk in — the texture, the pattern, the way it catches the under-cabinet light — and yet it is one of the most frequently under-thought surfaces in a kitchen renovation. The right kitchen backsplash ideas go beyond tile shape and colour; they account for the grout joint, the installation pattern, the relationship to the countertop below and the cabinetry above, and how the surface holds up against grease, steam, and daily wiping.
Each of the 17 ideas below is a complete backsplash scheme: the tile material and size, the recommended grout colour and joint width, the installation pattern, and the countertop and cabinet combinations that complement it. I have flagged durability trade-offs and installation difficulty where they matter, because some of these surfaces look stunning but demand more upkeep or professional skill than others.
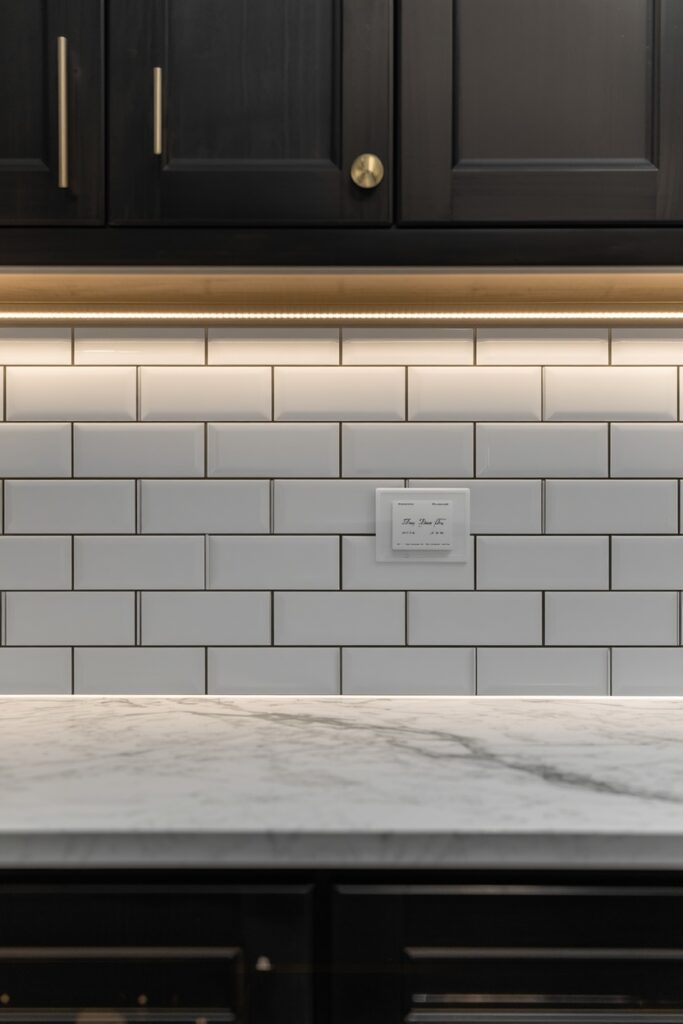
1. Classic White Subway Tile With Dark Grout
White subway tile is the default for a reason — it is affordable, universally available, and compatible with every cabinet colour. The move that elevates it from generic to designed is the grout colour: charcoal or black grout in a standard 3 × 6 inch tile laid in a running bond pattern turns the grid into a graphic statement. Use a 1.5 mm grout joint for a clean, modern look, and seal the grout with an impregnating sealer after installation to prevent staining from grease and coffee splashes. This combination suits white, gray, or dark cabinets equally. One trade-off: dark grout highlights every installation inconsistency, so tile spacing needs to be precise — a DIY-friendly tile with a more forgiving match is a light gray grout instead.
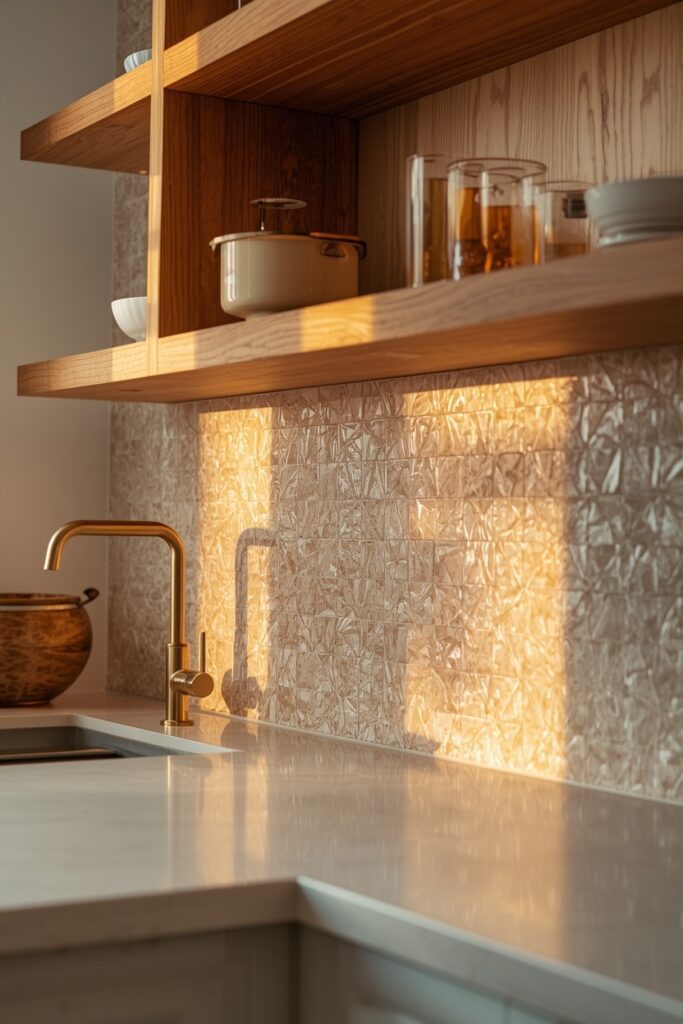
2. Handmade Zellige Tile in Warm White
Zellige is a Moroccan glazed terracotta tile with a deliberately uneven surface — each piece catches light differently, creating a shimmering, organic texture that factory tiles cannot replicate. For a backsplash, use 4 × 4 inch or 2 × 6 inch zellige in a warm white or off-white glaze, laid in a straight stack or running bond. The grout should be a matching warm white in a minimal 1 mm joint so the tile edges, not the grout lines, provide the visual pattern. This tile suits modern and farmhouse kitchens equally.
The trade-off is cost and handling: zellige runs significantly more per square metre than standard ceramic, and the irregular thickness means some pieces need back-buttering during installation. It is also softer than porcelain, so expect minor chipping over time — most people consider this part of its charm.
3. Large-Format Porcelain Slab Backsplash
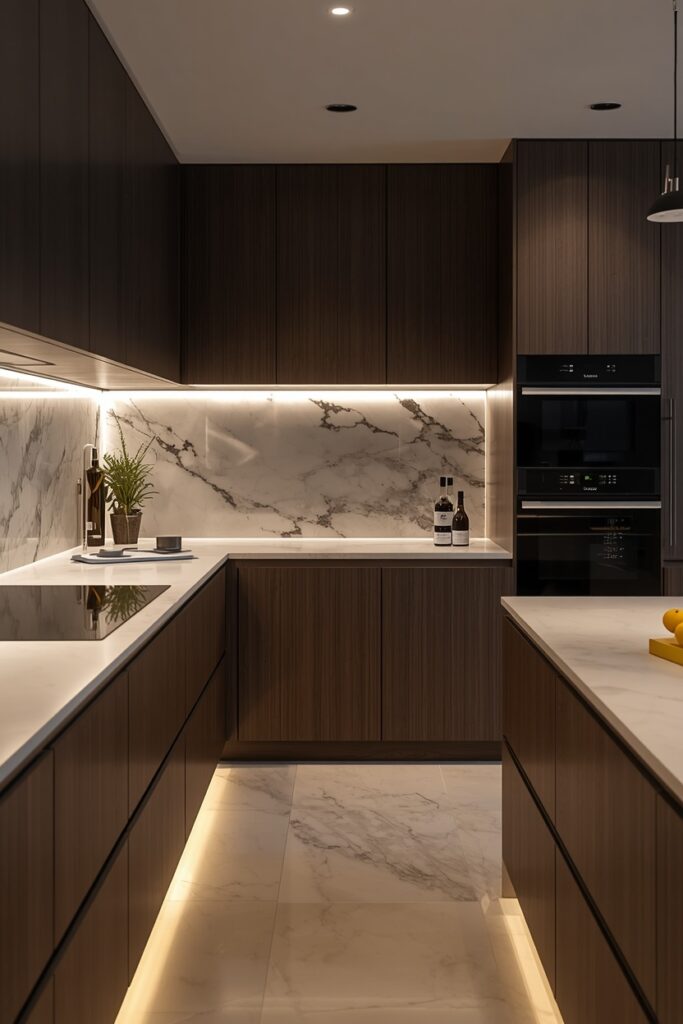
A large-format porcelain slab — typically 3 × 1 metre or larger — installed as a single piece or with minimal seams creates a seamless, groutless backsplash that reads clean and modern. These slabs come in marble, concrete, and natural-stone lookes and are significantly more stain-resistant than real stone. The material thickness is usually 6–12 mm, and installation requires professional handling because the slabs are heavy and brittle before they are mounted.
This approach eliminates grout maintenance entirely, which is a genuine practical advantage in a kitchen where splashes and grease are daily realities. Pair it with flat-panel or slab-front cabinets and a matching or complementary countertop for a seamless visual.
The trade-off is cost and repairability: a cracked slab is difficult to patch, unlike individual tiles that can be replaced one at a time.
4. Vertical Subway Tile for a Modern Twist
Rotating the standard subway tile 90 degrees — vertical rather than horizontal — changes the visual rhythm completely. Vertical running bond draws the eye upward, making the distance between countertop and upper cabinets look taller. Use a standard 3 × 6 inch or 3 × 8 inch tile in a colour that complements your countertop: white on dark counters, sage or soft blue on white counters, or a warm clay on butcher-block surfaces. Grout should match the tile colour for a seamless look or contrast gently for more definition.
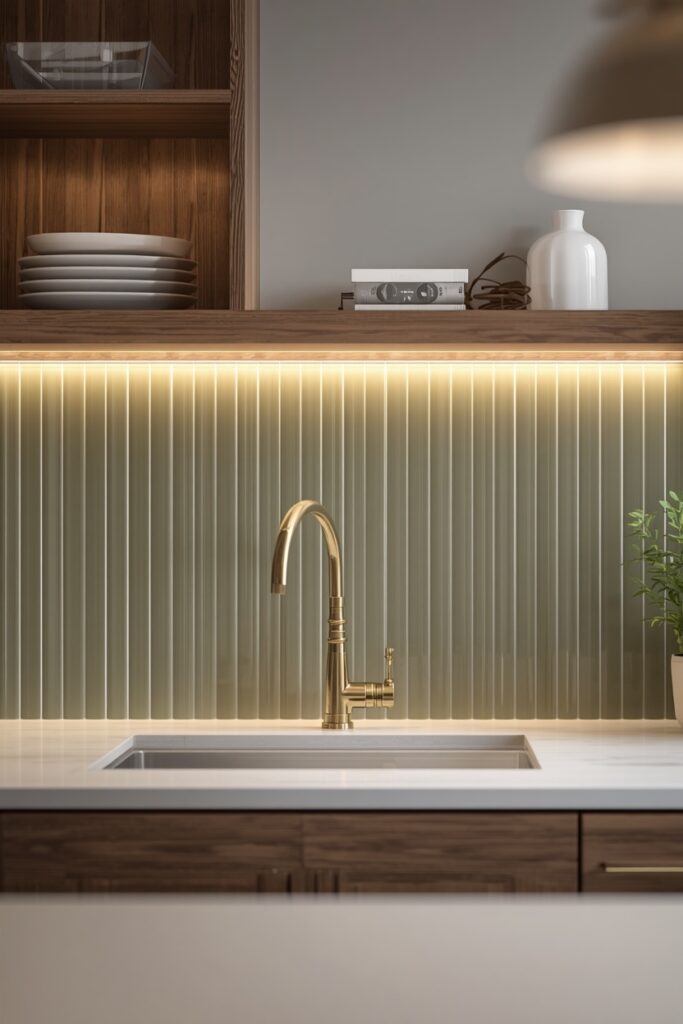
The installation difficulty is the same as horizontal subway — this is a layout decision, not a material upgrade — which makes it one of the simplest ways to give a standard kitchen a custom look. Pair with open shelving above to let the vertical lines run as high as possible.
5. Herringbone Kitchen Backsplash Ideas in Marble
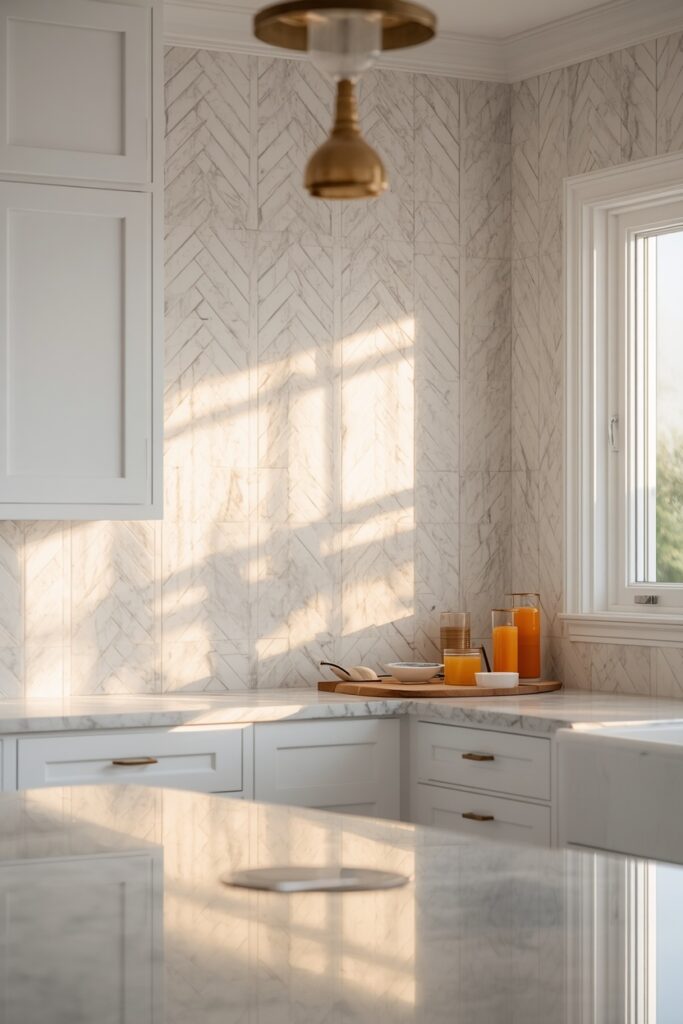
A herringbone pattern in natural marble — typically in a 1 × 3 inch or 1 × 4 inch tile — creates a backsplash with movement and texture that a flat subway layout cannot match. The chevron-like pattern draws the eye and pairs well with both traditional shaker cabinets and modern flat-panel styles. Choose a marble with subtle veining — Carrara, Calacatta, or a honed Bianco Gioia — and use a matching white or light gray grout. Honed marble resists showing water spots better than polished, which is a practical advantage in a kitchen setting. However, natural marble is porous and requires sealing at installation and re-sealing annually; acidic substances like lemon juice or red wine can etch the surface if not wiped up quickly. For the look without the maintenance, a marble-effect porcelain herringbone tile is a durable alternative.
6. Matte Black Tile for Bold Kitchens
Matte black tile on a backsplash is a commitment — it makes the kitchen look dramatically different from the white-and-wood standard, and it polarises opinion. Use a small format — 4 × 4 inch square or 2 × 6 inch brick — in a matte ceramic or porcelain, laid in a straight stack for a graphic grid. Grout should be black to match, creating a monolithic dark surface. Pair it with light countertops (white quartz, pale marble, or butcher block) and either white or natural-wood cabinets so the backsplash sits as a contrast band rather than a dark void.
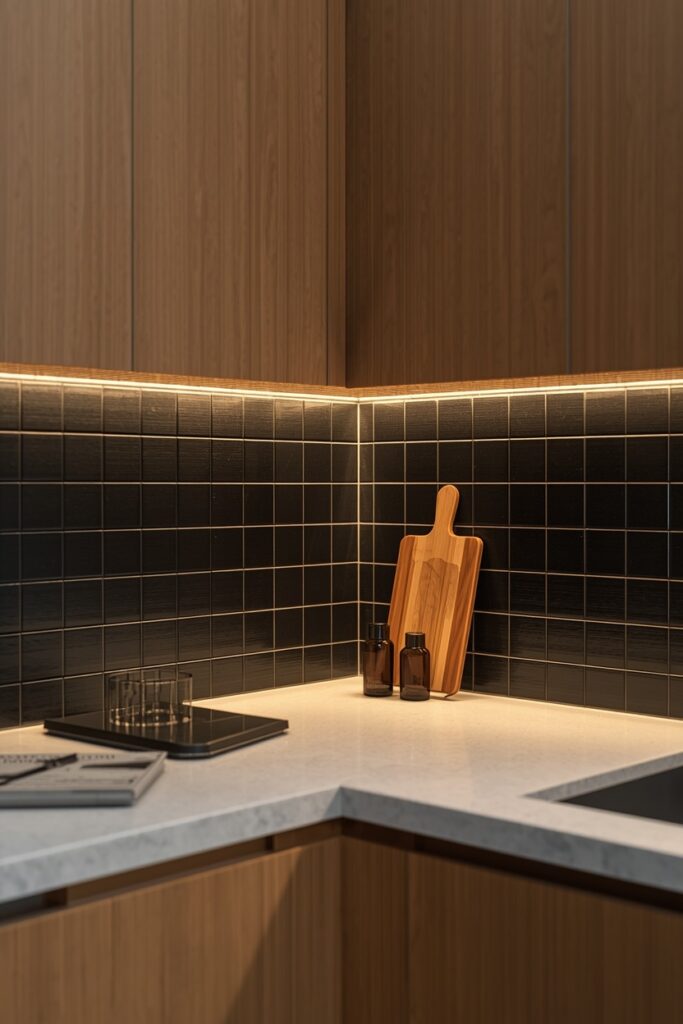
Under-cabinet LED lighting is essential here: the LEDs wash the dark surface with warm light and reveal the tile texture that a matte surface creates. One maintenance advantage: matte black hides water spots and grease splashes far better than any white or light-coloured tile.
7. Penny Round Mosaic Backsplash
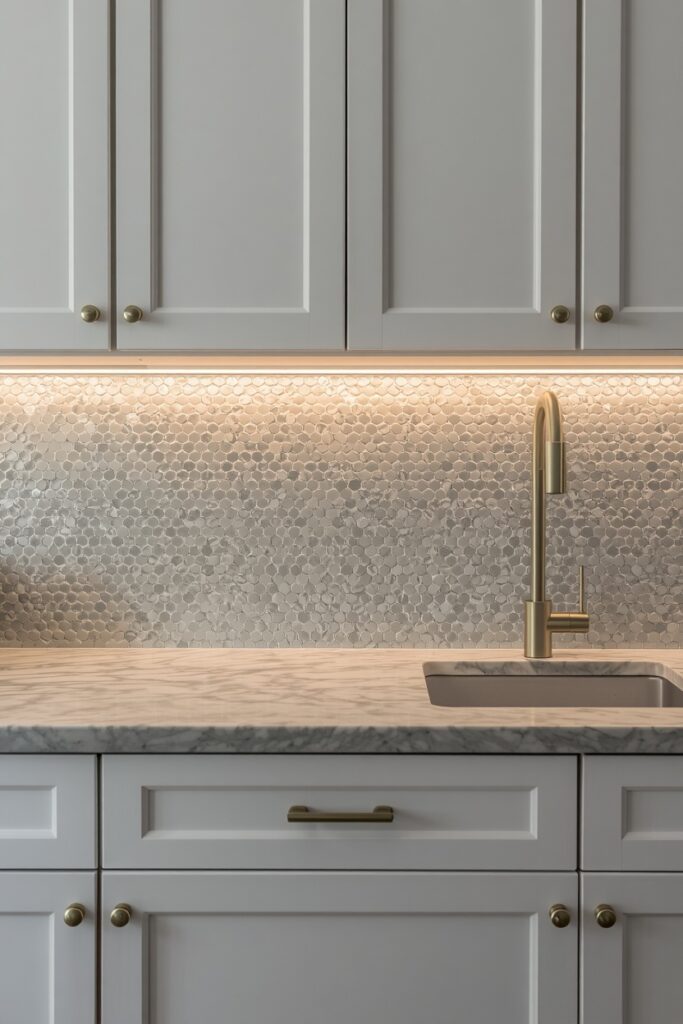
Penny-round tiles — small circular mosaics typically 20 mm in diameter, mounted on mesh sheets — create a backsplash texture that no rectangular tile can replicate. The curved shapes produce shadows and reflections that shift throughout the day, especially in a glossy glaze. Choose a single colour for a clean modern look (white, pale sage, or soft blush) or a mixed palette of two to three tones for more visual interest. Grout is visible and prominent in penny round layouts, so choose the colour carefully: matching grout for a seamless effect or a contrasting shade to highlight the circular pattern.
Installation is straightforward because the mesh-backed sheets cover large areas quickly, but cutting curves at edges and around outlets requires patience and a tile nipper. This format suits the range wall or a defined section of backsplash rather than a full kitchen run, where the busy texture can overwhelm.
8. Stacked Stone Backsplash for Rustic Kitchens
Stacked stone — thin-profile natural stone or stone veneer panels in a ledger format — brings raw texture to a kitchen backsplash. Choose a stone in a warm tone: honey limestone, sandy travertine, or pale gray slate. The panels install similarly to tile but create a dimensional surface that catches under-cabinet light beautifully.
There is no grout in a traditional sense — the stone pieces fit tightly together with a dry-stack look. Seal the stone at installation and annually thereafter to protect against grease and moisture penetration. This surface pairs with farmhouse, rustic, and transitional cabinets in cream, sage, or natural wood.
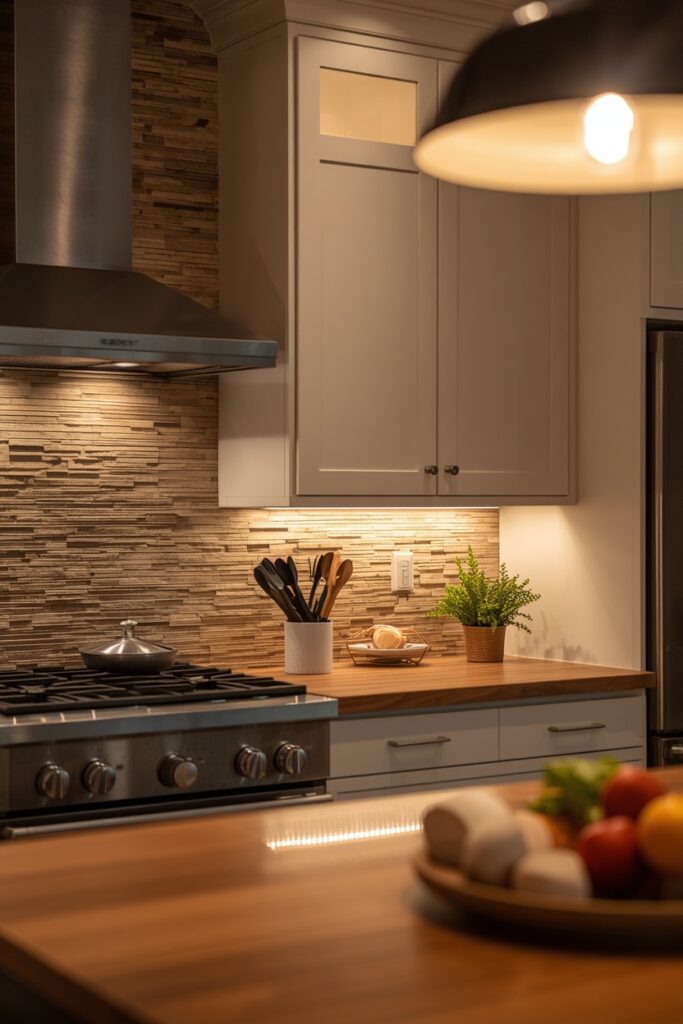
One honest trade-off: the uneven surface collects dust and grease in its crevices more than a flat tile, so it suits the area behind a cooktop only if you are willing to scrub periodically with a soft brush and stone cleaner.
9. Glass Tile Backsplash for Light Reflection
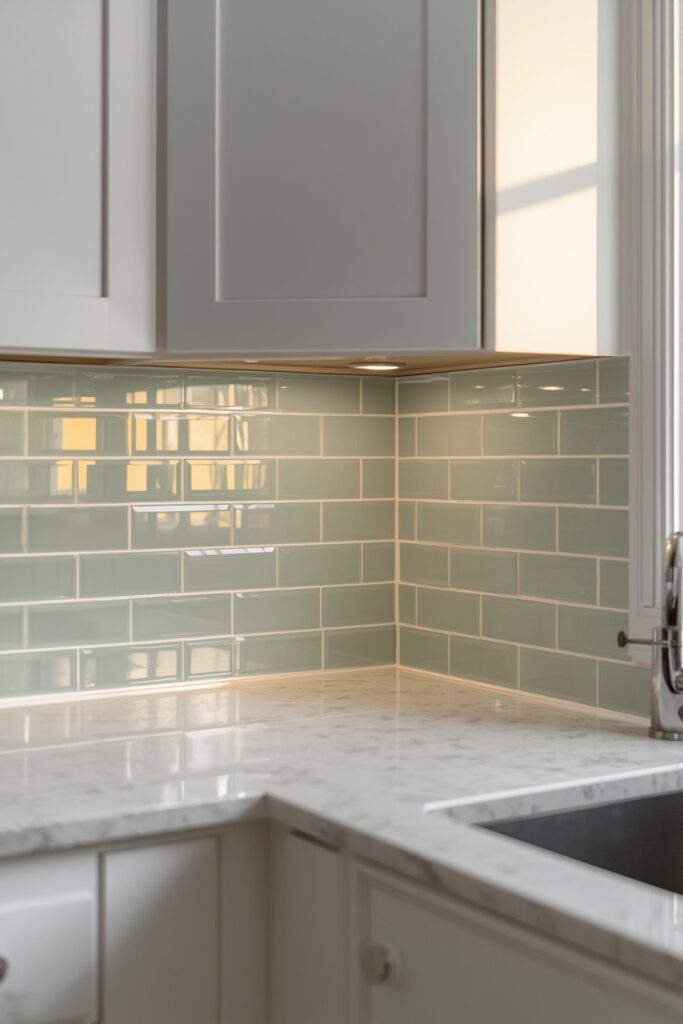
Glass tile reflects light rather than absorbing it, which makes it an ideal backsplash material for kitchens that need a brightness boost. A 3 × 6 inch glass subway tile in a pale aqua, soft gray, or clear mirror coating multiplies the effect of under-cabinet LEDs and bounces natural window light across the room. Glass is non-porous and extremely easy to clean — a damp cloth removes grease without any sealer required. Grout should be a matching or slightly darker tone in an unsanded formula, as sanded grout can scratch glass surfaces. The trade-off is transparency: wall imperfections, adhesive spread marks, and uneven mortar are visible through clear or translucent glass, so the substrate must be smooth and evenly prepared before installation. Use white thin-set mortar to prevent dark adhesive shadows from showing through lighter glass tiles.
10. Encaustic Cement Tile for Pattern Interest
Encaustic cement tiles bring bold geometric patterns to a backsplash without relying on a complex installation layout — the pattern is in the tile itself. These are handmade tiles, typically 8 × 8 inches, with pigmented cement pressed into moulds rather than a glazed surface. The result is a matte, slightly rough texture with rich colour depth. Popular patterns include Moroccan stars, geometric florals, and simple two-tone checks in black-and-white or blue-and-white. Use a minimal grout joint (1.5–2 mm) in a colour that recedes so the pattern reads cleanly.
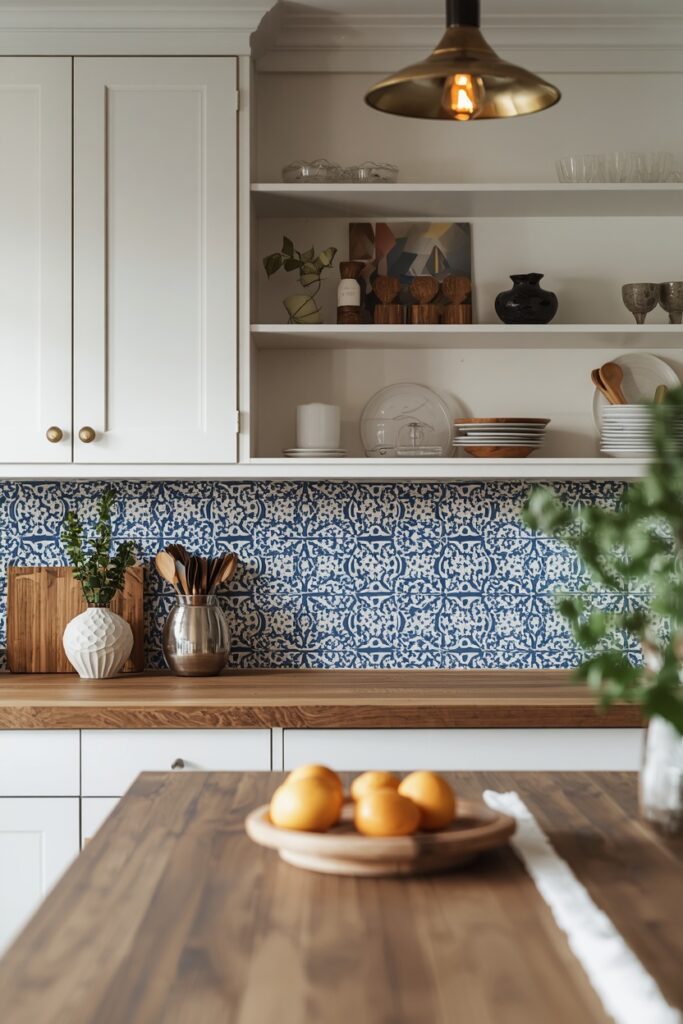
Cement tiles must be sealed before grouting and again after — they are porous and will stain without proper treatment. Behind a cooktop, where grease exposure is heaviest, apply a penetrating sealer rated for kitchen use. The installation effort is moderate, but the sealing regimen is non-negotiable.
11. Kitchen Backsplash Ideas Using Natural Slab Stone
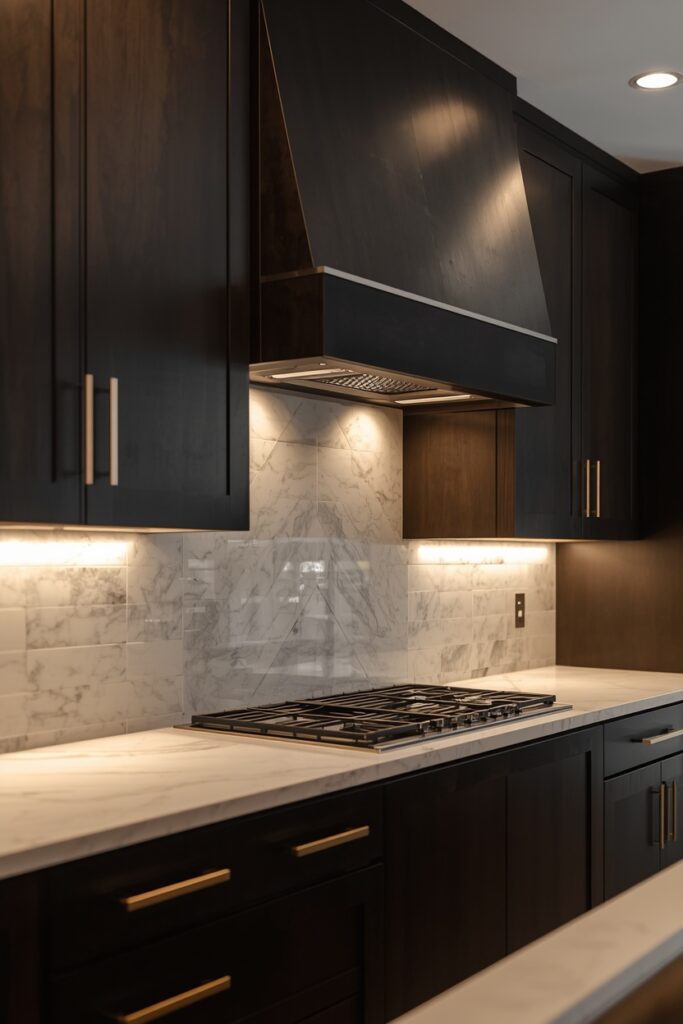
A single slab of natural stone — marble, quartzite, or soapstone — running from countertop to the underside of the upper cabinets creates a dramatic, unbroken backsplash with all the veining and colour variation that nature provides. This approach is common in high-end kitchens and it delivers the biggest visual impact of any backsplash option. The slab should be bookmatched to the countertop if using the same stone, meaning the veining pattern flows continuously from countertop to backsplash wall. Installation is professional-only and requires precise templating and cutting.
The cost is substantial — both the material and the fabrication — but the result is a surface that no tile layout can replicate. Each stone type has maintenance needs: marble requires regular sealing, quartzite is more durable, and soapstone darkens over time and is maintained with mineral oil.
12. Picket or Chevron Tile Backsplash
Picket-shaped tiles — elongated hexagons or pointed-end rectangles — add visual movement to a backsplash without the installation complexity of a true herringbone. Arrange them vertically for a picket-fence effect or in a chevron V-pattern for directional energy. A glossy white or warm ivory in a 3 × 9 inch format is the classic choice, but sage green, soft blue, and blush versions add a restrained colour accent.
Use a matching grout for a seamless surface or a contrasting gray to define each tile shape. These tiles come on mesh-backed sheets, which simplifies installation and keeps spacing consistent. Pair with open shelving above and a stone or quartz countertop below.
The pointed ends do require careful cutting at wall edges and around outlets, so factor in extra tiles — plan for about 15 percent waste beyond the measured area.
13. Hexagonal Tile Backsplash
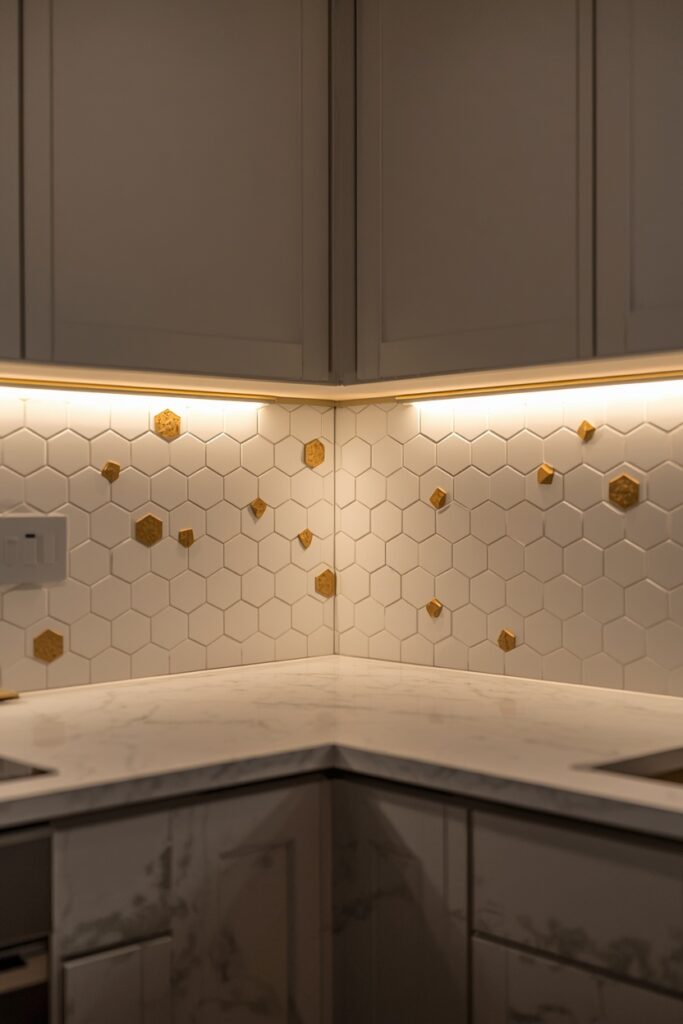
Hexagonal tiles — typically 3 to 4 inches across — create a honeycomb pattern that reads organic and modern simultaneously. In a matte white or natural stone look, the hexagon grid adds subtle texture without competing with surrounding surfaces. For more drama, choose a two-tone layout: white hexagons with a random scatter of brass, black, or marble-patterned accent hexagons mixed in at roughly a 20 percent ratio. Grout should match the dominant tile colour to keep the pattern clean. Installation is mesh-backed for consistency, and cuts at the perimeter require an angle grinder or wet saw for clean edges. This pattern suits the area behind the cooktop or sink as a defined focal zone, bordered by a simpler tile or paint on the remaining backsplash sections. Pair with minimal cabinets — flat-panel or open shelving — so the tile pattern gets the attention it earns.
14. Terracotta Tile Backsplash for Warm Kitchens
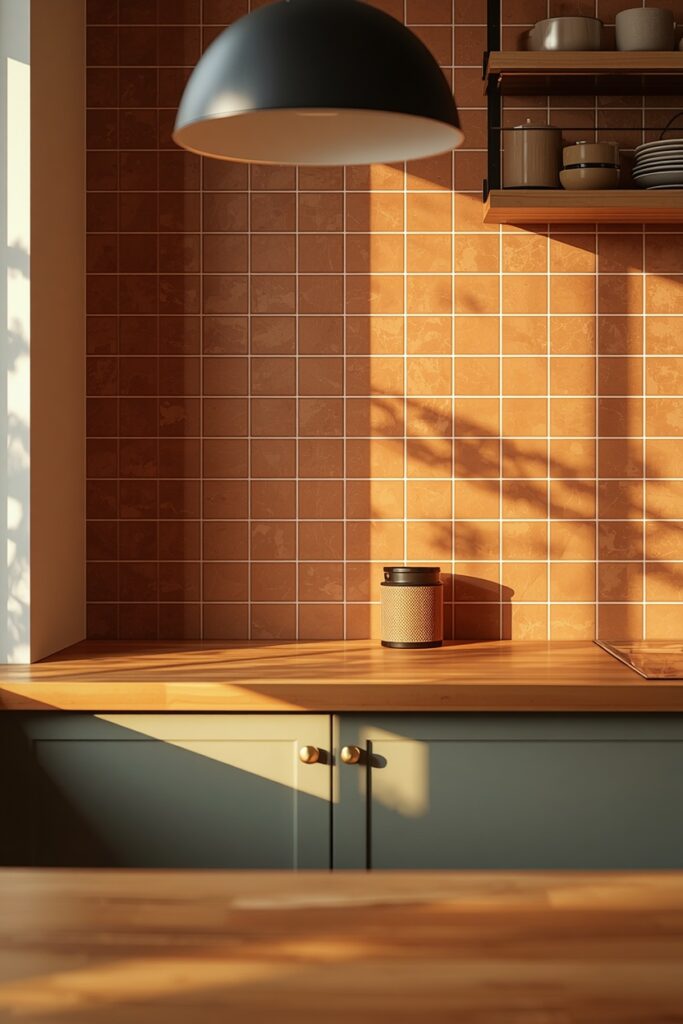
Terracotta tile brings a sun-baked warmth to a kitchen that no other material can match. Use a square format — 4 × 4 inch or 6 × 6 inch — in a natural unglazed terracotta with sealed edges, laid in a straight grid. The grout should be a warm sand or a matching terracotta tone to maintain the continuous warm surface. This surface pairs with cream or sage cabinets, butcher-block or light-stone countertops, and brass or oil-rubbed bronze hardware. Terracotta is porous and must be sealed before grouting and re-sealed every one to two years; without the sealer, it absorbs grease and water and stains permanently.
Behind the cooktop, where oil splatter is heaviest, consider glazed terracotta (which sacrifices some of the raw texture for stain resistance) or apply an extra coat of sealer. The result is a kitchen that radiates warmth and pairs beautifully with Mediterranean, farmhouse, and earthy modern styles.
15. Peel-and-Stick Tile for Rentals and Budgets
Peel-and-stick tile has improved dramatically in recent years — the best options use thick vinyl, recycled aluminium, or real stone veneer with adhesive backing, and they look significantly better than the flimsy versions from a decade ago. For a rental or a tight-budget refresh, a peel-and-stick subway tile in white, marble-look, or matte gray can update a backsplash in an afternoon without landlord permission or permanent alteration. Clean the existing surface with rubbing alcohol, measure and trim tiles with a utility knife, and press firmly from centre outward. The result will not match the depth and texture of real ceramic or stone — that is the honest trade-off — but from normal viewing distance, the best products are convincing.
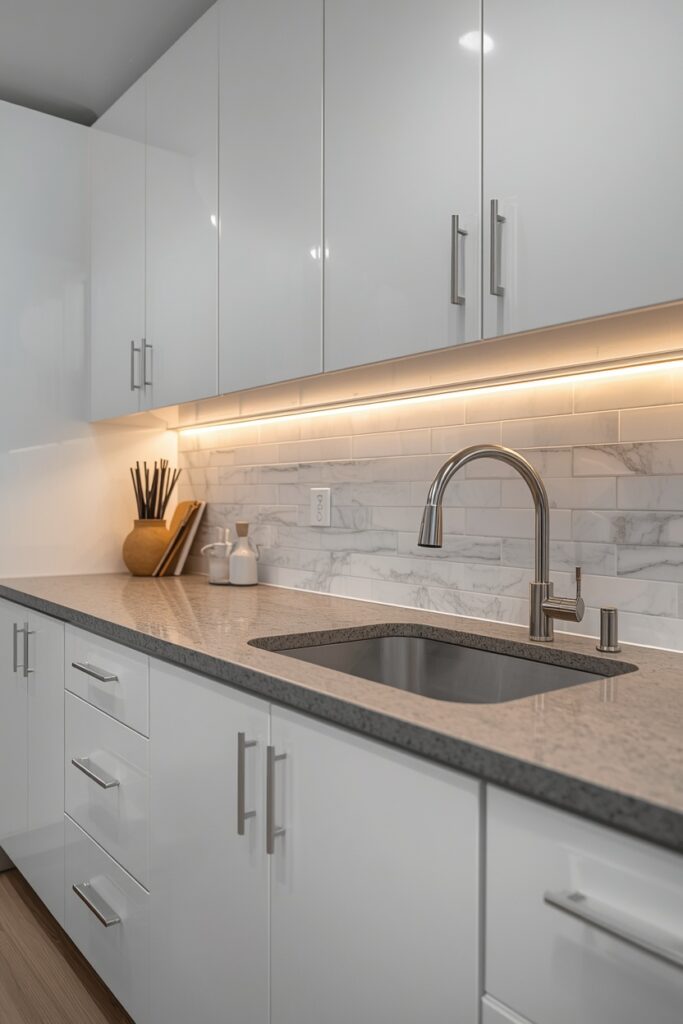
Avoid placing peel-and-stick tiles directly behind a gas cooktop: the heat can loosen the adhesive over time. Behind an electric cooktop or in low-heat zones, they hold up well for two to three years.
16. Fluted or Ribbed Tile for Textural Depth
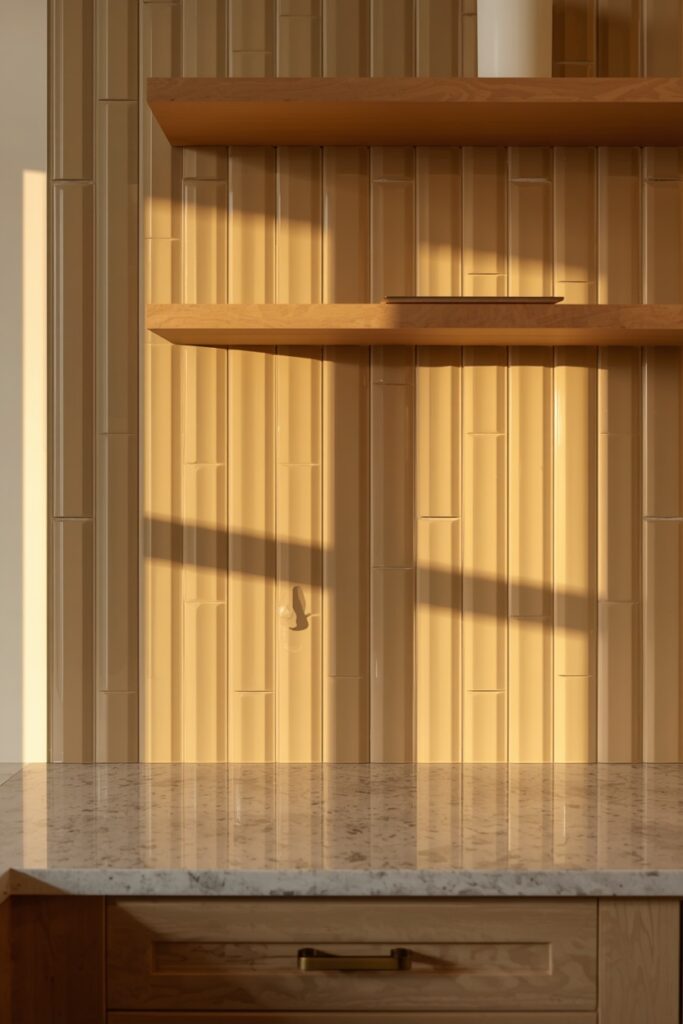
Fluted tile — a flat tile with vertical ridges running across its surface — adds a dimensional texture that catches under-cabinet light in a way smooth tiles cannot. Each ridge casts a tiny shadow, creating a ripple effect that changes as you move through the kitchen. Use a large format (4 × 12 inch or 3 × 12 inch) in a matte white, soft sage, or warm greige, laid vertically so the flutes run top to bottom.
The grout should match the tile colour closely so the vertical lines dominate. This tile suits modern and transitional kitchens with clean cabinetry — the texture replaces the decorative role that ornate cabinet hardware or busy tile patterns would otherwise fill.
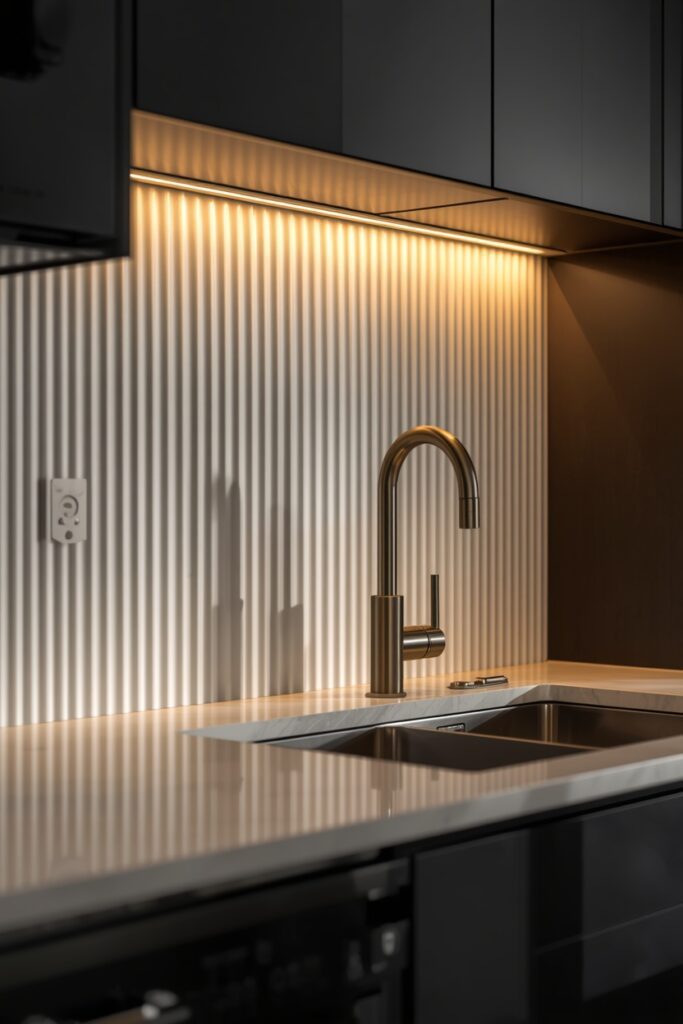
One installation note: the ridged surface requires careful cleaning around the grooves, so use a penetrating sealer after grouting and wipe down with a microfibre cloth rather than a sponge.
17. Full-Height Kitchen Backsplash Ideas for Open Shelving
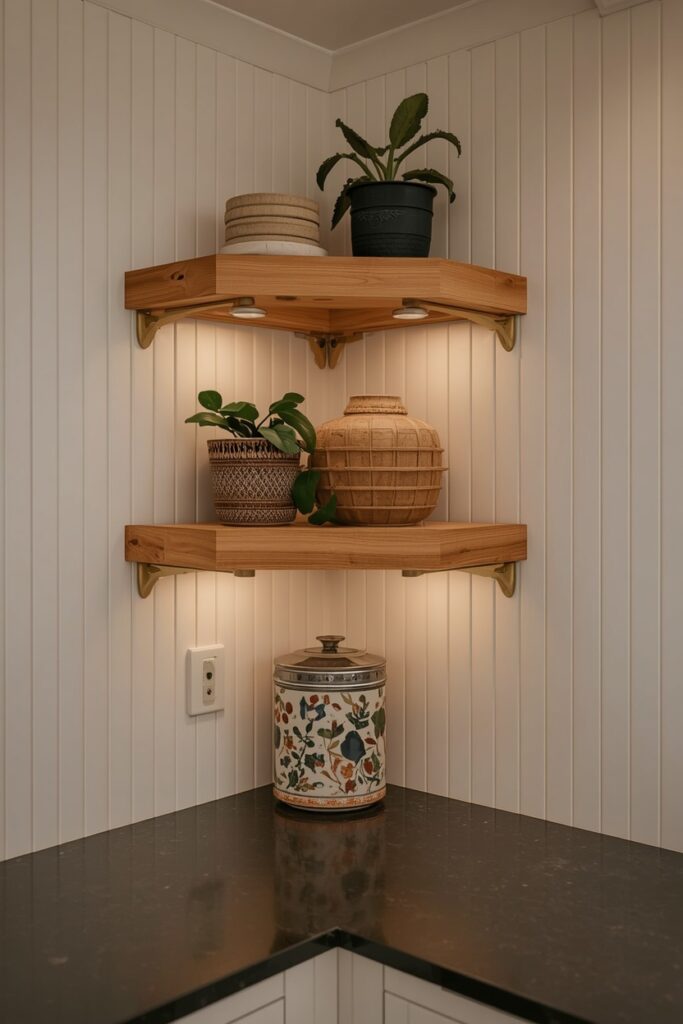
When upper cabinets are replaced with open shelving, the backsplash extends from the countertop to the ceiling — and this full-height canvas calls for a tile choice that carries visual interest across a larger area. A simple tile in a stacked or running bond pattern — vertical subway, zellige, or a slim brick format — provides a consistent texture that becomes the kitchen wall’s defining surface. Choose a colour that complements both the shelving material and the countertop: warm white for oak shelving on dark counters, sage for white shelving on marble, or a soft gray for black metal shelving on butcher block. Install the tile first, then mount the shelving brackets through it with appropriate anchors. The grout colour should recede — match it to the tile or go one shade darker — so the shelving items pop against a calm backdrop. This layout demands disciplined shelf styling because the tile background makes every object visible; cluttered shelves against a full-height backsplash read chaotic.
Where I’d Start if I Only Did Three Things
If I only did three things, I would start by choosing the tile format and grout colour together — not separately — because the grout joint defines the look as much as the tile itself. Second, I would order a sample sheet of any tile I am considering and hold it against my actual countertop and cabinets under the kitchen lighting before buying the full quantity, because screens and showroom lighting lie. Third, I would invest in proper sealing at installation — a penetrating impregnating sealer for natural stone or cement tiles — because grout maintenance is the number-one complaint people have about backsplashes, and good sealing at the outset prevents most of it.
Frequently Asked Questions
What kitchen backsplash ideas are easiest to maintain?
Large-format porcelain slabs eliminate grout entirely, making them the easiest to wipe clean. Among tiled options, glossy ceramic and glass tiles with matching grout are the next simplest — non-porous surfaces that need only a damp cloth. Natural stone and cement tiles require annual sealing to stay stain-resistant.
How far should a backsplash extend above the countertop?
The standard backsplash runs from the countertop to the underside of the upper cabinets, typically 45 to 50 cm. If you have open shelving instead of uppers, extend the tile to the ceiling for a complete look. Behind the range, many designs take the tile higher — to the underside of a range hood — as a focal accent.
Can I install a tile backsplash over existing tile?
You can if the existing tile is flat, firmly bonded, and in good condition. Clean and lightly sand the surface, apply a bonding primer, then tile over the top. This adds thickness, so check that outlets and switches sit flush. Removing old tile is always the cleaner option for long-term adhesion, but tiling over is a valid shortcut for a quicker renovation.
What grout colour makes a backsplash look most modern?
Matching the grout to the tile colour creates the most modern, seamless look because it minimises the grid pattern and lets the tile material or texture read as a continuous surface. Contrasting grout — like dark grout on white tile — reads more graphic and traditional. For a modern kitchen, matching or one-shade-darker grout is usually the cleaner call.
Final Thoughts
Good kitchen backsplash ideas balance visual appeal with daily-use practicality. Choose a surface you love looking at and can realistically maintain — seal what needs sealing, match the grout colour to your desired level of grid visibility, and test samples against your actual cabinets and countertops before committing. The backsplash is one of the smaller surfaces in a kitchen, but it sits at eye level every time you cook, so it deserves the same thoughtful planning you give to the bigger decisions.