
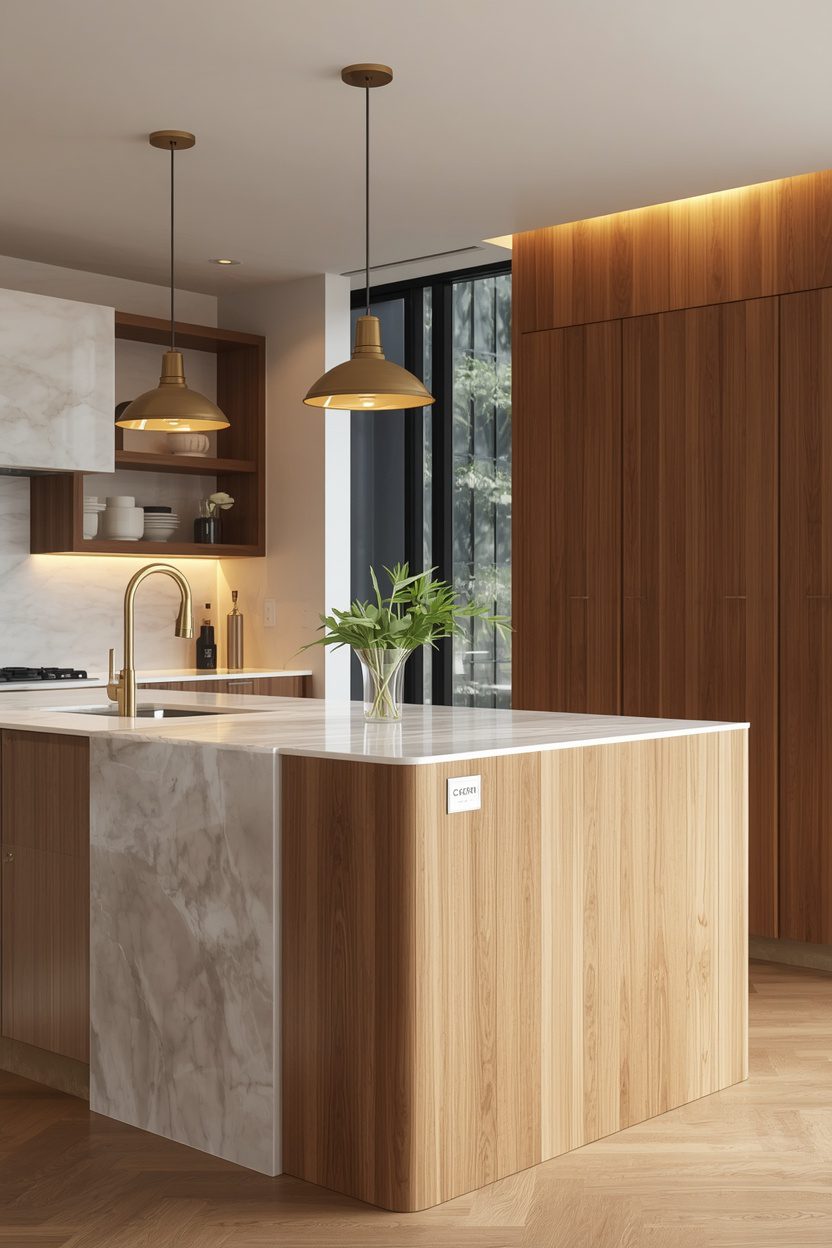
A kitchen island does more for how a kitchen functions than almost any other single element — it adds prep surface, storage, seating, and a social anchor all in one piece. But the combination only succeeds when the island fits the kitchen’s dimensions, traffic flow, and cooking habits. Too many kitchen island ideas online show beautiful pieces dropped into enormous showroom kitchens without mentioning the minimum clearances and working dimensions that determine whether an island is an asset or an obstacle.
Each of the 17 ideas below specifies the island footprint, the minimum kitchen size it suits, the recommended countertop overhang for seating, and the clearance around it so you can walk, cook, and open cabinets without colliding. I have also flagged the practical trade-offs — because an island with a cooktop changes your ventilation needs, and an island with a sink changes your plumbing scope.
1. Classic White Island With Butcher-Block Top
A white-painted base with a butcher-block top is the gateway kitchen island — it suits farmhouse, transitional, and cottage kitchens and is available in ready-made units that avoid the cost of a custom build. Choose an island 120 × 60 cm for small kitchens or 180 × 90 cm for standard ones, with open shelving on one side and closed cabinets on the other. The butcher-block top should be end-grain for maximum durability and sealed with a food-safe mineral oil or a hard-wax oil that resists water.
No seating overhang is needed on a 60 cm deep island; for 90 cm depth, a 25 cm overhang on one end accommodates two stools. Leave at least 90 cm of clearance on all working sides and 120 cm on the cooktop or oven side so doors open fully.
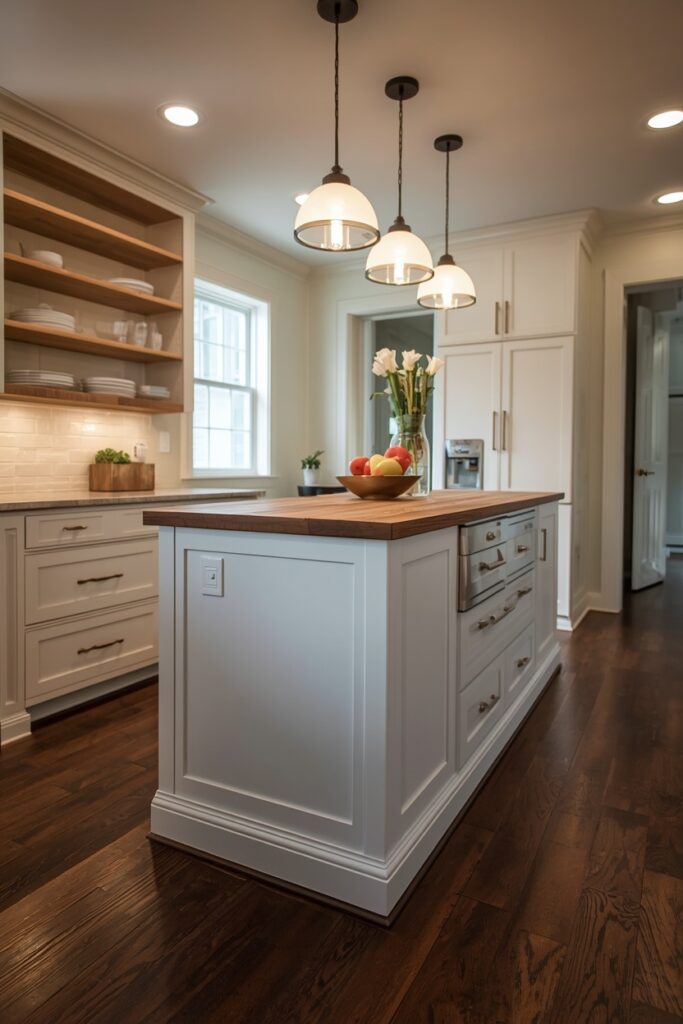
This island works best on a hardwood or tile floor in a contrasting tone — the white base pops against a dark floor, while the warm butcher-block top ties to any wooden elements in the room.
2. Waterfall Countertop Island
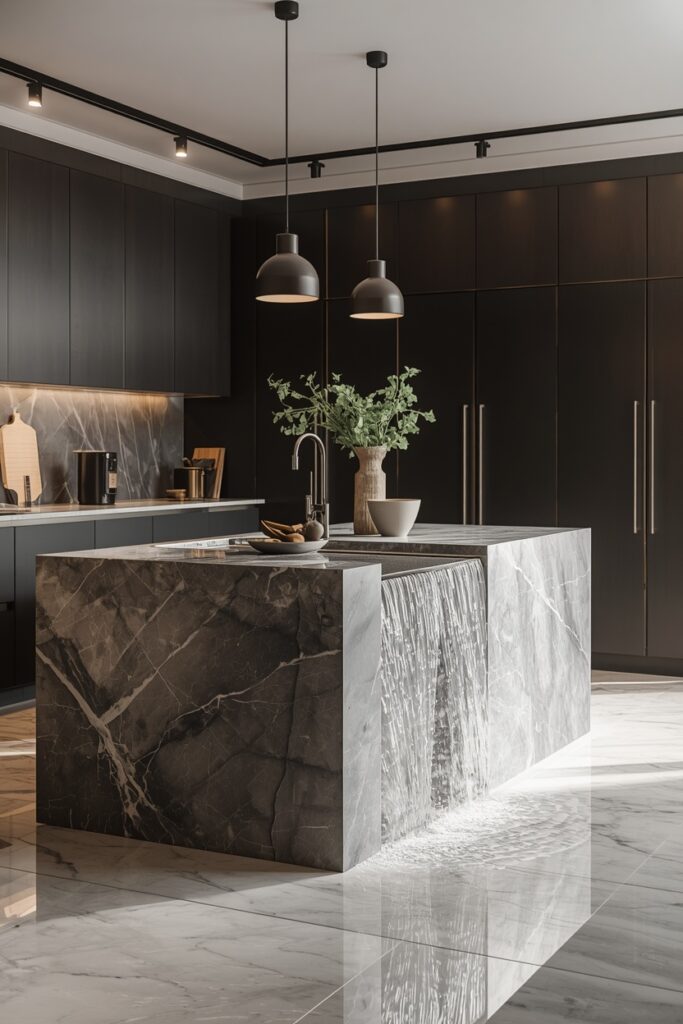
A waterfall countertop — where the surface material cascades down one or both ends of the island to the floor — creates a sleek, monolithic look that defines contemporary kitchen design. The material is typically natural marble, engineered quartz, or porcelain slab, and the seamless mitre joint at the top edge is the detail that makes or breaks the execution. Choose a stone with subtle veining so the joint is less visible. The waterfall treatment works best on islands at least 240 cm long and 90 cm deep, giving the cascading panel enough height to read as a design statement. The base cabinet behind the waterfall panel is standard and can hold drawers, appliances, or open shelving. Seating goes on the opposite end or along the side. This island demands professional fabrication — the mitre angle and vein-matching require a skilled stone fabricator, and errors are costly. Pair with flat-panel cabinetry and minimal hardware to let the waterfall edge lead the room.
3. Rolling Kitchen Cart for Compact Kitchens
A rolling kitchen cart — typically 80 × 50 cm with locking castors — provides island functionality in kitchens too small for a permanent fixture. Choose a cart with a butcher-block or stainless-steel top for prep work, a shelf below for bowls or small appliances, and a towel bar on one end. When cooking, roll it into the centre of the kitchen for extra surface; when done, push it against the wall or into a corner to restore the open floor. This is the only island option for galley kitchens under 2.5 metres wide, where a fixed island would block the work triangle. Look for a cart with a drop-leaf extension on one side — this adds 20–30 cm of extra surface when needed and folds flat when stored.
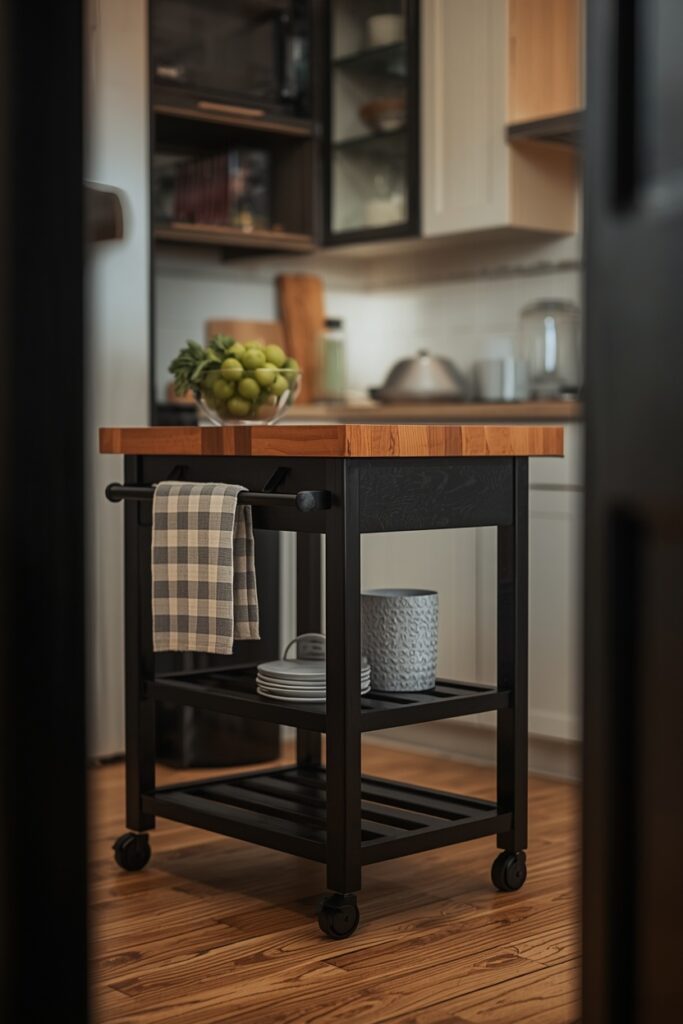
The look should match the kitchen’s material language: natural wood for warm kitchens, white or black metal for modern ones. Locking castors are non-negotiable — an unlocked cart that slides away while you are chopping is a safety hazard.
4. Island With Full Seating Bar
An island designed primarily for seating — a breakfast bar or a casual dining counter — needs a minimum countertop overhang of 30 cm on the seating side and a bar height of either 90 cm (counter height, paired with counter stools) or 107 cm (bar height, paired with bar stools). The island length determines capacity: allow 60 cm of width per seat, so a 180 cm island seats three comfortably. The overhang should be supported by brackets or a cantilevered countertop design — an unsupported overhang greater than 30 cm will flex over time. Position pendant lights centred above the seating line, hung 75–85 cm above the countertop, to create a defined dining zone.
The non-seating side houses cabinets, drawers, or open shelving for kitchen storage. This setup replaces the need for a separate dining table in open-plan kitchens, so the seating experience should be comfortable enough for a full meal, not just a quick coffee.
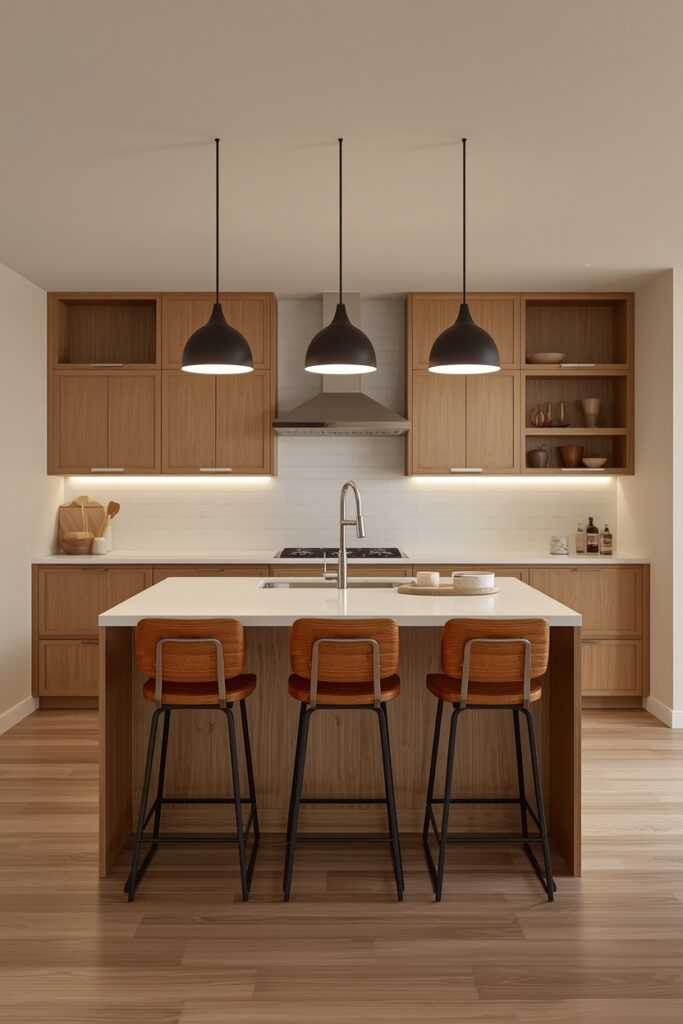
5. Kitchen Island Ideas With Integrated Sink
Placing the sink in the island — rather than against the wall — faces you toward the room or the view while washing dishes, which transforms the kitchen from a wall-facing workspace to a social hub. The sink should be an undermount single-bowl or a large single-bowl farmhouse style, centred on the island with at least 30 cm of landing space on each side for drying and prep. A pull-down faucet in a gooseneck profile provides reach and clearance.
The plumbing implications are real: the water supply and drain must run through the floor from the main stack, which is straightforward in a ground-floor kitchen but more complex and expensive on upper floors or concrete slabs. A built-in dishwasher adjacent to the sink on the island side streamlines the workflow. One trade-off: an island sink is always visible from the seating and living area, so a dirty sink reads immediately.
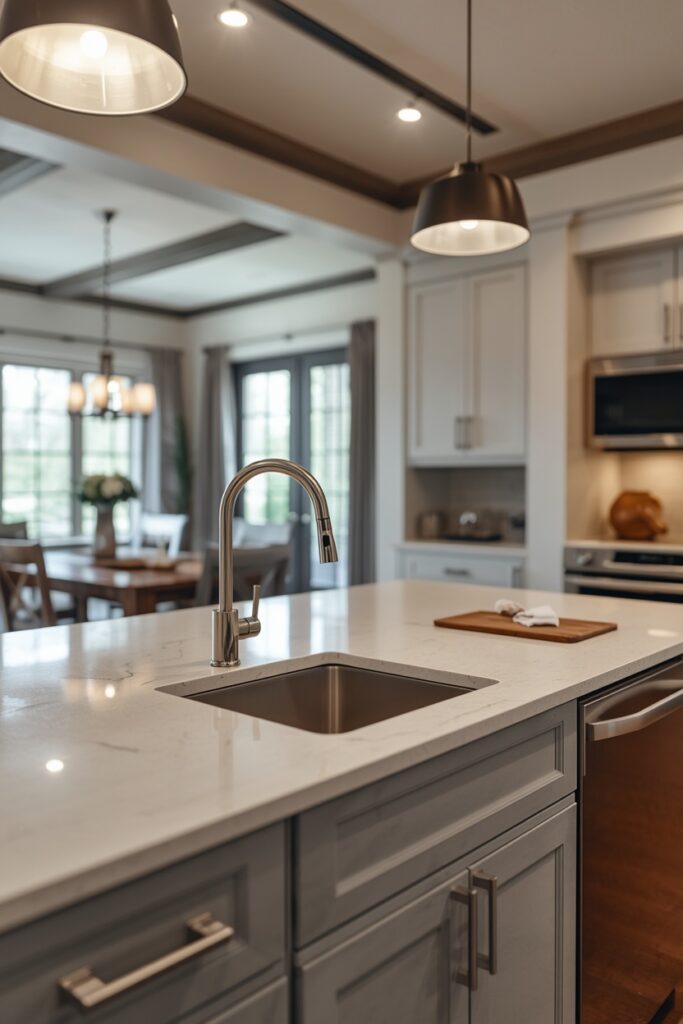
If that bothers you, position the sink on the wall instead and reserve the island for prep only.
6. Contrasting Colour Island
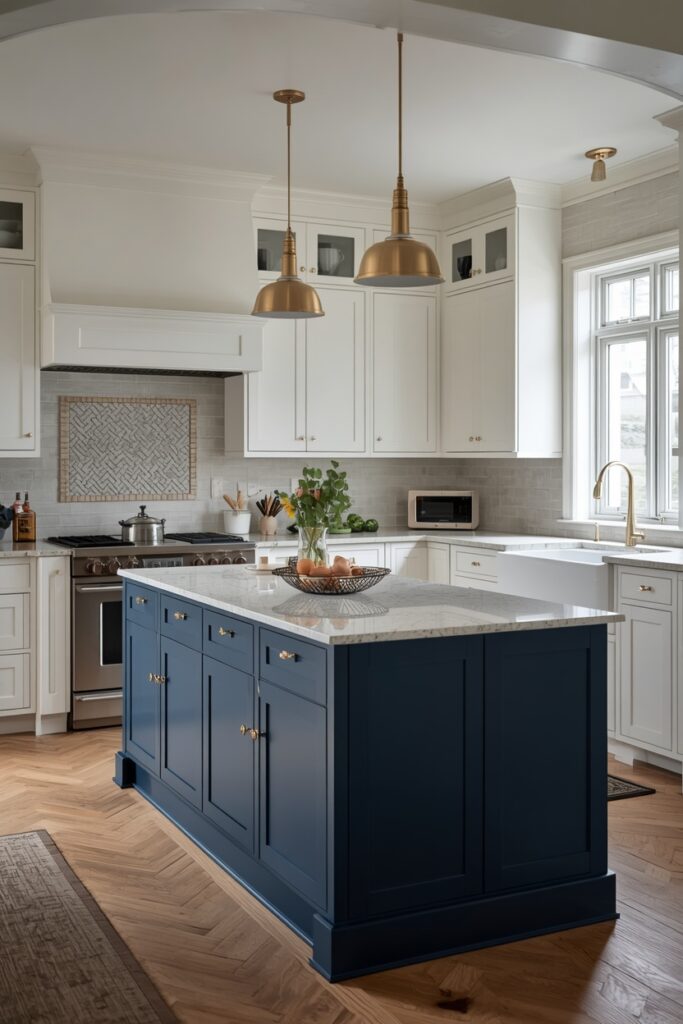
Painting or staining the island in a different colour from the surrounding cabinetry gives it a furniture-like presence — it reads as a standalone piece rather than an extension of the fitted kitchen. A navy island against white cabinets, a forest green island against warm wood, or a matte black island against pale gray all create a visual anchor. The countertop should bridge the two zones: a stone or quartz that pulls a tone from both the island and the perimeter cabinets. Hardware can match the island colour or use a metallic (brass on navy, brushed nickel on green) for accent. This approach works best when the island is the only contrasting element — do not add a third colour on the range hood or shelving, or the kitchen reads busy. The two-tone kitchen is a strong resale strategy because it looks custom and intentional without the cost of fully bespoke cabinetry.
7. Reclaimed Wood Island for Rustic Kitchens
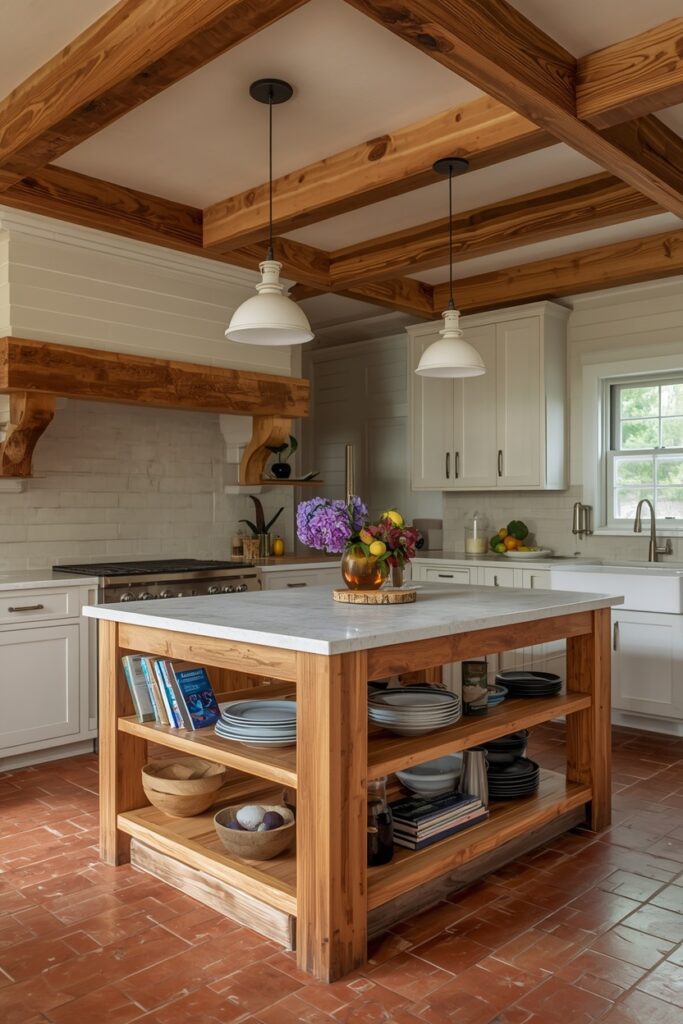
A reclaimed-wood island — built from salvaged timber with visible grain, nail holes, and character marks — gives a rustic kitchen an anchor that no new material can replicate. The base structure can be reclaimed barn wood or pallet wood over a plywood substrate for stability, treated with a clear hard-wax oil that protects without hiding the wood character. The countertop should contrast: a thick butcher block, a honed stone slab, or a concrete pour provides a durable work surface that the rough wood base would not. Size the island at 180–240 cm long and 80–90 cm deep so it commands the room without crowding it. Open shelving on both long sides keeps the piece from reading heavy.
A pair of industrial-style pendant lights — matte black, iron, or aged brass — hang above. Pair with a concrete or terracotta floor tile and shaker or flat-panel cabinets in a warm white. One practical note: reclaimed wood expands and contracts with humidity, so allow small gaps in panel joins and avoid building in zones with direct water contact.
8. Marble-Top Island for Classic Kitchens
A marble countertop on the island — Carrara, Calacatta, or Statuario — delivers the kind of surface beauty that porcelain and engineered quartz can approximate but not fully capture. The veining pattern is unique to each slab, giving the island a one-of-a-kind character. Choose a honed surface rather than polished for a kitchen island: honed marble shows fewer etching marks and watermarks than polished, which is essential on a surface that encounters lemon juice, wine, and hot pans daily. Seal the marble at installation with a penetrating impregnating sealer and re-seal every 6 to 12 months. The base should be classic: white or gray painted cabinets with simple hardware, or a warm wood in a traditional profile.
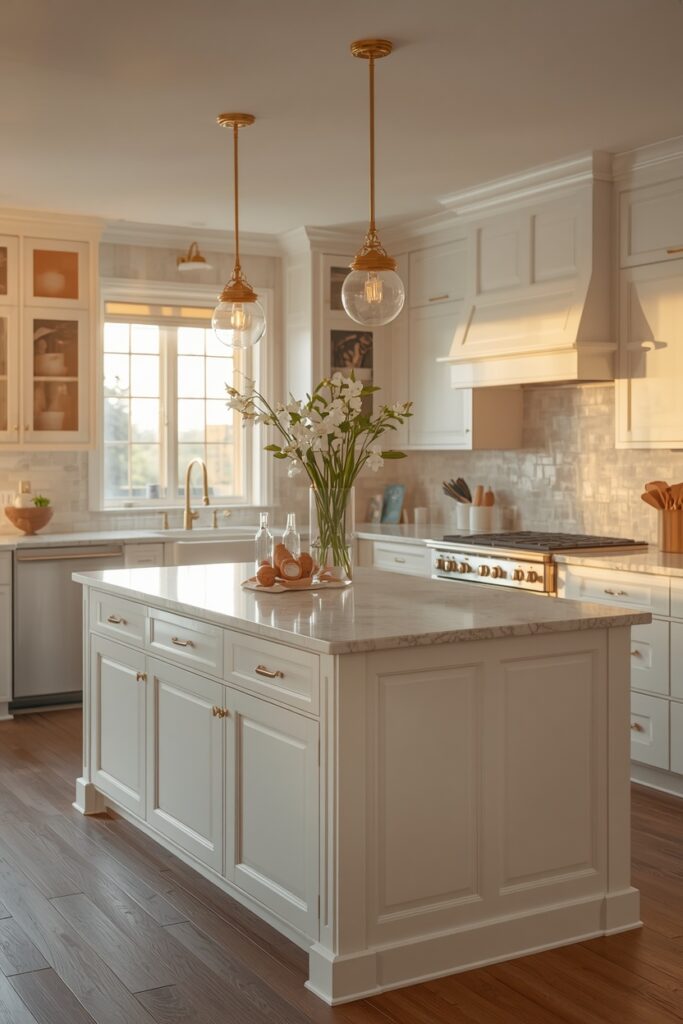
Marble islands suit classic, transitional, and coastal kitchens. The honest trade-off is maintenance — marble stains and etches more readily than quartz, and it develops patina over time. For some, the patina is part of the appeal; for others, quartz is the sensible choice.
9. L-Shaped or Peninsula Island
An L-shaped island — or a peninsula that extends from the countertop like a connected arm — provides island functionality in kitchens that are too narrow for a freestanding piece with full clearance on all sides. The peninsula connects to one wall or to the main cabinetry run, leaving three accessible sides. This layout creates a natural separation between the kitchen and the dining or living area in open-plan homes. The seating overhang faces the living area so guests interact with the cook without entering the work zone.
A peninsula needs 120 cm of clearance on the open side and 90 cm on the working side. The countertop should match the main kitchen counter for visual continuity.
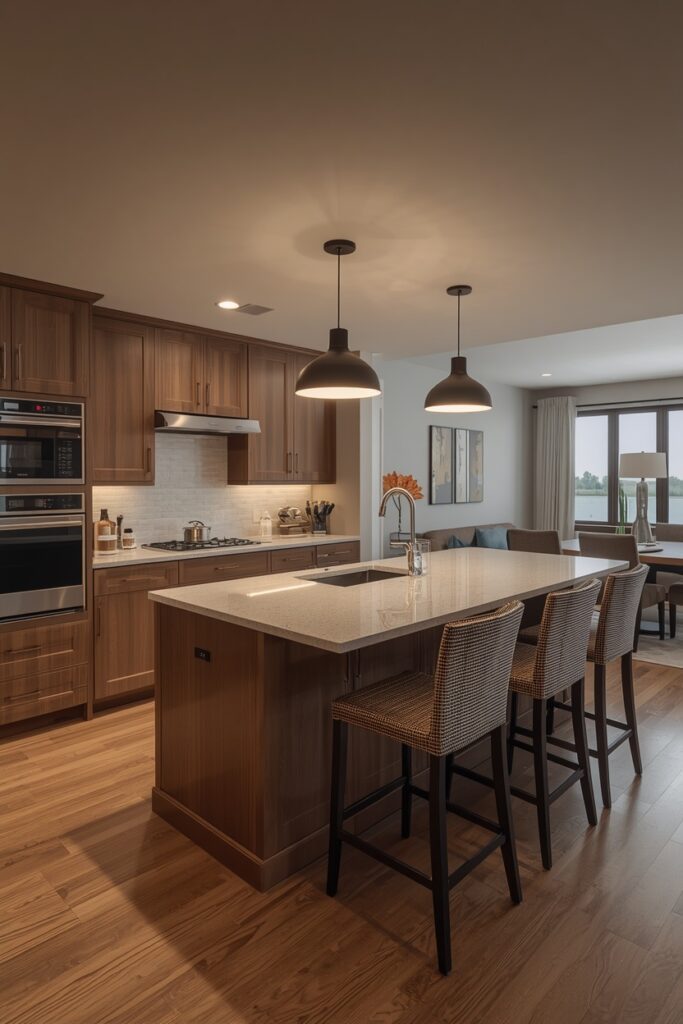
Storage goes on the kitchen-facing side — drawers, cabinets, or open shelving — while the living-area-facing side stays clean. This is the most common island format in standard-sized kitchens because it avoids the plumbing and structural costs of a fully freestanding piece.
10. Island With Open Shelving Display
Open shelving on the dining-room-facing side of a kitchen island turns the back panel into a display — cookbooks, ceramics, a small plant, and a few styled objects create a curated view from the dining or living area. Build the shelving as two or three rows of recessed compartments, each 25–30 cm deep and 30–40 cm tall. Style them with a mix of vertically and horizontally stacked books, one or two pottery pieces, and a trailing plant. The kitchen-facing side remains closed cabinetry for practical storage. This dual-purpose approach makes the island work aesthetically from both directions — functional workspace from the cooking side and a visual feature from the dining side. One practical consideration: open shelving collects dust and grease faster than closed cabinets, so reserve it for items that wash easily and wipe the shelves down weekly.
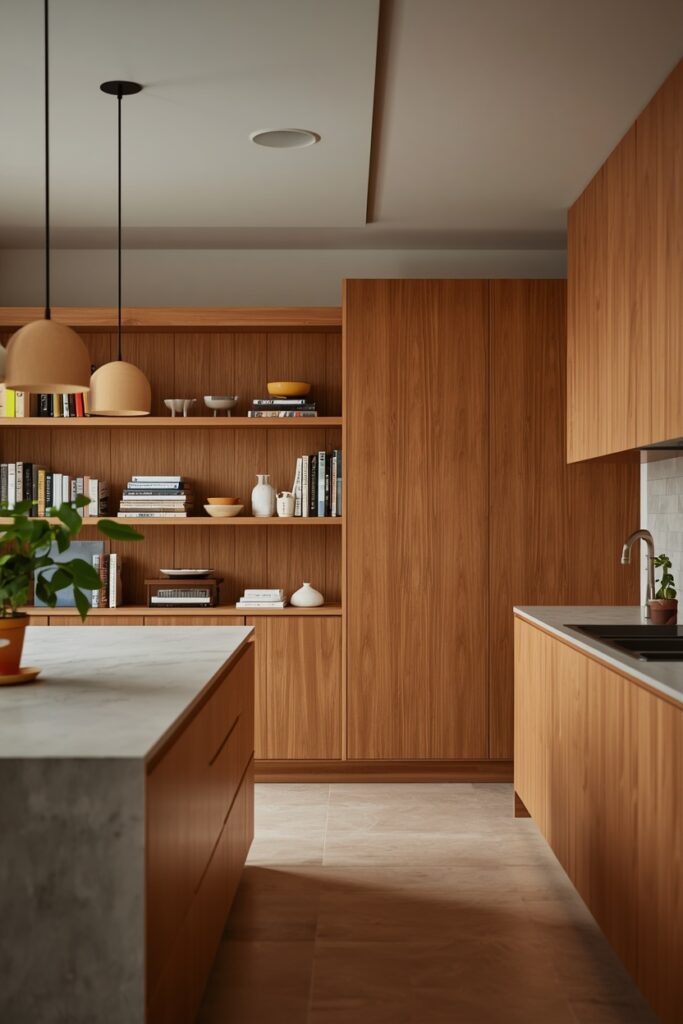
11. Kitchen Island Ideas With Cooktop Integration
Placing the cooktop in the island — a gas, induction, or electric hob flush-mounted into the countertop — faces the cook toward the room and creates a chef-table experience. This is one of the most social kitchen layouts, but it comes with requirements: a ventilation solution (a downdraft extractor built into the island or an overhead island-mount range hood) and fire-rated countertop material on both sides of the hob. Allow at least 40 cm of heatproof landing space on each side of the cooktop for pans and chopping boards. The island should be at least 240 cm long and 100 cm deep to accommodate the cooktop and still provide usable prep and seating space. An overhead range hood is the most effective extraction option but requires ceiling ducting — a significant renovation scope item.
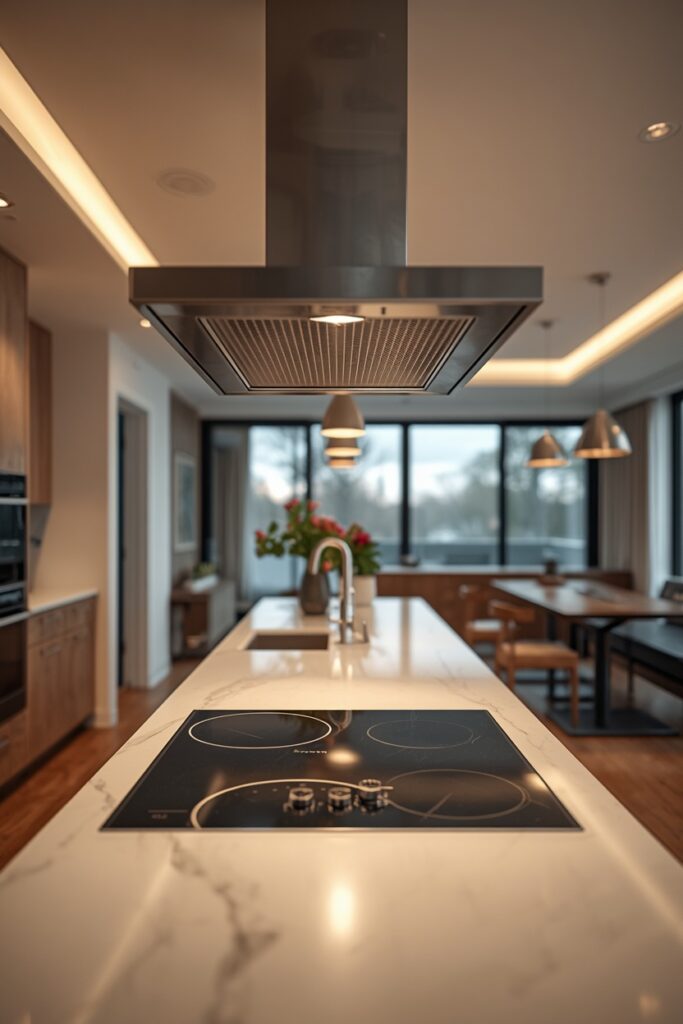
A downdraft extractor (rising from behind the hob when activated) avoids the overhead bulk but extracts less efficiently. This is a professional-level kitchen island decision: consult your kitchen designer and contractor before committing.
12. Slim Prep Island for Galley Kitchens
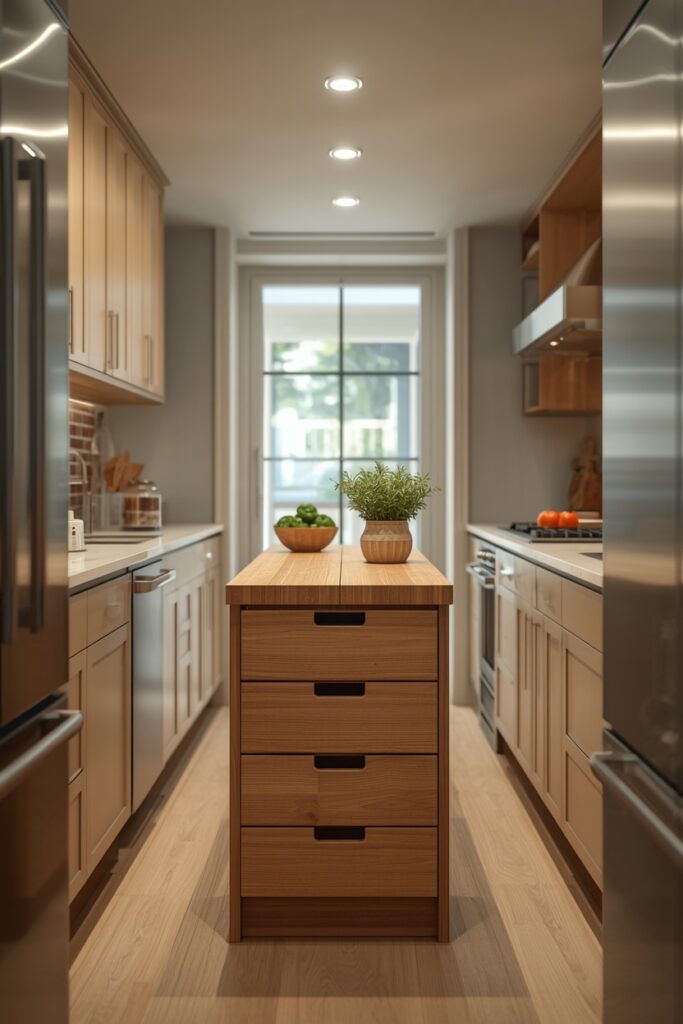
A slim prep island — 120 × 50 cm or 150 × 45 cm — provides extra surface without disrupting the work triangle in a narrow galley kitchen. The key measurement is clearance: you need 90 cm between the island edge and the nearest counter on both sides, which means the total kitchen width must be at least 270 cm (50 cm island plus 90 cm clearance on each side plus 60 cm counter depth on each side). The island top should be a durable prep surface — butcher block or stainless steel — without a sink or cooktop, which would require plumbing or ventilation that a slim island cannot accommodate. Storage is limited to one or two drawers or a shelf below for bowls and chopping boards. No seating fits on a 45–50 cm deep island.
Pair with castors (lockable) if you want the flexibility to roll it aside for entertaining or deep cleaning. This is the island for cooks who want more surface in a tight kitchen and are willing to accept a purely functional piece rather than a showpiece.
13. Island With Built-In Wine Storage
Integrating wine storage into the island base — either an under-counter wine fridge or a custom rack of horizontal cubbies — keeps bottles at hand during cooking and entertaining without dedicating wall space or a separate piece of furniture. A compact wine fridge (fitting 18–24 bottles) installs into the island base like a dishwasher, with a glass or panel door on the dining-area-facing side. A wine rack built from open cubbies in the same material as the island base stores bottles horizontally in a visible display.
Position the storage on the end of the island furthest from the cooktop or oven so heat does not affect the wine. The countertop above can extend into a seating overhang, turning the wine-storage end into a built-in bar area.
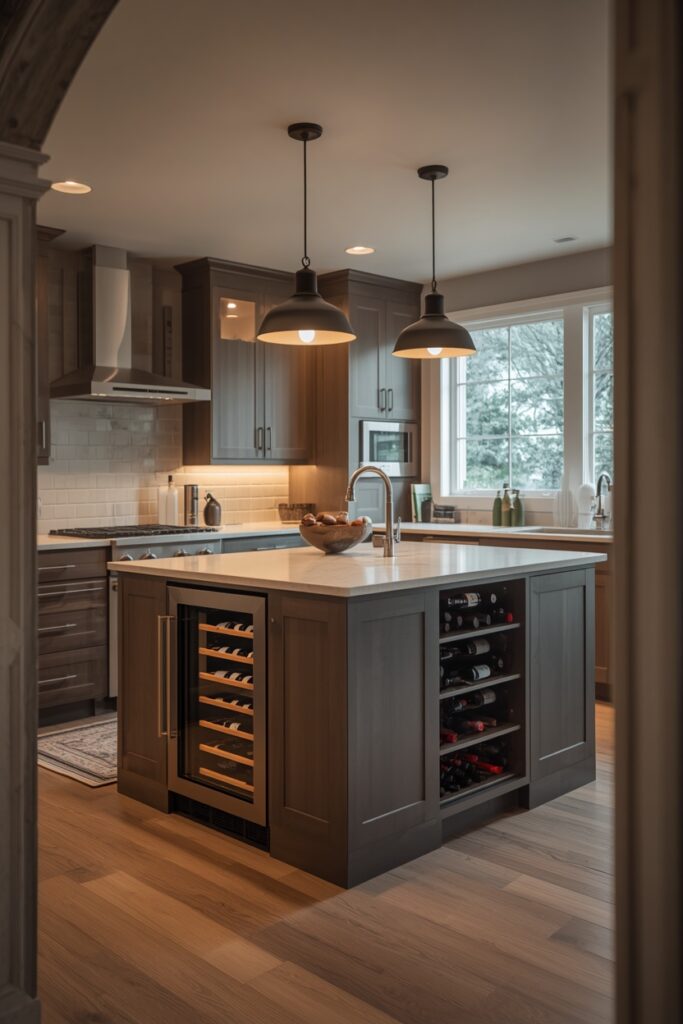
This is a custom feature — expect to specify it during the kitchen design phase rather than adding it after the island is built.
14. Concrete Countertop Island for Industrial Kitchens
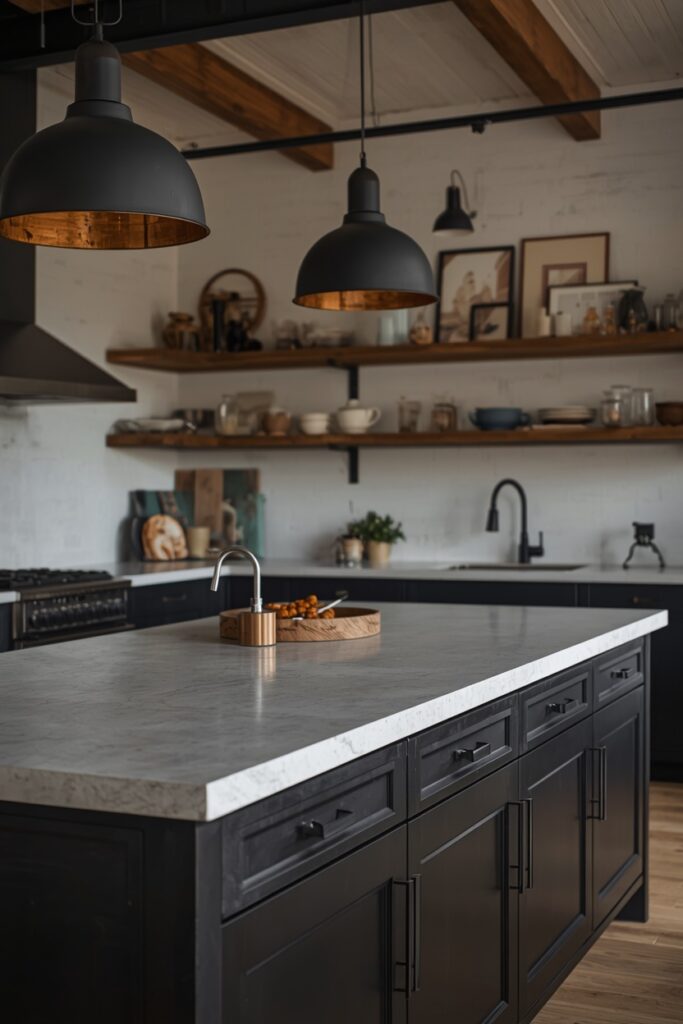
A poured-in-place or precast concrete countertop gives a kitchen island the weight and raw texture of industrial design. The treatment can range from smooth and sealed to rough and exposed-aggregate, depending on the aesthetic. A mid-tone gray concrete with a smooth troweled surface is the most versatile — it pairs with dark steel base cabinets, reclaimed wood shelving, and both modern and rustic cabinetry. Seal the concrete with a penetrating sealer rated for food-contact surfaces, and re-seal annually. Concrete is porous without sealing and will stain from oils and acidic foods. The thickness should be at least 40 mm for visual heft and structural integrity. A poured-in-place installation allows for custom shapes, integrated drainboards, and even embedded objects (glass aggregate, brass inlays), but requires a skilled concrete craftsman. Precast slabs are more predictable and faster to install but limit customisation. Pair with open black-steel shelving on the base, industrial pendant lights, and matte black hardware.
15. Curved or Rounded Island
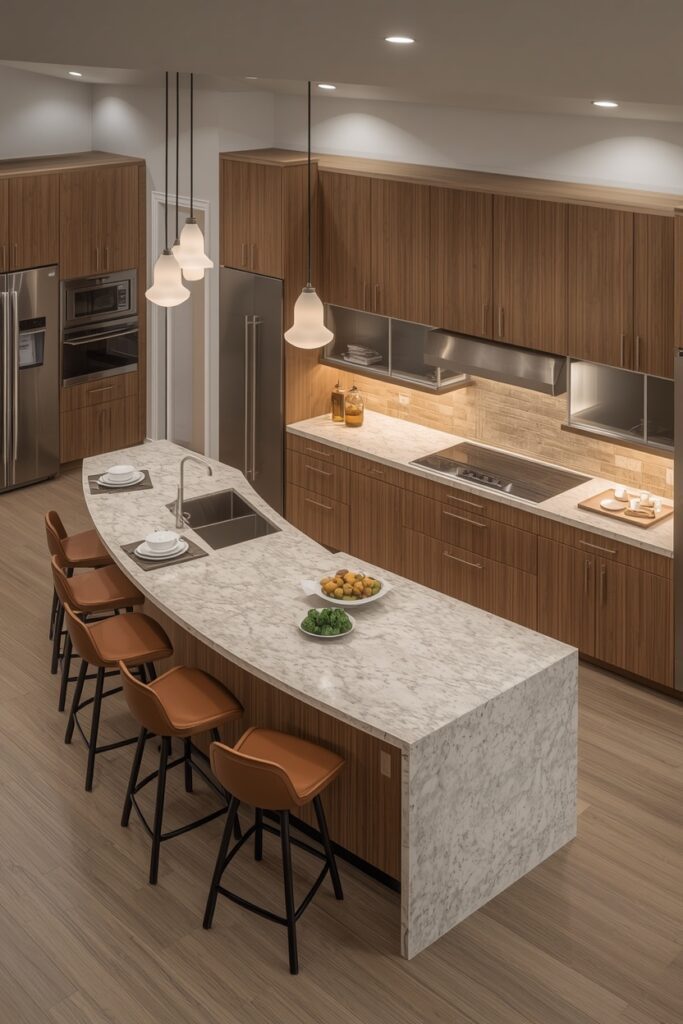
A curved island — with one or both ends rounded rather than squared — softens the kitchen’s geometry and improves traffic flow by eliminating sharp corners that hip-check you when you walk past. The curve can be a gentle radius on both ends of a rectangular island or a full kidney or racetrack shape. Curved countertops require custom fabrication in stone, quartz, or solid surface (laminate does not bend well). The base cabinets are also custom, with curved door panels or open shelving that follows the arc. Seating pairs naturally on the convex side of a kidney shape, where the curve wraps around the stools.
This island format suits open-plan kitchens where the island is visible from the living area — the curved profile reads as furniture rather than cabinetry, bridging the visual transition between kitchen and lounge. The cost premium is moderate: the fabrication for curved stone runs 15–25 percent above rectangular, and the custom cabinetry adds to the joinery bill.
16. Multi-Level Island With Raised Bar
A multi-level island — a lower prep surface at standard counter height (90 cm) and a raised bar at 107 cm on one side — separates the cooking mess from the socialising zone. The raised bar hides cutting boards, dirty dishes, and prep chaos from guests seated on the high side. A 25–30 cm step between the two levels is standard, and the transition can be a clean vertical drop or a short waterfall panel in the countertop material.
The lower level houses the sink or prep area, while the raised level provides the seating overhang (30 cm minimum) with bar stools. Pendant lights align with the raised bar to define the social zone. This design suits entertainers who cook while guests sit at the island — the height difference maintains conversation while keeping the working mess out of the sightline.
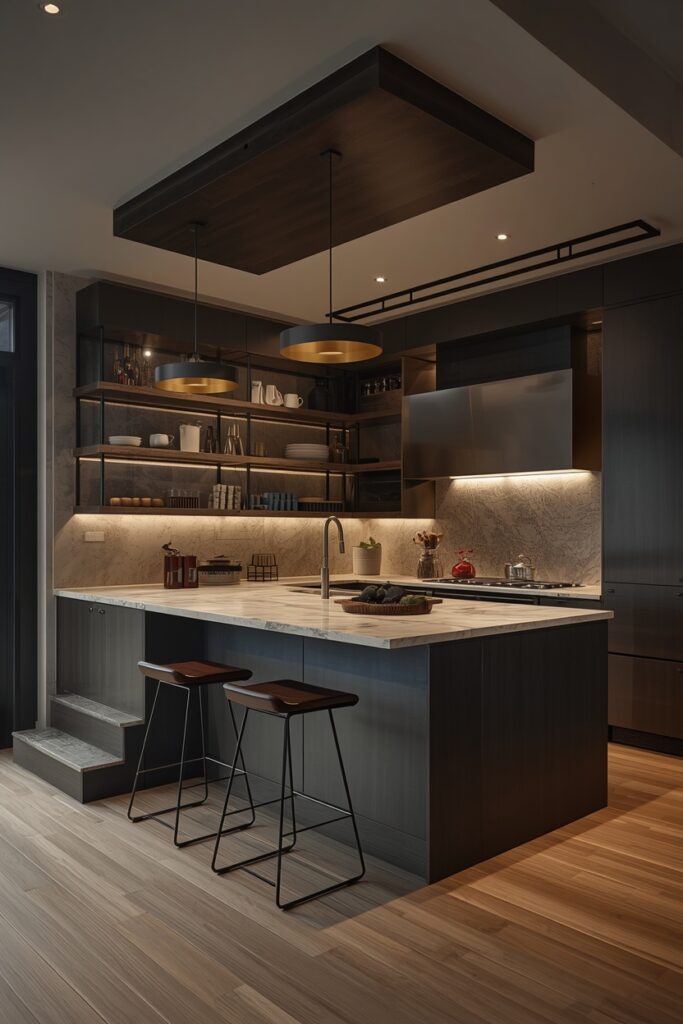
The drawback is reduced countertop continuity: the step interrupts long sliding movements when transferring heavy pots or baking trays.
17. Kitchen Island Ideas With Table Extension
An island with an integrated dining table extension — a wood or stone slab extending from one end at table height (75 cm) — combines prep island and dining table into a single piece, saving the space a separate dining table would consume. The table extension should seat at least four: 120 cm long and 80 cm wide, supported by a pair of legs or a single pedestal at the far end. The countertop height of the island (90 cm) steps down to table height (75 cm) at the extension, creating a two-level transition similar to the multi-level island but with a functional dining surface rather than a bar. Use the same countertop material across both levels for visual continuity, or introduce a contrasting wood table surface for warmth. Dining chairs replace bar stools on the table section.
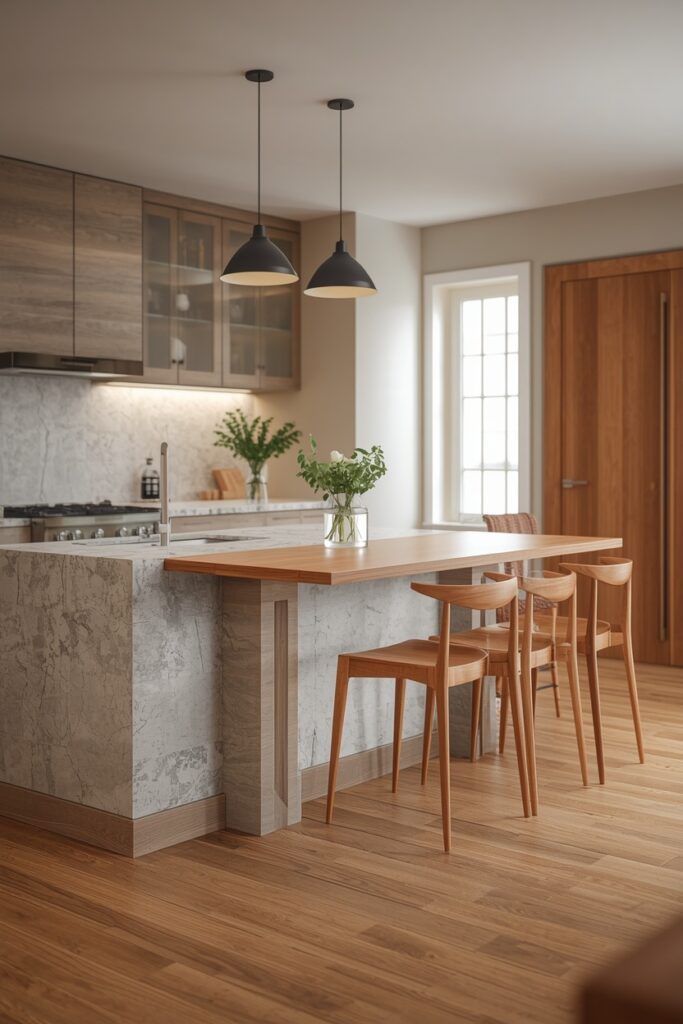
This layout suits open-plan kitchens in apartments and smaller homes where a separate dining room is not available. The dining extension also doubles as a homework station, craft table, and extra prep surface during large cooking sessions.
Where I’d Start if I Only Did Three Things
If I only did three things, I would start by measuring the kitchen clearances — 90 cm minimum on all working sides, 120 cm near the oven — because an island that blocks the work triangle turns from asset to obstacle. Second, I would decide the island’s primary job: is it a prep surface, a seating bar, or a storage unit? That decision determines the depth, the countertop material, and whether plumbing or ventilation is needed. Third, I would choose two pendant lights scaled to the island length, hung 75–85 cm above the countertop, because lighting above the island defines it as a zone and provides the task illumination that ceiling fixtures alone cannot deliver.
Frequently Asked Questions
What kitchen island ideas work in small kitchens?
A rolling cart (80 × 50 cm with locking castors) or a slim prep island (120 × 45 cm) are the two options for kitchens that cannot accommodate a full permanent island. Both require 90 cm clearance on the working sides. If even that does not fit, a peninsula extending from the existing countertop provides island functionality without needing clearance on all four sides.
How much clearance should I leave around a kitchen island?
A minimum of 90 cm on all working sides where cabinets or appliances need to open, and 120 cm on the side nearest the oven or dishwasher so doors open fully without blocking the walkway. On the seating side, 90 cm behind the stools is enough for people to sit and stand comfortably.
What is the best countertop material for a kitchen island?
Engineered quartz offers the best combination of durability, stain resistance, and aesthetic range for daily-use islands. Butcher block adds warmth and is ideal for dedicated prep islands. Natural marble is the most beautiful but requires regular sealing and accepts that etching and patina are part of the surface’s character. Concrete suits industrial styles but needs food-safe sealing.
Should the island countertop match the perimeter countertops?
Matching creates visual continuity and a cohesive look, while contrasting creates a furniture-like statement. Both are valid. If you contrast, use a countertop material that shares an undertone with the perimeter — a warm butcher block on the island with warm-veined marble on the perimeter, for example — so the two surfaces complement rather than clash.
Final Thoughts
The right kitchen island ideas start with your kitchen’s dimensions and your cooking habits, not with a picture from a showroom. Measure the clearances, decide the primary function (prep, seating, storage, or a combination), and then choose the countertop and base that suit both the work and the style. An island that fits the room and serves your daily routine is the most valuable single addition you can make to a kitchen layout.