
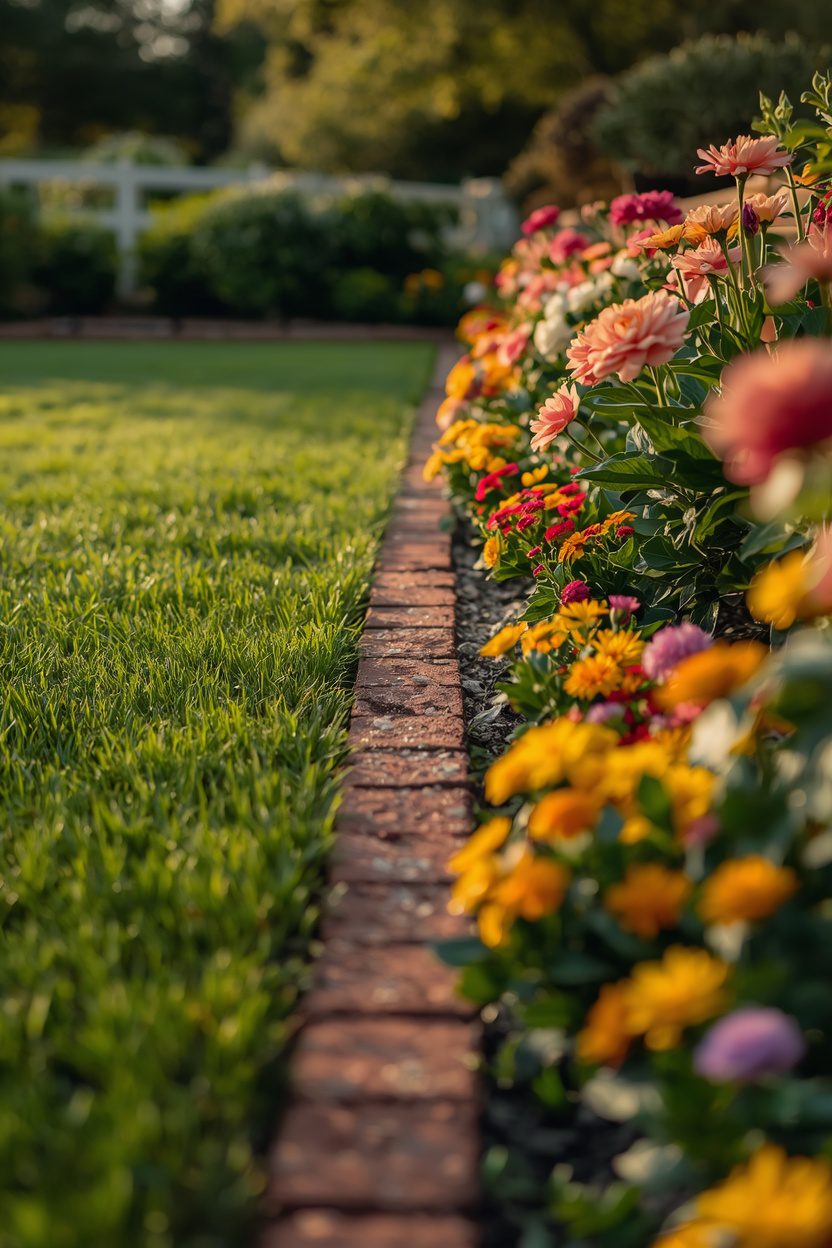
The single feature that separates a tidy garden from a scruffy one is not the plants — it is the edge. A crisp border between lawn and flower bed reads as deliberate and cared-for, while a blurred, grass-invaded edge makes even beautiful planting look neglected. These 21 garden edging ideas cover every material and approach, from a free spade-cut trench you can dig this weekend to permanent stone masonry that lasts decades.
Each idea below includes the material, the approximate cost tier, the installation effort, and the durability you can expect. I have flagged which edgings suit curved beds versus straight runs, which contain aggressive spreading grass, and which are purely decorative. Match the edging to your bed shape, your budget, and how much weekend labour you are willing to invest.
1. Classic Spade-Cut Trench Edge
The simplest edging costs nothing but labour: a clean V-shaped trench cut with a spade or a half-moon edging tool between the lawn and the bed. Cut the trench roughly 10–15 cm deep, with the lawn side vertical and the bed side sloping down toward the plants. The trench creates a physical and visual break that stops grass roots from creeping into the bed and gives the border a crisp, professional line. This edge suits both straight and curved beds and can be recut in an afternoon each spring to restore the sharp edge.
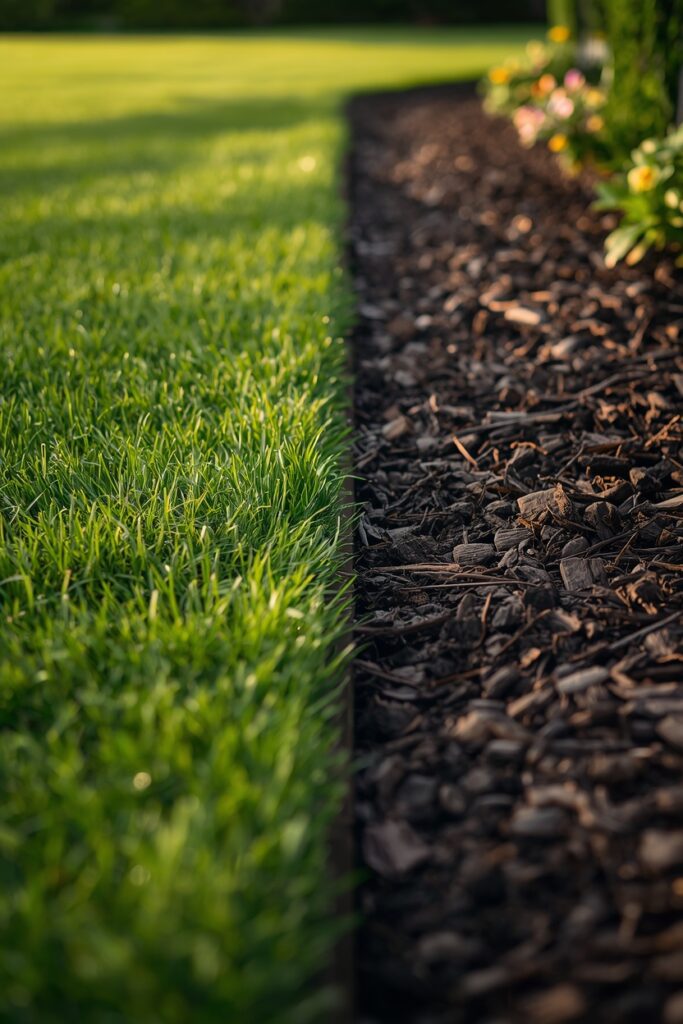
The trade-off is maintenance — a spade-cut edge needs recutting two or three times a season to stay crisp, as the soil edge crumbles and grass encroaches. For gardeners who enjoy the ritual of edging and want zero material cost, this is the timeless choice.
2. Traditional Brick Border
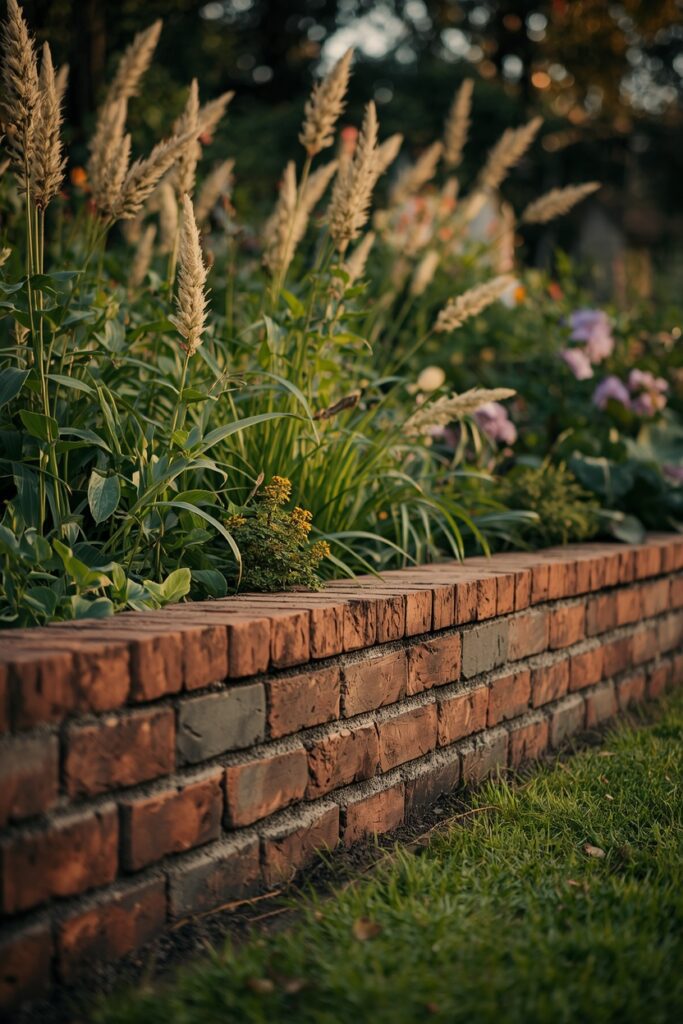
Bricks laid along the bed edge — flat, on end, or at a 45-degree angle in the classic sawtooth pattern — create a durable, timeless border that suits cottage and traditional gardens. For a flush border, dig a shallow trench and lay bricks flat, level with the lawn so a mower can run over the edge without scalping. For a raised border, set bricks on end (soldier course) roughly 10 cm above soil level to contain mulch and define the bed clearly. Reclaimed bricks add instant character and patina; new clay pavers offer uniformity. Set the bricks on a bed of compacted sand or a thin mortar bed for stability. The sawtooth (diagonal) pattern is the most decorative but uses more bricks and takes longer to install. This edging lasts decades and suits both straight runs and gentle curves.
3. Natural Stone Edging
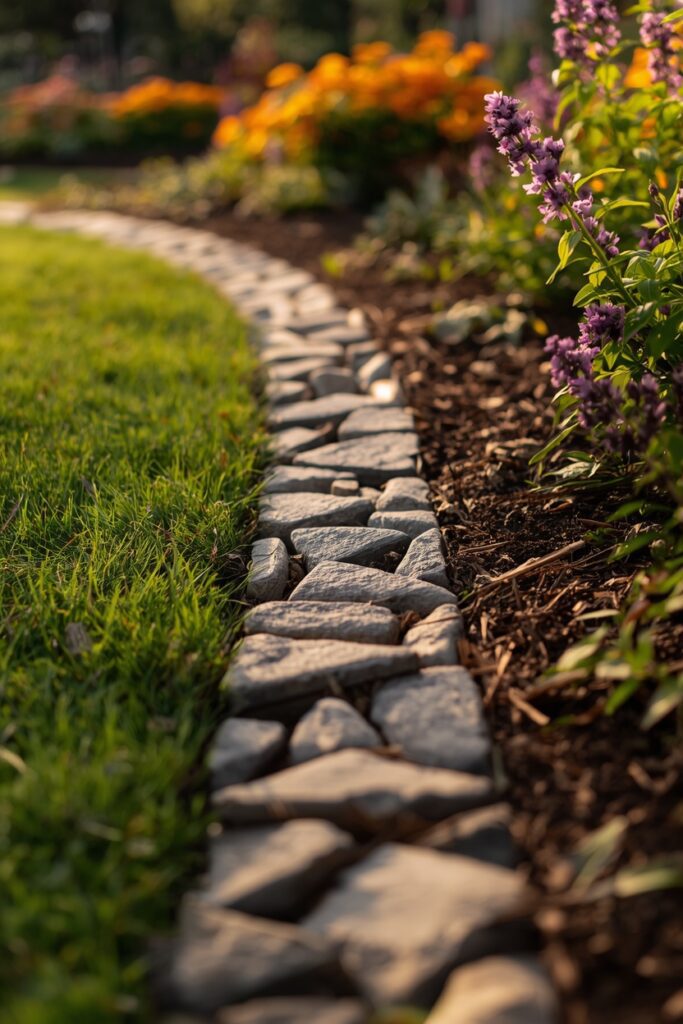
Natural stones — rounded river rocks, flat fieldstones, or irregular flagstone pieces — laid along the bed edge create an organic, rustic border that suits naturalistic and cottage gardens. Larger stones (20–30 cm) create a bold, permanent edge; smaller cobbles create a softer transition. Set the stones partially into the soil so they sit stably and do not shift when brushed by a mower. For a mortared version, set the stones on a concrete footing for a permanent wall-like edge that also functions as a low retaining structure on sloped beds. Dry-laid stones (no mortar) are easier to install and allow drainage but shift over time and need occasional resetting.
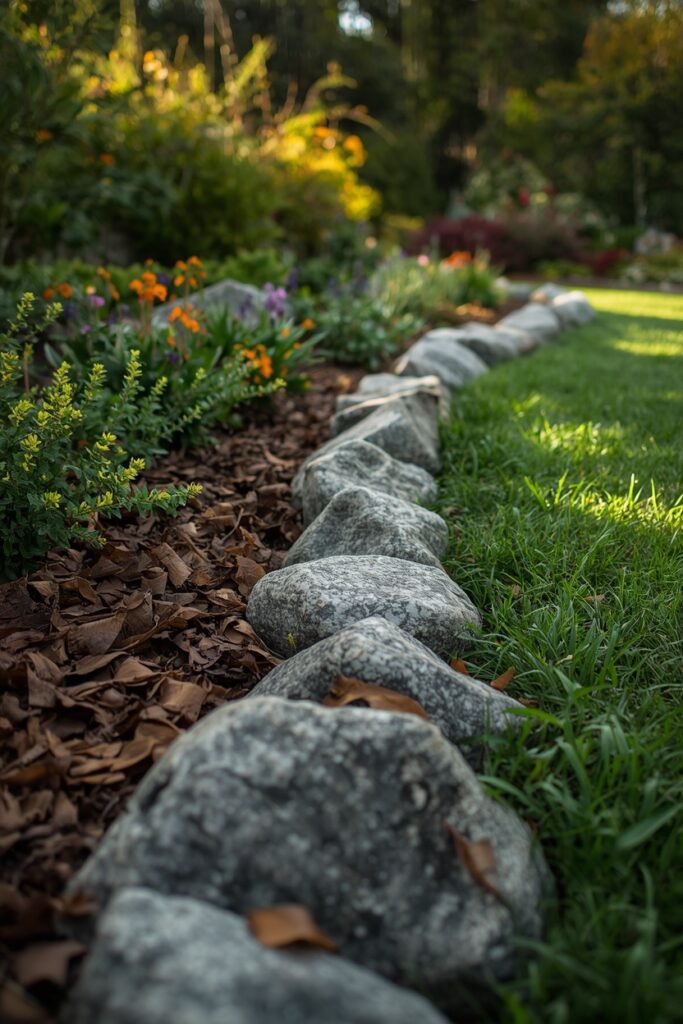
Source local stone where possible — it looks native to the landscape and costs less than imported material. This edging reads timeless and pairs beautifully with informal, billowing planting.
4. Corten Steel Edging
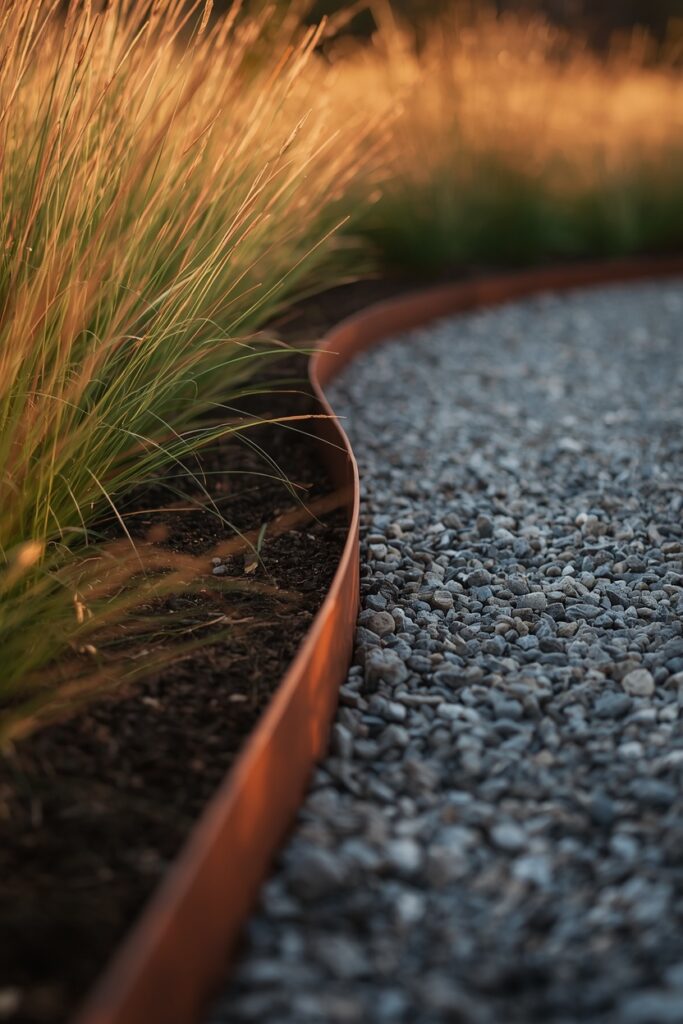
Corten steel — weathering steel that develops a rich rust-orange patina — creates the cleanest, most modern garden edge available. Supplied in flexible strips (typically 1–3 mm thick, 10–20 cm tall), it bends to follow curves and installs by driving it into the soil along the bed line, leaving 2–5 cm above ground. The thin profile creates an almost invisible line from a distance, letting the planting and lawn read as distinct zones with a razor-sharp transition. The rust patina develops over the first few months and then stabilises, becoming a warm, earthy accent that complements both green planting and gravel. Corten steel suits contemporary, minimalist, and prairie-style gardens.
It is more expensive than plastic or timber edging but lasts decades and requires zero maintenance once installed. The one caveat: the rust can stain adjacent light-coloured paving during the patina-forming months, so keep it away from pale stone paths initially.
5. Living Boxwood or Hedge Edge
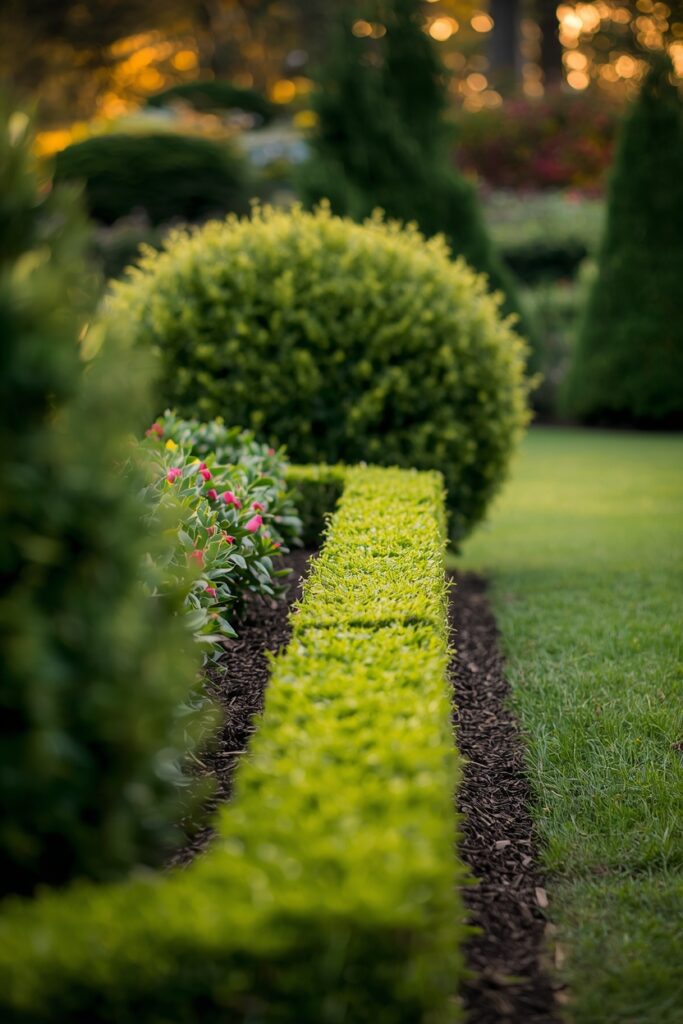
A low clipped hedge — boxwood, dwarf lavender, germander, or teucrium — planted along the bed edge creates a living, evergreen border that defines the bed while adding structure and, in some cases, fragrance. Boxwood is the classic choice: plant small specimens 20–25 cm apart and clip them into a low formal hedge (20–30 cm tall) as they establish.
Dwarf lavender offers the same defining function with summer flowers and scent, suiting Mediterranean and cottage gardens. A living edge takes two to three seasons to fill in and requires clipping once or twice a year to stay crisp, but the result is a soft, timeless border that no hard material can replicate.
One consideration: boxwood is susceptible to blight in some regions — check local disease pressure and consider resistant alternatives like Japanese holly or dwarf yaupon if blight is common in your area.
6. Garden Edging Ideas With Timber Sleepers
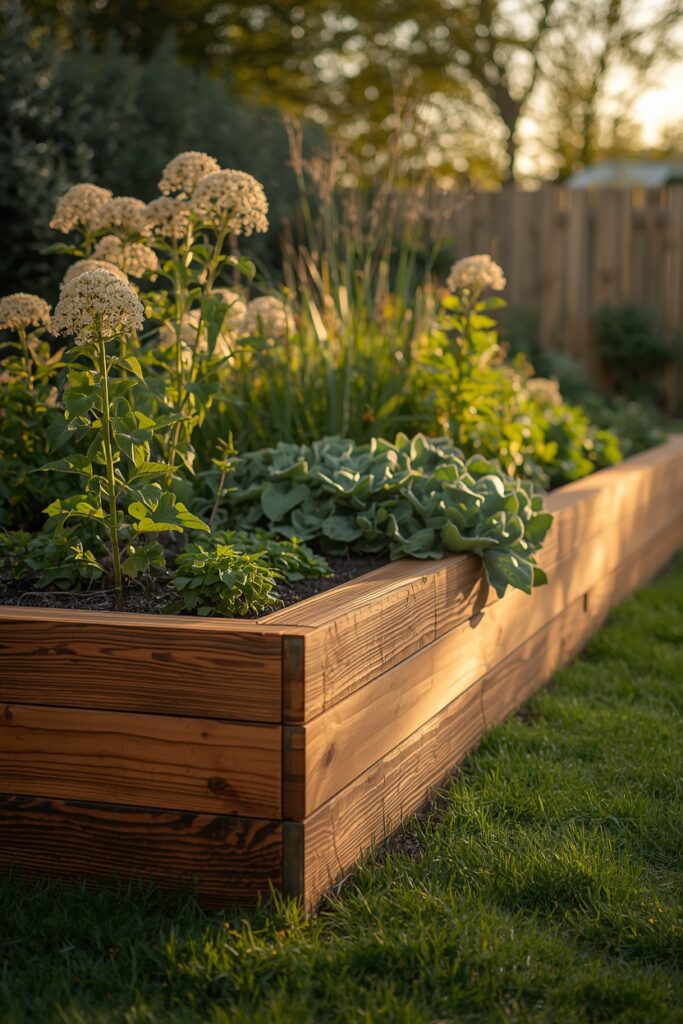
Timber sleepers — chunky reclaimed railway sleepers or new hardwood/softwood beams — create a bold, substantial edge that also functions as a low raised-bed wall. Lay them flat along the bed edge for a simple border, or stack two or three high to create a raised bed. Sleepers suit rustic, modern, and productive (vegetable) gardens equally, and their weight means they need no fixing for a single-layer border — gravity holds them. For stacked sleepers, drill and pin them with steel rods or timber screws for stability. Use hardwood or properly treated softwood rated for ground contact; untreated softwood rots within a few years in contact with soil. Reclaimed railway sleepers add character but may contain creosote — avoid these around edible crops and choose new food-safe treated timber for vegetable beds. Sleepers create straight lines and gentle curves but cannot follow tight curves.
7. Gabion Wall Edging
Gabions — wire cages filled with stone — create a contemporary, textural edge that doubles as a low retaining wall on sloped beds. Supplied as flat-pack wire baskets, they are assembled on site and filled with local stone, recycled aggregate, or decorative pebbles. A single-course gabion (roughly 30 cm tall) defines a bed edge with industrial-modern character; stacked gabions retain soil on a slope. The stone fill can be chosen to match or contrast the garden palette — warm sandstone for a natural look, dark slate for drama, or recycled concrete for a sustainable option. Gabions suit modern, industrial, and naturalistic gardens and require no mortar or foundation for low courses.
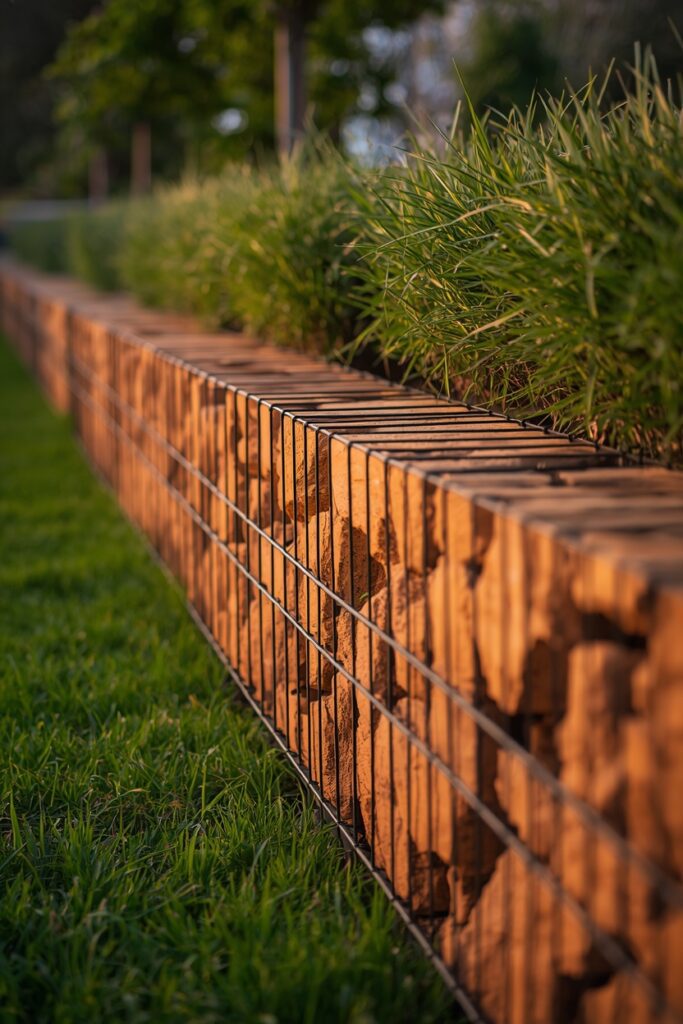
They are labour-intensive to fill (each basket holds a lot of stone) but virtually maintenance-free once built. The gaps between stones also provide habitat for beneficial insects, adding an ecological benefit.
8. Woven Willow or Hazel Hurdle Edge
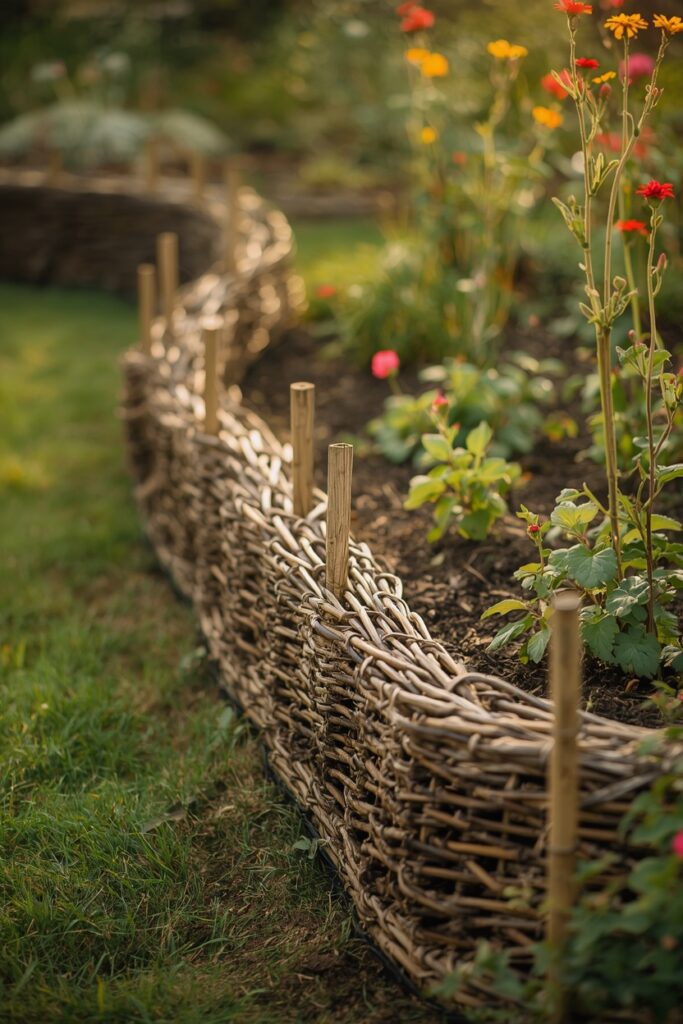
Woven willow or hazel — thin flexible branches woven horizontally between vertical stakes — creates a low rustic edging (15–30 cm tall) that suits cottage, wildlife, and productive gardens. The natural woven texture reads warm and handmade, and the material is fully biodegradable and sustainable. Install by driving the vertical stakes into the soil at 30–40 cm intervals and weaving the flexible rods between them. Pre-made willow hurdle panels are available for a faster installation.
This edging is inexpensive and easy to install as a weekend DIY project, but it is the least durable option on this list — willow lasts three to five years, hazel a little longer, before the material weathers and needs replacing. That impermanence suits gardeners who enjoy renewing their garden structure periodically and value the natural, low-cost, sustainable character over long-term permanence.
9. Concrete Edging Strip
A poured or precast concrete edge creates the most permanent, mower-friendly border available. A poured-in-place concrete curb (roughly 10 cm wide, set flush with the lawn) allows a mower wheel to run along the top, eliminating the need for separate strimming along the edge. Precast concrete edging blocks — available in plain gray, coloured, or stamped patterns that mimic brick or stone — install on a compacted base for a faster, DIY-friendly alternative to pouring. Concrete suits modern, formal, and low-maintenance gardens.
The material is inexpensive, extremely durable, and requires no maintenance, though it lacks the character of natural materials. For a softer look, choose a coloured or exposed-aggregate finish rather than plain gray.
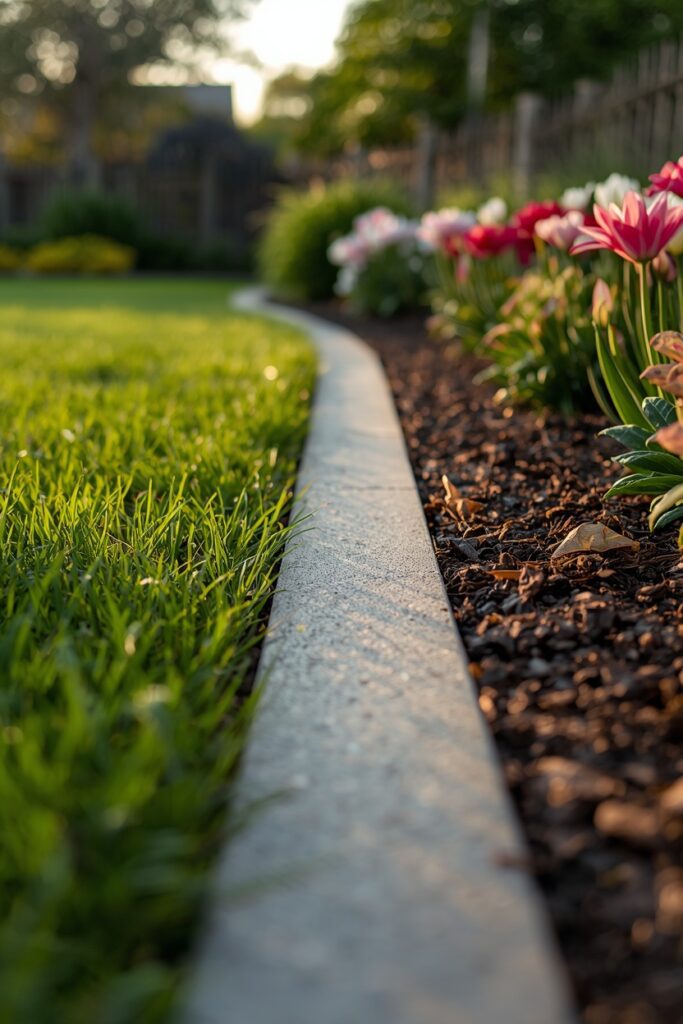
Poured concrete follows any curve; precast blocks suit straight runs and gentle curves. This is the practical choice for gardeners who prioritise low maintenance and clean mowing over decorative character.
10. Cobblestone Setts Border
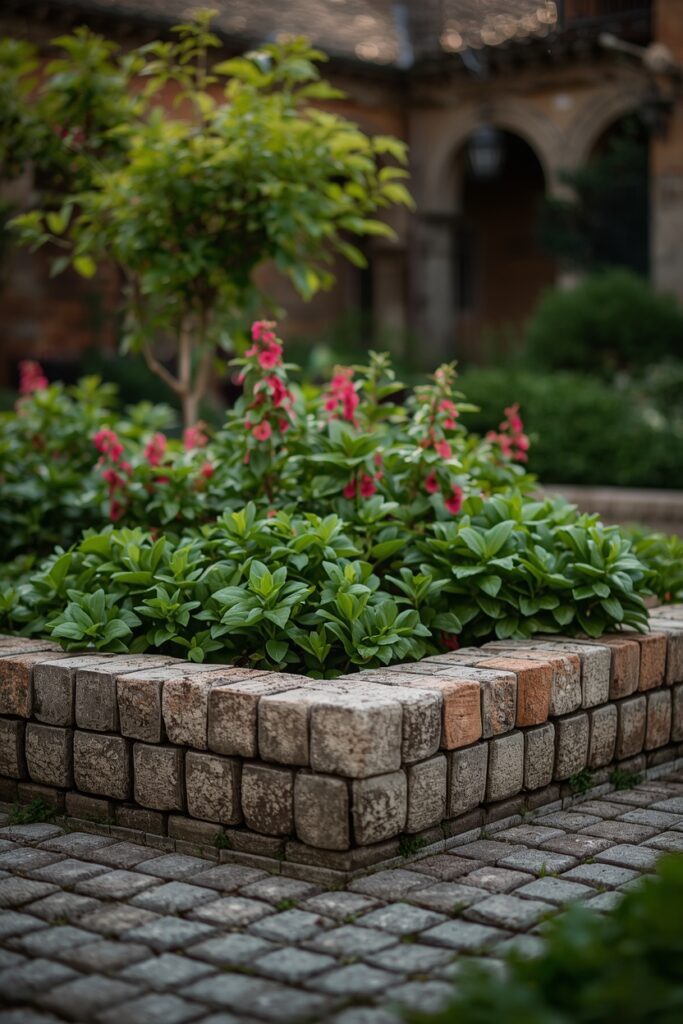
Cobblestone setts — small cubic granite or sandstone blocks (roughly 10 × 10 cm) — laid in a row or a double row create a robust, characterful edge with old-world charm. Set them into a sand or mortar bed, level with the lawn for a mowing edge or slightly raised to contain mulch. A single row of setts creates a neat border; a double or triple row creates a wider, cobbled mowing strip that also functions as a narrow path. Granite setts are extremely durable and develop a beautiful weathered patina; reclaimed setts add instant age and character. This edging suits traditional, cottage, and courtyard gardens and pairs especially well with brick paths and stone walls. The installation is labour-intensive (each sett is set individually) and the material cost is moderate to high, but the result lasts generations and only improves with age.
11. Terracotta Rope or Scalloped Edging
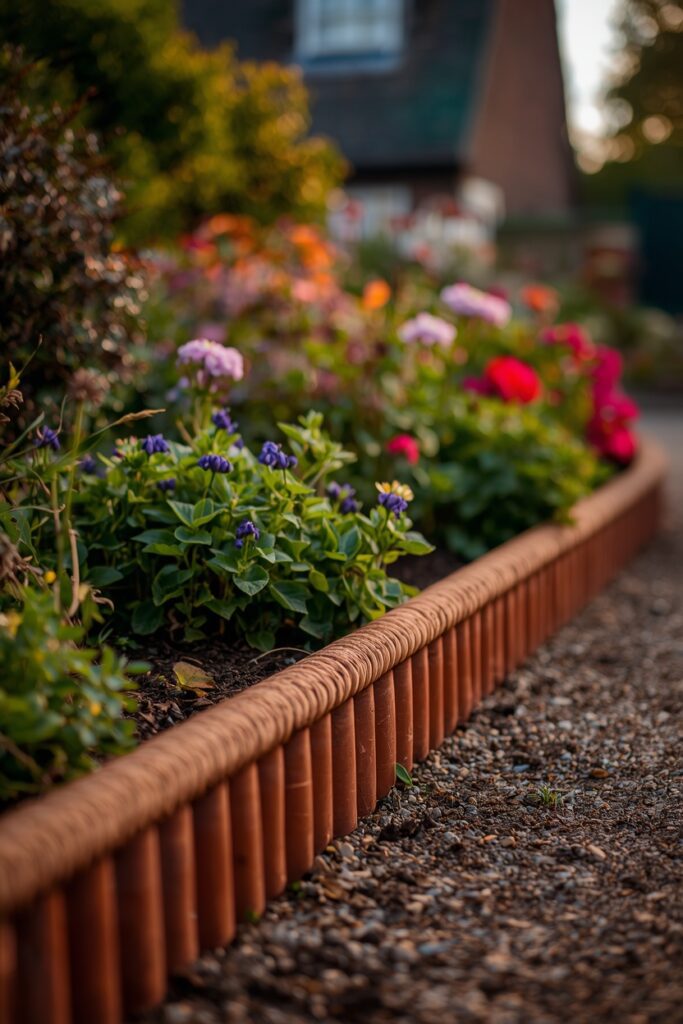
Traditional terracotta edging tiles — with a rope-twist top or a scalloped Victorian profile — create a decorative period border that suits cottage, Victorian, and traditional gardens. The tiles push into the soil along the bed edge, leaving the decorative top edge (roughly 10–15 cm) exposed. The warm terracotta colour complements green planting and brick paths beautifully, and the classic profile adds instant period character. Reclaimed Victorian rope-top tiles are prized for their patina; new terracotta and concrete reproductions offer the same look at lower cost.
This edging is purely decorative — it does not contain aggressive grass roots as effectively as steel or a deep trench — so pair it with a spade-cut trench behind it for beds bordering vigorous lawn. The terracotta can crack in hard frosts, so choose frost-rated tiles in cold climates.
12. Gravel Mowing Strip
A gravel strip — a narrow band of gravel or crushed stone set between the lawn and the bed, contained by a steel or timber edge on each side — creates a clean, low-maintenance transition that suppresses weeds and provides a mowing buffer. The strip (15–30 cm wide) allows a mower wheel to run along it without scalping the lawn, and it prevents grass from creeping into the bed. Lay a permeable membrane beneath the gravel to suppress weeds, and edge both sides with steel, timber, or brick to contain the loose stone. Choose a gravel colour that complements the garden: warm buff or golden gravel for traditional gardens, gray or slate for modern ones.
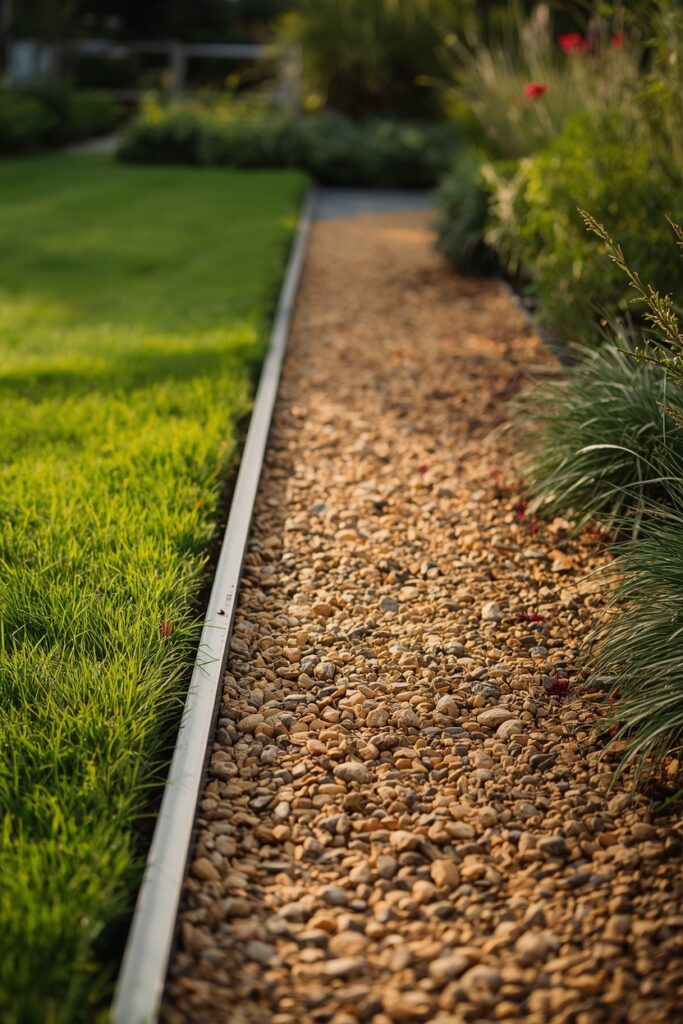
This edging suits gravel gardens, Mediterranean planting, and low-maintenance schemes. It requires occasional topping-up as the gravel settles and the odd weed removal, but it is far lower maintenance than a grass edge.
13. Log Roll or Timber Palisade Edging
Log roll — a run of small half-round timber posts wired together — creates a rustic, informal edge (10–30 cm tall) that suits woodland, cottage, and children’s gardens. Supplied in flexible rolls, it installs by digging a shallow trench, standing the roll in it, and backfilling to hold it upright. The rounded log tops read soft and natural, and the flexible roll follows curves easily.
A taller palisade version (individual pointed-top posts driven into the ground) creates a more substantial edge that also retains soil on a slightly raised bed. Choose timber rated for ground contact — untreated log roll rots within a few years. This edging is inexpensive and DIY-friendly, making it a popular budget choice, though it is less durable and less refined than stone or steel.
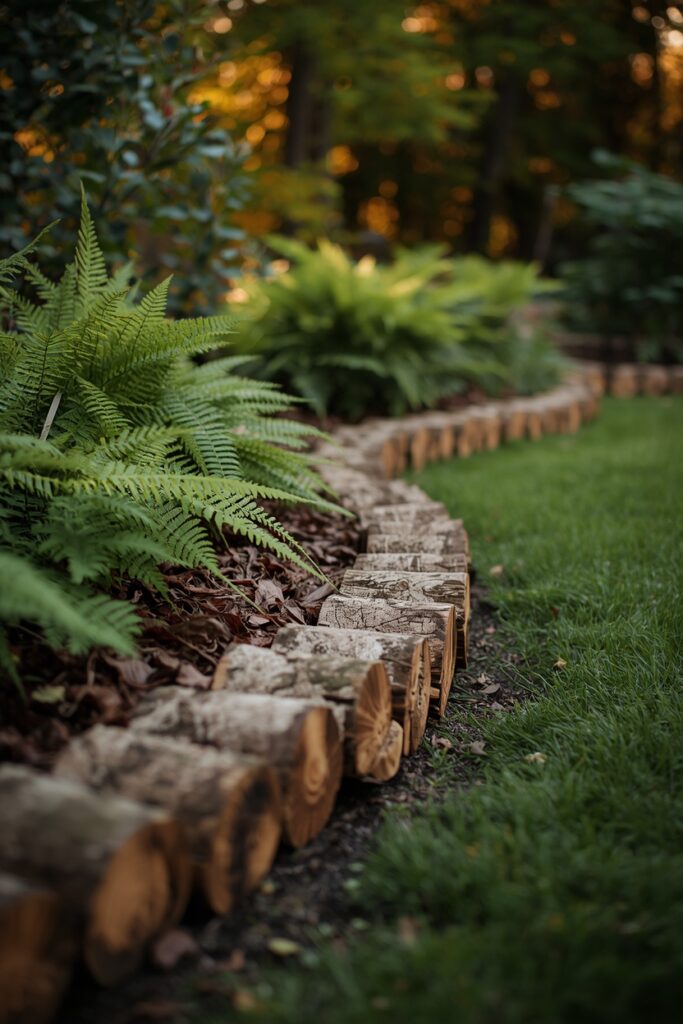
It suits informal gardens where the rustic character is an asset rather than a compromise.
14. Garden Edging Ideas With Recycled and Upcycled Materials
Upcycled materials — glass bottles set neck-down in a row, reclaimed roof tiles stood on edge, old terracotta pots half-buried in a line, or salvaged timber offcuts — create characterful, sustainable edging with zero material cost and a personal, storied quality. Wine bottles pushed base-up into the soil create a surprisingly durable and colourful edge that catches light; slate roof tiles set vertically create a dark, textural border; reclaimed bricks or broken paving laid in a mosaic edge use up leftover materials. This approach suits eclectic, cottage, and sustainable gardens and appeals to gardeners who value creativity and resourcefulness over uniformity. The trade-off is a less formal, more improvised appearance — upcycled edging reads charming in an informal garden but out of place in a formal one. Source materials from renovation waste, reclamation yards, and your own recycling to keep the cost at zero and the environmental impact positive.

15. Flexible Plastic or Composite Edging
Flexible plastic or composite edging — supplied in long rolls or interlocking strips — is the most affordable and easiest-to-install edging option, ideal for beginners and budget gardens. The strip (usually black or brown, 10–15 cm tall) installs by digging a shallow trench, positioning the strip along the bed line, and securing it with the supplied ground anchor stakes. Its flexibility allows it to follow tight curves that rigid materials cannot manage. Modern composite versions (recycled plastic) are more durable and UV-stable than older plastic, resisting the brittleness and fading that plagued earlier products. The top edge can be set flush with the lawn for mowing or slightly proud to contain mulch.
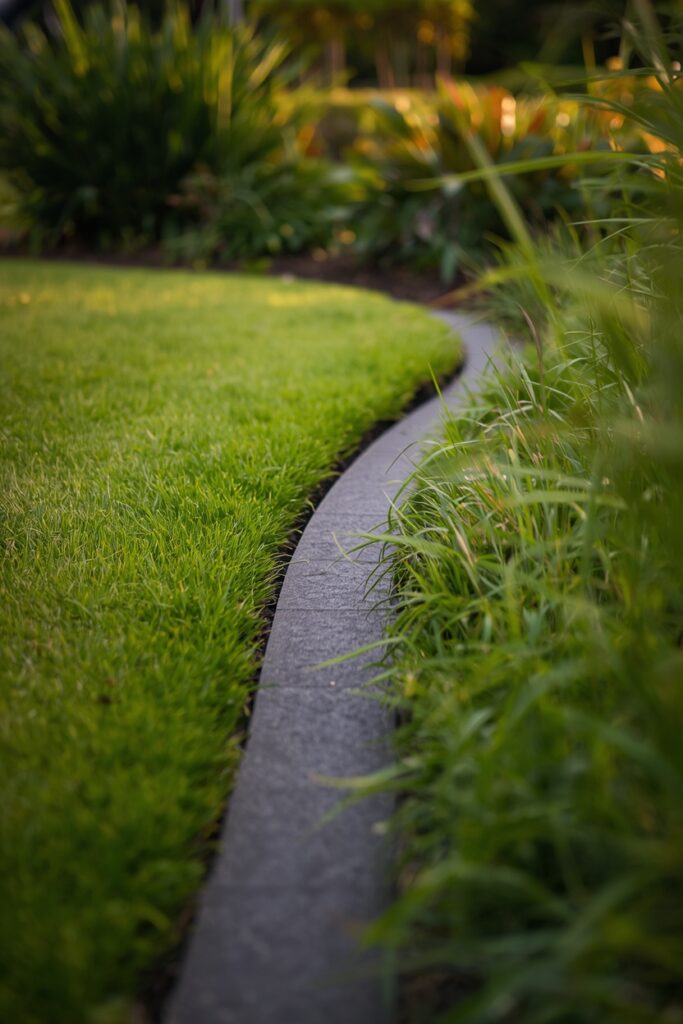
This edging is functional rather than decorative — it reads as a discreet dark line rather than a design feature — so it suits gardeners who want a practical grass barrier without a prominent visual border. It is the fastest installation on this list.
16. Chunky Rope Edging on Posts
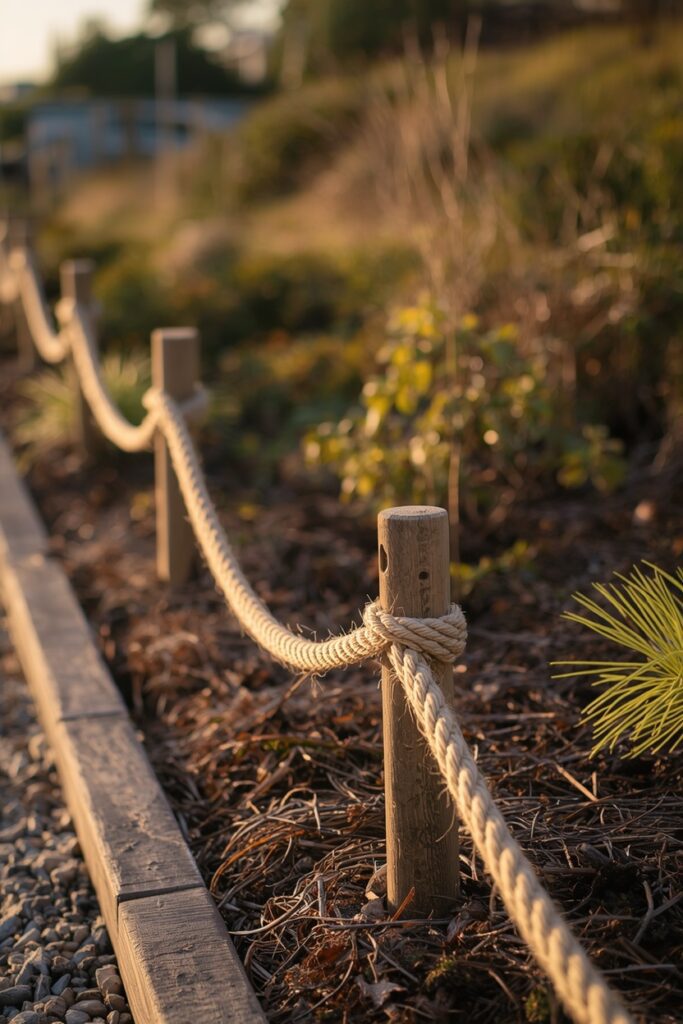
Thick natural or synthetic rope swagged between low wooden posts creates a nautical, cottage, or coastal-garden edge with a soft, decorative quality. Set short posts (30–40 cm tall) at 1–1.5 metre intervals along the bed edge and drape heavy rope between them in gentle swags. The rope defines the bed boundary visually without creating a solid physical barrier — it reads as a decorative fence rather than a mowing edge. Natural manila or hemp rope suits cottage and coastal gardens; synthetic rope lasts longer outdoors and resists rot. This edging suits informal borders, coastal-themed gardens, and beds you want to define without a hard permanent structure.
It does not contain grass or mulch, so it is purely decorative — pair it with a spade-cut trench for a functional grass barrier. The posts and rope are inexpensive and the installation is a simple weekend project.
17. Raised Sleeper Bed With Integrated Seating
Building the bed edge up into a raised timber wall with a wide top cap creates edging that doubles as informal garden seating. Use chunky sleepers or a timber-framed structure with a wide (30–40 cm) capping board along the top edge, positioned at a comfortable sitting height (40–45 cm). The raised bed contains the planting and mulch, retains soil, and provides a perch for garden work, contemplation, or entertaining.
This approach suits modern, family, and productive gardens where the edge earns its space by serving multiple functions. The wide cap can be a smooth planed timber for comfortable sitting or a matching sleeper for a rustic look. Line the interior with a waterproof membrane to protect the timber from constant soil moisture and extend its life.
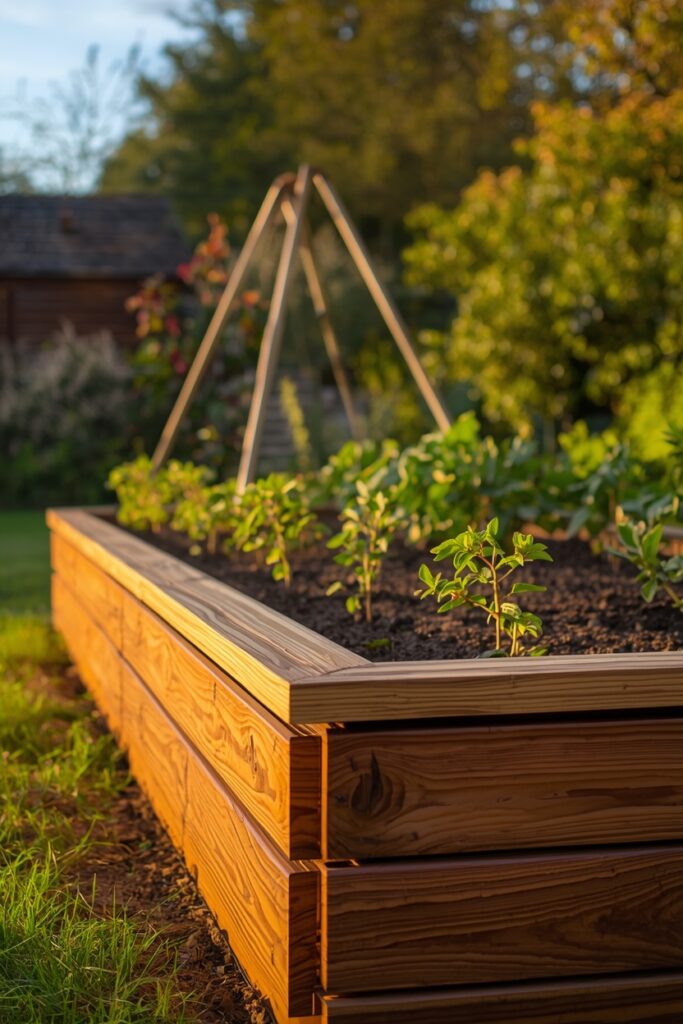
This is a more substantial build than simple edging, but the dual function — border plus seating — justifies the extra effort in a garden used for relaxing and entertaining.
18. Slate or Stone Chip Vertical Edge
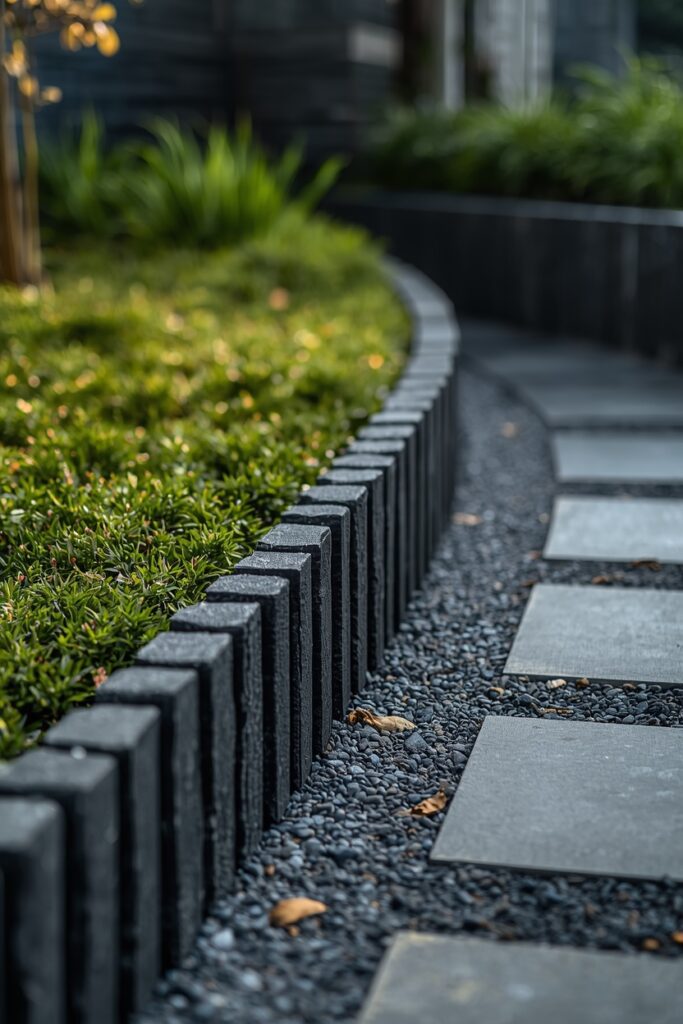
Thin pieces of slate, stone, or roof tile set vertically into the soil — packed tightly edge to edge — create a dark, textural, contemporary border with a strong linear quality. The vertical slate pieces (roughly 15–20 cm tall, buried halfway) form a solid dark line that contrasts beautifully with green planting and gravel. This edging suits modern, Japanese-inspired, and slate-garden schemes. The dark colour recedes visually, creating a subtle but crisp definition between zones. Source reclaimed roof slate or buy slate off-cuts from a stone supplier. The installation is labour-intensive — each piece is set individually into a narrow trench and packed with soil or fine gravel to hold it upright — but the result is durable and distinctive. The vertical slate also complements slate mulch and slate paving, creating a cohesive material palette across the garden.
19. Flint or Pebble Mosaic Edge
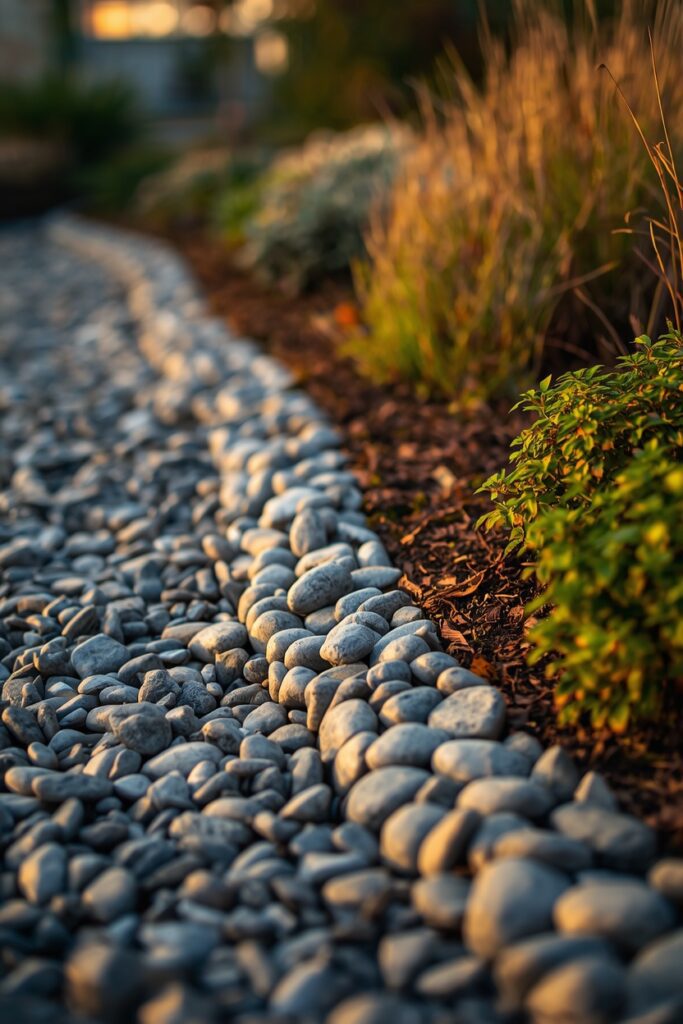
Flints or pebbles set into a mortar bed — either in a simple row or a decorative mosaic pattern — create a characterful, regional edge that suits cottage, coastal, and traditional gardens. In flint-rich regions, knapped or whole flints set on edge create a distinctive local border; in coastal areas, water-worn pebbles create a beach-inspired edge. The stones are set into a concrete or mortar footing for permanence, which also prevents grass from creeping through. A mosaic pattern — pebbles arranged in swirls, bands, or geometric designs — turns the edge into a decorative feature in its own right, though it is labour-intensive to create. This edging is highly durable and develops character with age.
It suits gardeners who want a border with regional identity and are willing to invest the time in setting each stone into mortar. Pair with flint or stone walls for a cohesive traditional garden palette.
20. Metal Hoop or Victorian Wire Edging
Traditional metal hoop edging — low arched wire panels that push into the soil along the bed edge — creates a delicate, decorative Victorian-style border that suits cottage, period, and romantic gardens. The looped or scrolled wire panels (usually 15–25 cm tall) provide a light, ornamental boundary that reads as a miniature fence rather than a solid edge. Available in painted steel (black or green) or galvanised finishes, the panels interlock to follow straight runs and gentle curves.
This edging is purely decorative — it defines the bed edge visually and provides a light barrier against sprawling plants flopping onto the lawn, but it does not contain grass roots or mulch. It suits gardeners who want a period-appropriate, ornamental border for a cottage or Victorian-style garden.
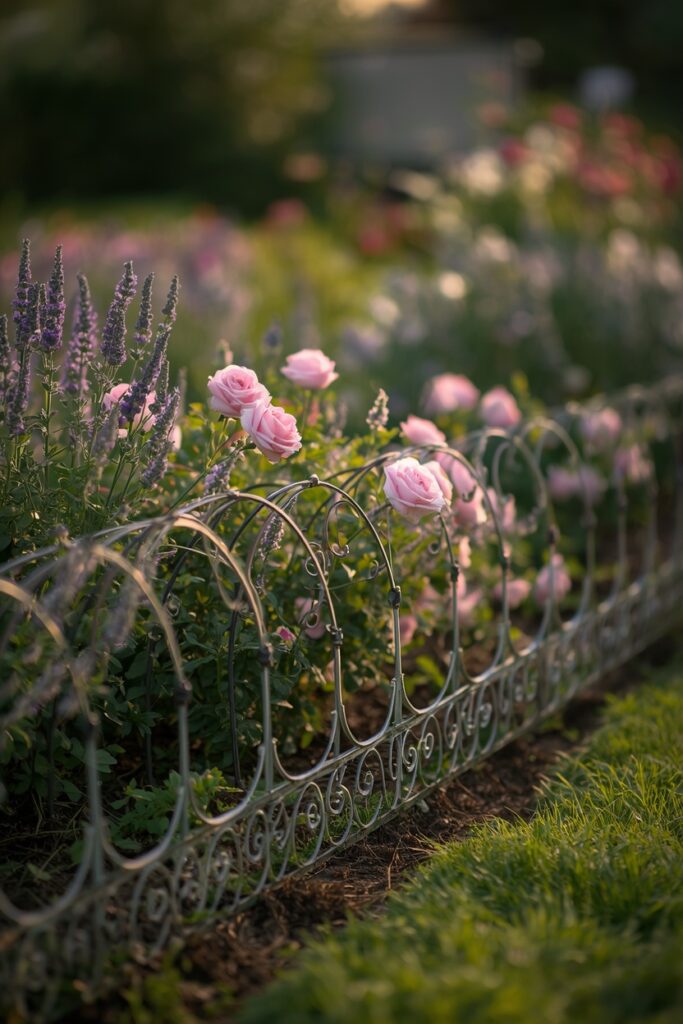
Pair with billowing cottage planting (roses, lavender, catmint) that spills gently against the low hoops.
21. Garden Edging Ideas That Combine Materials
The most sophisticated gardens often combine two edging materials for both function and beauty — a steel edge for the crisp grass barrier paired with a decorative material for visual character. For example, a Corten steel strip driven flush with the lawn contains the grass and creates the clean line, while a row of cobbles or a gravel strip behind it adds decorative width and a mowing buffer. Or a spade-cut trench (the functional grass barrier) is backed by a low boxwood hedge (the decorative structure). Combining materials lets each element do what it does best — the hard edge handles the practical grass containment while the softer or more decorative element provides the character.
This layered approach suits gardeners who want both a low-maintenance functional edge and a beautiful decorative border, and it reads as considered, professional garden design. Plan the combination so the materials share a colour or tonal family for cohesion.
Where I’d Start if I Only Did Three Things
If I only did three things, I would start with a clean spade-cut trench along every bed edge — it costs nothing, takes an afternoon, and instantly makes the whole garden look cared-for. Second, I would choose one permanent edging material for the highest-visibility beds (the ones near the house or the main path) and install it properly, because a crisp permanent edge there sets the tone for the whole garden. Third, I would match the edging material to the garden style — steel and gravel for modern, brick and stone for traditional, willow and log roll for cottage — so the border reinforces the garden’s character rather than fighting it.
Frequently Asked Questions
What garden edging ideas are best for a beginner on a budget?
A spade-cut trench costs nothing and delivers the biggest instant improvement. Flexible composite or plastic edging is the cheapest material option and the easiest to install, following curves without special tools. Log roll and willow hurdle are inexpensive natural options for cottage-style gardens. All four are achievable as weekend DIY projects with no masonry skills.
Which garden edging stops grass from spreading into beds?
A deep physical barrier works best: steel edging driven 10–15 cm into the soil, a deep spade-cut trench, or a concrete curb all block grass roots and runners. Decorative edgings like terracotta tiles or wire hoops sit on the surface and do not stop underground grass spread — pair them with a trench behind for a functional barrier.
What edging works for curved garden beds?
Flexible materials follow curves best: flexible steel or Corten strip, composite plastic edging, log roll, and willow hurdle all bend to match curved bed lines. A spade-cut trench follows any curve. Rigid materials like sleepers and large stones suit straight runs and gentle curves but cannot manage tight bends.
How deep should garden edging be installed?
For a grass barrier, the edging should extend 10–15 cm below the soil surface to block grass roots and runners. Steel and plastic strips are typically driven to this depth. Surface-laid decorative edgings (terracotta, wire hoops) sit shallower and serve a visual rather than a barrier function. A spade-cut trench should be 10–15 cm deep for effective grass containment.
Final Thoughts
The best garden edging ideas match the material to three things: your garden’s style, your budget, and how much maintenance you are willing to accept. A free spade-cut trench transforms a garden in an afternoon; a permanent steel, stone, or brick edge sets a crisp line for decades. Whether you choose the simplest trench or a combined steel-and-cobble border, a defined edge is the single feature that makes an entire garden read as intentional and cared-for.