
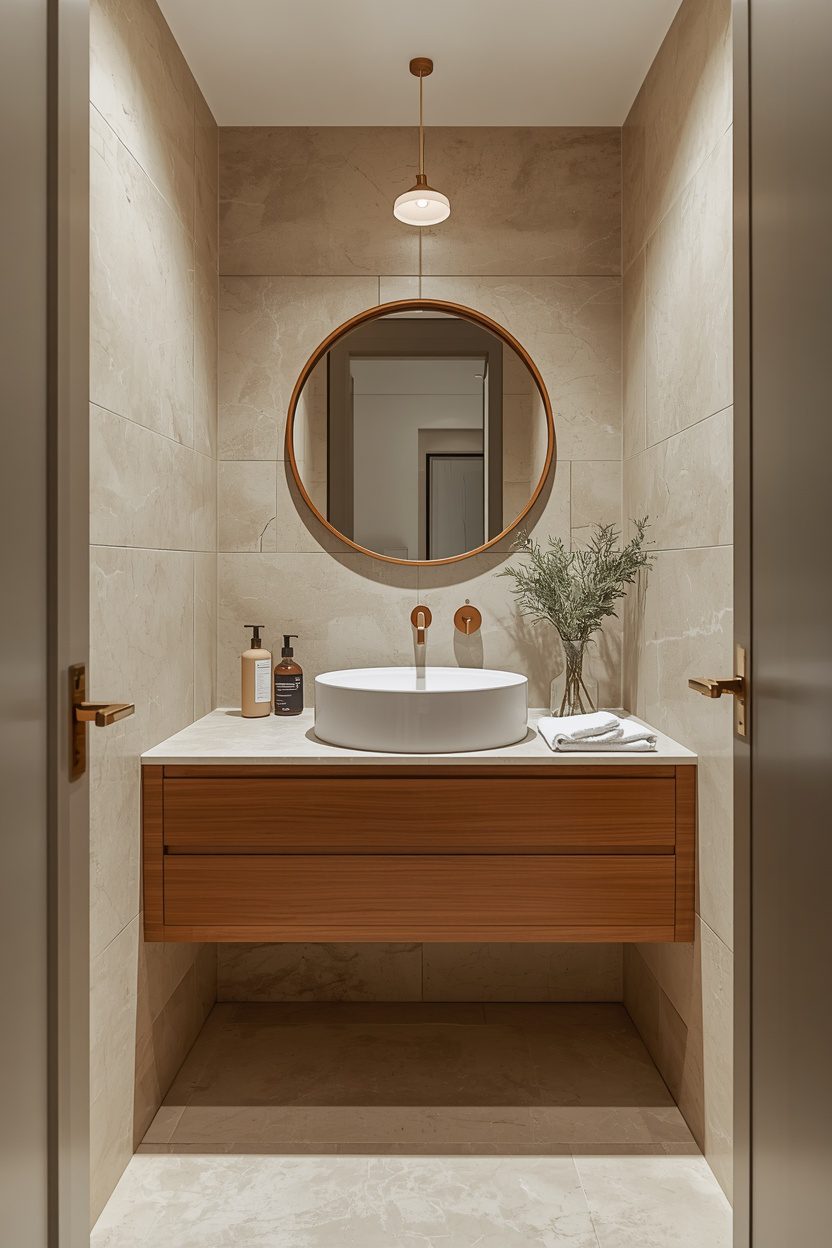
A small bathroom and a cramped bathroom are two different things — the first is a matter of square metres, the second is a matter of design. The reason so many compact bathrooms feel cramped has less to do with their dimensions and more to do with oversized fixtures, dark surfaces, and floor clutter that shrinks the visual space further. These 19 small bathroom ideas address that gap directly, with layouts built for rooms under 5 square metres and material choices that push the walls outward optically.
Each idea below includes fixture placement, tile selection, colour direction, and the optical tricks — mirrors, glass, floating furniture — that genuinely expand a small bathroom’s perceived volume. I have flagged trade-offs honestly: frameless glass shower screens look stunning but require daily wiping in hard-water areas, wall-hung toilets save floor space but need a concealed cistern cavity in the wall. Read the full idea before committing and adapt to your plumbing configuration.
1. Floating Vanity With Large-Format Wall Tile
Mounting the vanity off the floor — typically 15–20 cm of clearance — exposes the tile beneath it and creates the strongest visual cue that a small bathroom can offer: visible floor equals perceived space. Choose a vanity 60–80 cm wide in warm wood or matte white with a thin-profile stone or solid-surface top. Pair it with large-format wall tile (300 × 600 mm or larger) in a warm white or pale stone look running floor to ceiling on at least the wet walls. Large tiles mean fewer grout lines, which reduces visual noise and makes the surfaces read as larger planes.
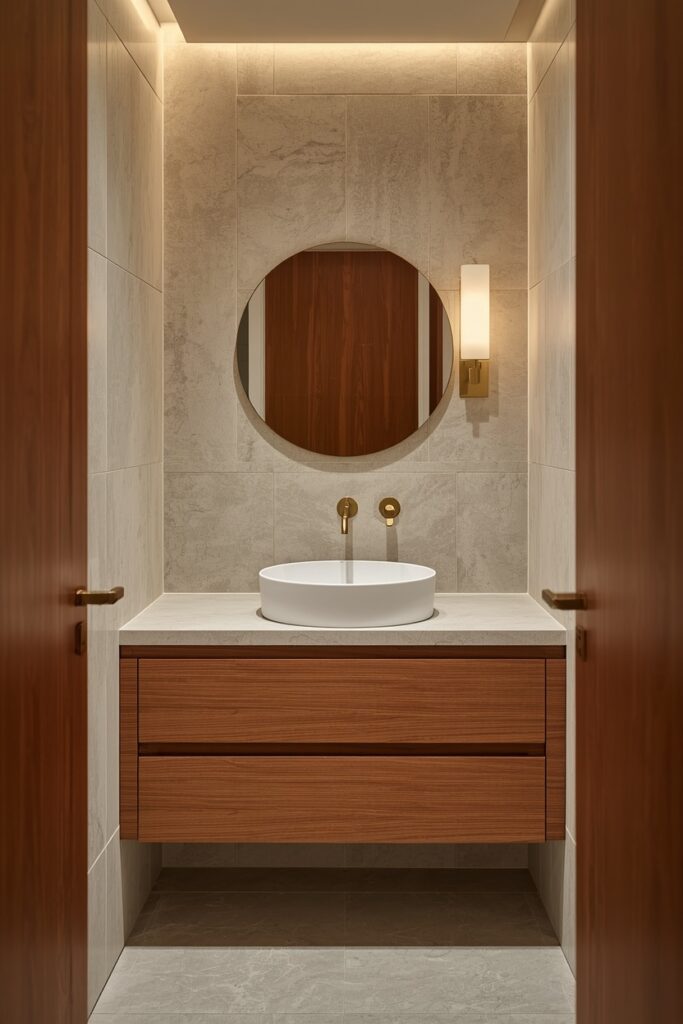
A round mirror above the vanity — 60 cm diameter — softens the rectangular geometry and reflects light from the opposite wall or window. Mount a single wall sconce or an LED mirror for task lighting at 3000–4000K so grooming light stays accurate.
2. Walk-In Wet Room With Linear Drain
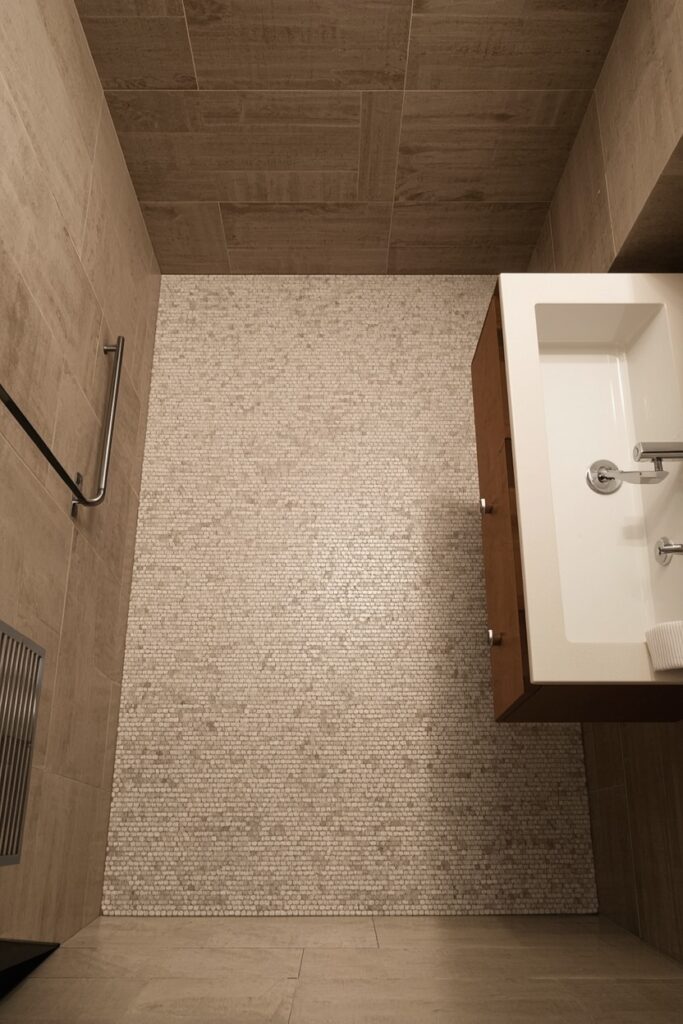
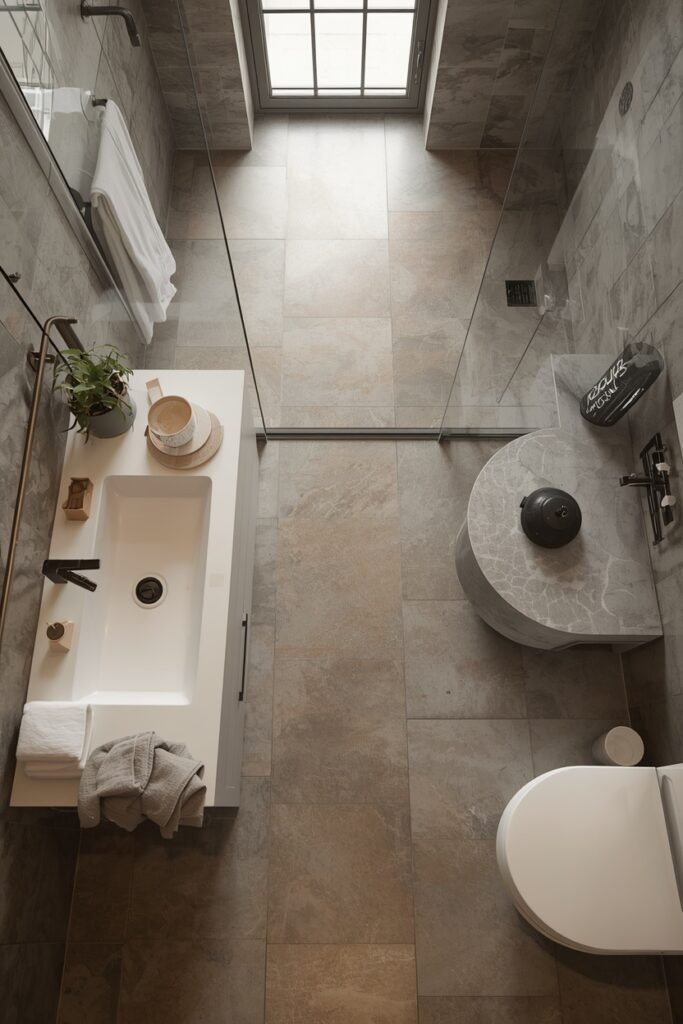
Eliminating the shower tray or tub entirely and grading the entire floor toward a linear drain turns the bathroom into a wet room — and in a space under 4 square metres, this is the single most effective way to gain usable area. The floor tile should be a small-format mosaic or a textured porcelain with an R11 slip rating, sloped gently toward the drain. A single frameless glass panel — fixed, not hinged — separates the shower zone from the vanity without creating a visual wall. Waterproofing is critical: a tanked membrane system under the tile is mandatory, and the drainage slope should be at least 1.5 percent toward the drain channel.
Walls get the same tile treatment — floor to ceiling — for a seamless, watertight enclosure. This setup costs more in waterproofing and floor preparation than a standard shower tray installation, but the spatial payoff in a tiny bathroom is dramatic.
3. Wall-Hung Toilet for Maximum Floor Space
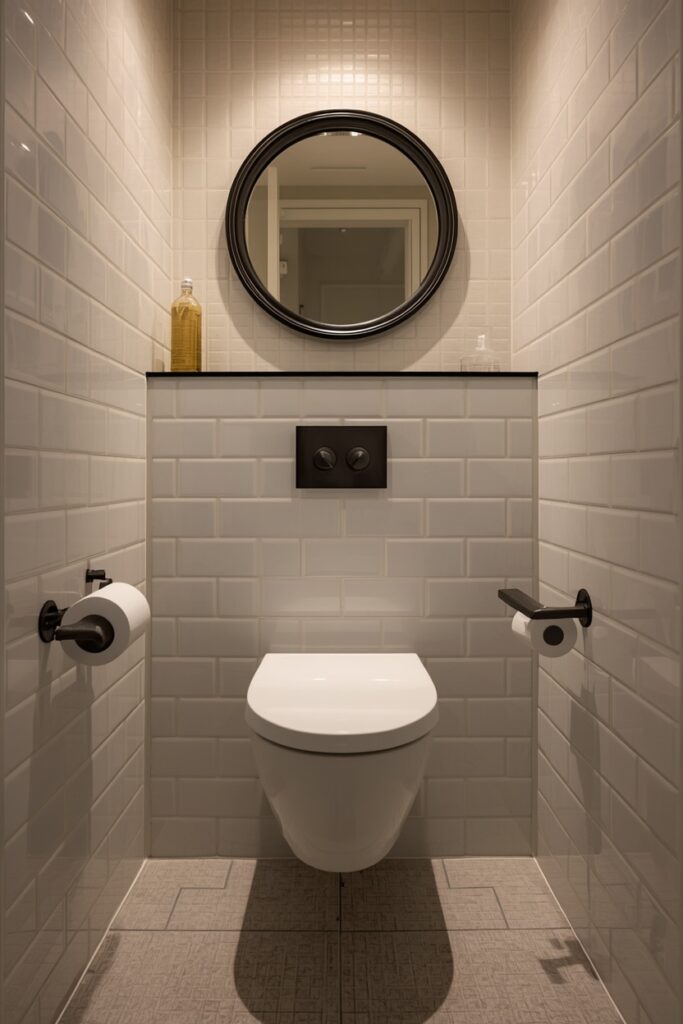
A wall-hung toilet — mounted to the wall with a concealed cistern hidden behind a stud wall or inside a duct boxing — frees up to 15 cm of floor depth compared to a standard close-coupled toilet. The visual effect is similar to a floating vanity: exposed floor beneath the bowl makes the room read larger. The concealed cistern requires a cavity of roughly 20 cm depth and 50 cm width behind the wall, which can be built out as a half-height ledge that doubles as a display shelf or storage surface above.
Choose a rimless bowl for easier cleaning, and position it so the centre line is at least 40 cm from any side wall to meet plumbing codes. The trade-off is cost and complexity: wall-hung installation requires a steel carrier frame bolted to the wall studs, plus a skilled plumber for the concealed cistern.
However, in bathrooms under 3 square metres, the floor space reclaimed justifies the investment.
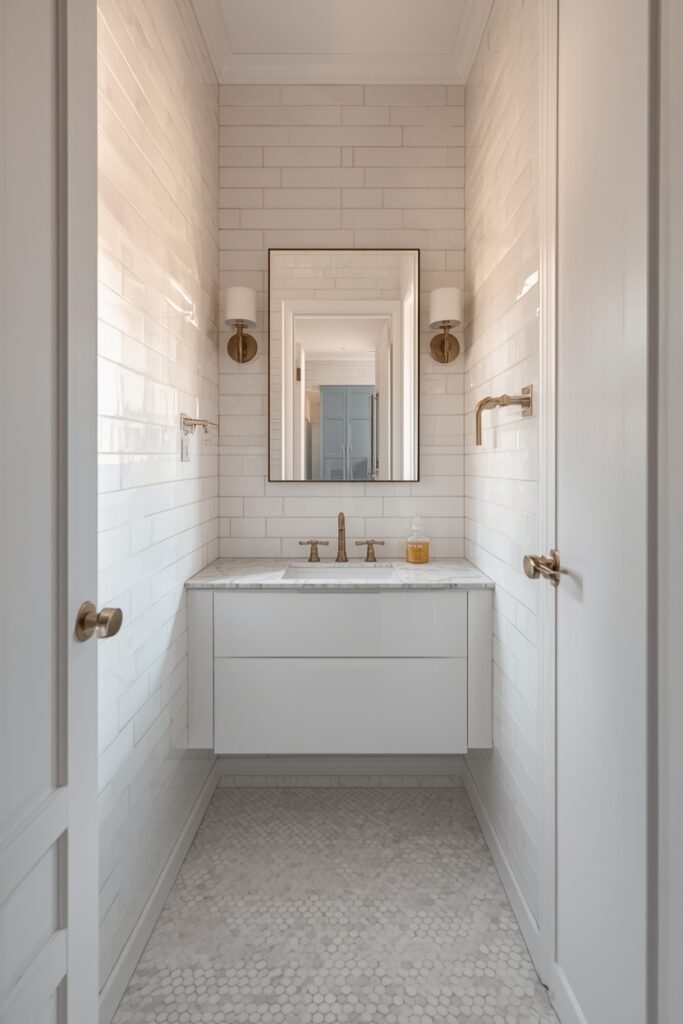
4. All-White Bathroom With Textural Variety
An all-white bathroom in a small space maximises reflected light and creates the cleanest visual expansion. The key to avoiding a clinical look is varying the texture across every white surface: glossy subway tile on the walls, matte hexagonal tile on the floor, a honed marble vanity top, a fluffy white towel on a matte-white hook, and a ribbed ceramic soap dish. Each surface is white, but each catches light differently. The vanity should be floating, in either matte white or very light oak, to keep the continuous pale tone without reading as a hospital. A brass or matte-black faucet and matching hardware provide the only non-white accent — metallic warmth against the white prevents the room from tipping cold. One honest limitation: an all-white bathroom shows every water spot, hair, and smudge immediately, so it rewards daily wiping and suits people willing to maintain the clean lines.
5. Dark and Dramatic Compact Bathroom
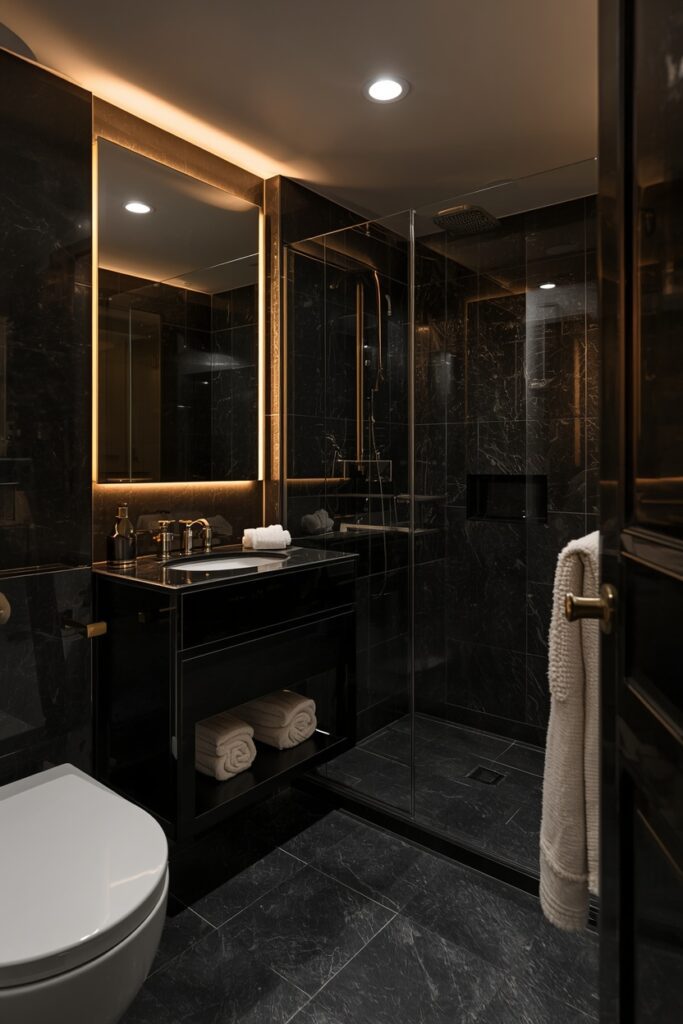
Going dark in a small bathroom sounds wrong — but the right dark creates depth, not claustrophobia.
A deep charcoal or dark forest green on the walls, paired with matching floor tile, wraps a small bathroom in atmosphere and eliminates the visual boundaries that light walls create. The trick is reflective surfaces: a large mirror (the bigger the better), glossy tile rather than matte, and metallic hardware in brass or gold that catches and returns light at multiple points. The vanity should be floating and dark-toned or walnut to blend with the walls. Keep the ceiling white or very pale to maintain vertical relief. A frameless glass shower screen lets the dark tile run uninterrupted.
Towels in cream or white provide the necessary contrast. This approach needs strong lighting: an LED mirror and at least one ceiling downlight or recessed spot to compensate for the light the dark surfaces absorb.
6. Small Bathroom Ideas With Floor-to-Ceiling Mirror
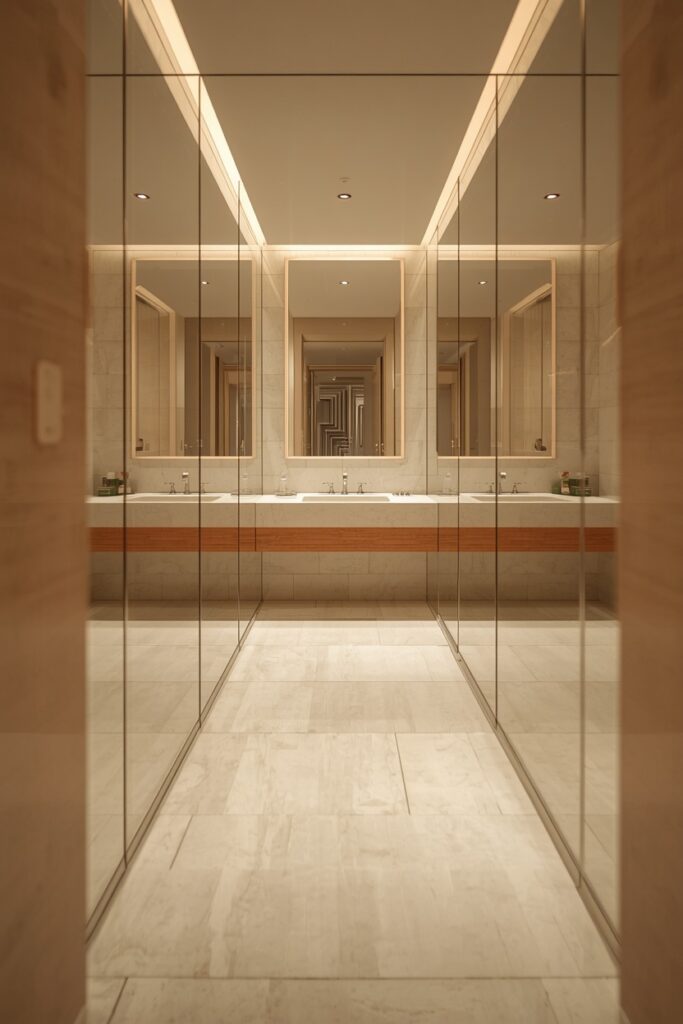
A floor-to-ceiling mirror on one wall — typically the wall above the vanity or the wall opposite the entry — doubles the visual depth of a small bathroom more effectively than any other single trick. Use a frameless mirror bonded directly to the wall for the cleanest look, or a slim-framed panel if you prefer a clean edge. The mirror should cover as much of the wall as possible, extending from countertop height to the ceiling line at minimum, or from floor to ceiling for maximum impact.
Pair it with light-coloured tile and a floating vanity so the reflection shows an uncluttered, airy space. One practical note: mirror walls in a shower zone or directly opposite the shower will fog constantly unless you install a heated demister pad behind the glass — a small electrical mat that keeps the mirror surface above the dew point.
Outside the wet zone, standard mirror glass is fine.
7. Pocket Door to Reclaim Swing Space
A standard bathroom door swings inward and steals roughly 0.7 square metres of usable floor space — in a bathroom under 4 square metres, that is a significant percentage. A pocket door slides into the wall cavity, reclaiming that space entirely. The conversion requires a wall cavity wide enough to house the door panel (standard 762 mm or 838 mm) and the wall must not contain plumbing or electrical runs in the pocket zone. Choose a flush-panel door in a matching wall colour for a seamless look when closed, and install a recessed pull handle rather than a protruding knob.
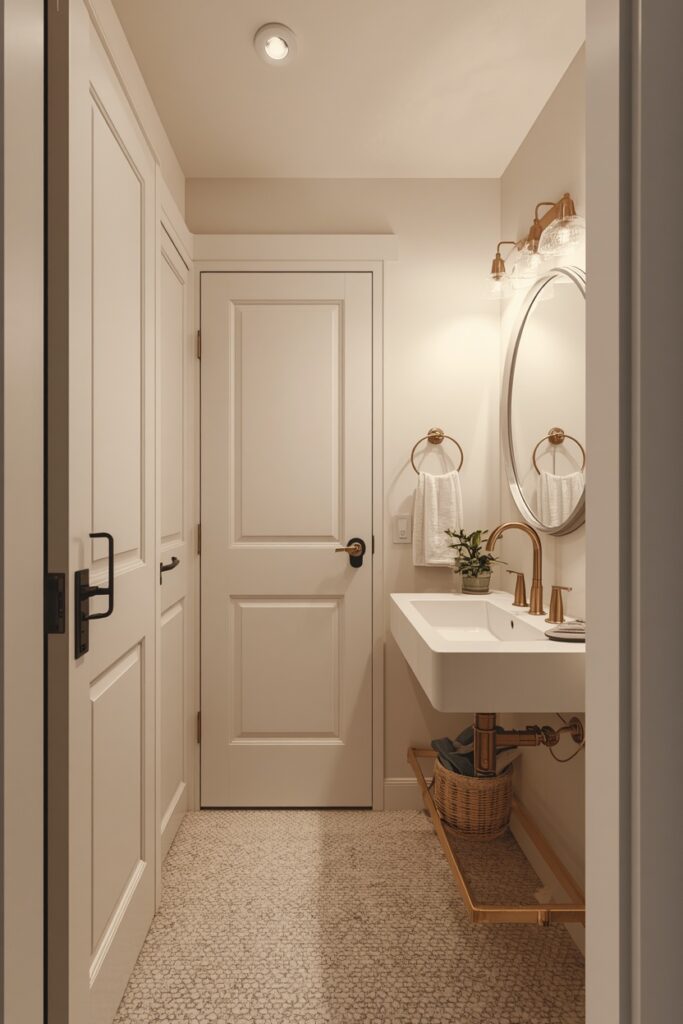
The cost is moderate — roughly equivalent to a standard door plus the cavity framing — and the spatial payoff is immediate. Pair with a compact layout that positions the vanity or storage in the area where the door arc would have been.
8. Recessed Niche Storage in Shower Walls
A recessed niche — a shelf carved into the wall between studs — provides shampoo and soap storage without protruding into the shower space. Standard stud spacing allows a niche roughly 35 cm wide and 30 cm tall, with a depth of 8–10 cm. Line the niche with the same tile as the surrounding wall for a seamless look, or use a contrasting tile — a marble insert or a metallic mosaic — to create a design feature. Position the niche at a comfortable standing height (roughly 120–140 cm from the floor) and consider a second smaller niche at lower height for items used while seated. Waterproofing inside the niche is critical: the back, sides, and bottom shelf must be fully membraned before tiling. A slight slope on the bottom shelf — 2 to 3 degrees toward the shower — prevents water from pooling. This is a build-stage decision: adding a niche during a tile renovation is straightforward, but retrofitting one into an existing tiled wall is significantly more invasive.
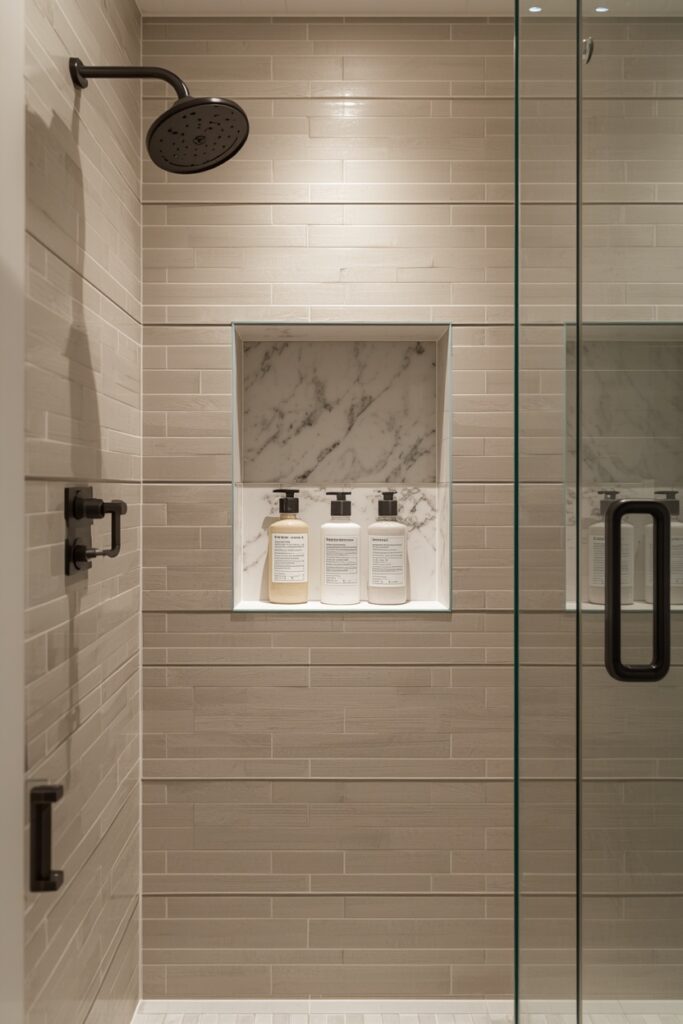
9. Corner Sink for Ultra-Compact Bathrooms
In bathrooms under 2.5 square metres — powder rooms, under-stair bathrooms, or narrow ensuites — a corner-mounted sink frees the facing wall for a toilet or door swing. Choose a wall-mounted corner basin (roughly 40 × 40 cm) in white ceramic, paired with a small round mirror and a single wall-mounted faucet to minimise the depth the fixture takes from the room. Below the sink, a small open shelf or a petite pedestal keeps cleaning supplies accessible without a full vanity cabinet. Pair with a wall-hung toilet on the adjacent wall to keep the floor completely visible.
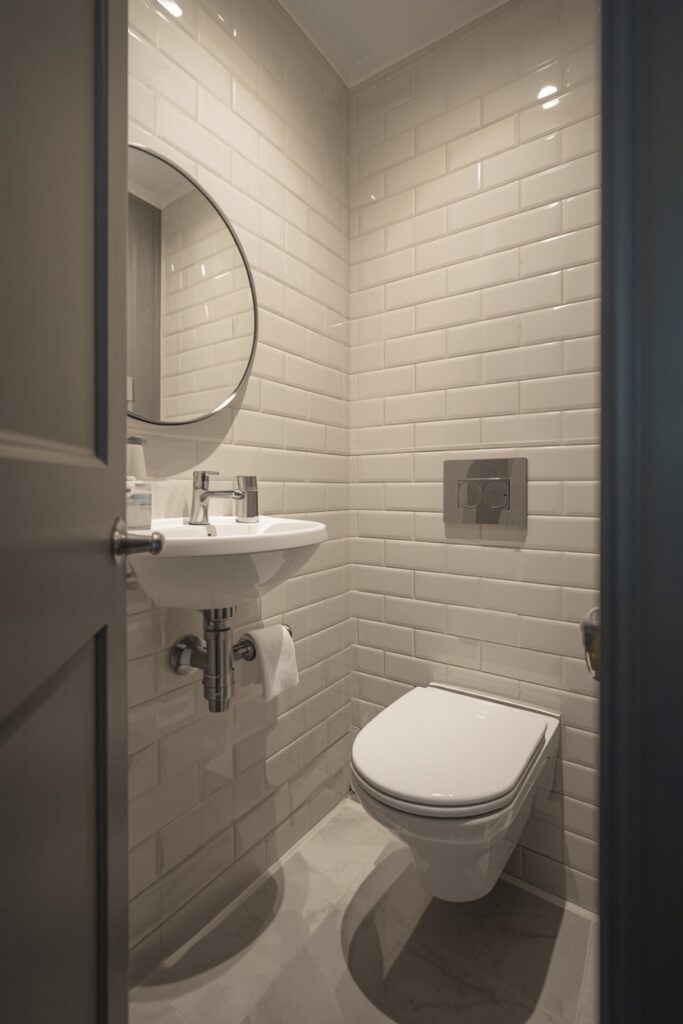
Tile the walls in a light, glossy surface — white subway or a pale zellige — to reflect maximum light into what is inherently a dim, small space. One trade-off: corner sinks have minimal counter space, so wall-mounted accessories — a soap dish, a toothbrush holder, a small shelf — are essential to keep the surface functional.
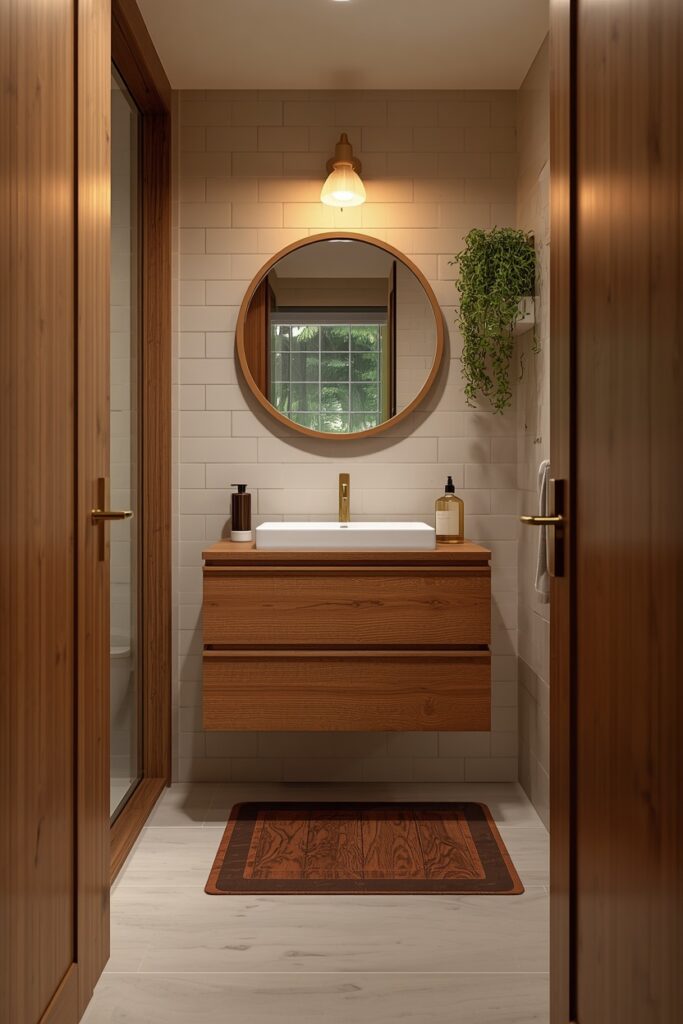
10. Warm Wood Accents in a Compact Bathroom
Wood tones — on a vanity, a mirror frame, a shelf, or bath accessories — counteract the coldness that tile and ceramic can create in a small bathroom. Choose a floating timber vanity in warm oak, walnut, or teak with a sealed coating rated for wet environments. Pair it with white or pale gray wall tile to let the timber stand out. A matching wood-framed round mirror above the vanity and a small teak bath mat on the floor extend the warm thread. Keep the wood to two or three elements — overdoing timber in a wet environment creates maintenance problems and visual heaviness.
The vanity must be sealed with a marine-grade or polyurethane finish to resist water damage; unsealed or wax-coated timber will deteriorate in a humid bathroom within a year. Wall tile in a warm white with a slight cream undertone coordinates better with timber than a cool blue-white, which can make the wood look out of place.
11. Compact Freestanding Tub for Tight Layouts
A freestanding tub in a small bathroom seems contradictory, but compact models — 1300 to 1500 mm long, roughly 700 mm wide — exist specifically for this purpose. The visual impact of a freestanding tub in a tight space is outsized: it reads as a luxury feature and creates the impression that the room is generous enough to accommodate one. Position it against the shortest wall with the drain end nearest the plumbing stack, and pair it with a wall-mounted faucet to save the bulk of a deck-mounted tap.
The floor beneath and around the tub should be fully tiled with waterproofing, as freestanding tubs splash more than built-in models. Skip the shower curtain rail — use the tub for bathing only and provide a separate walk-in shower or wet-room zone for daily washing.
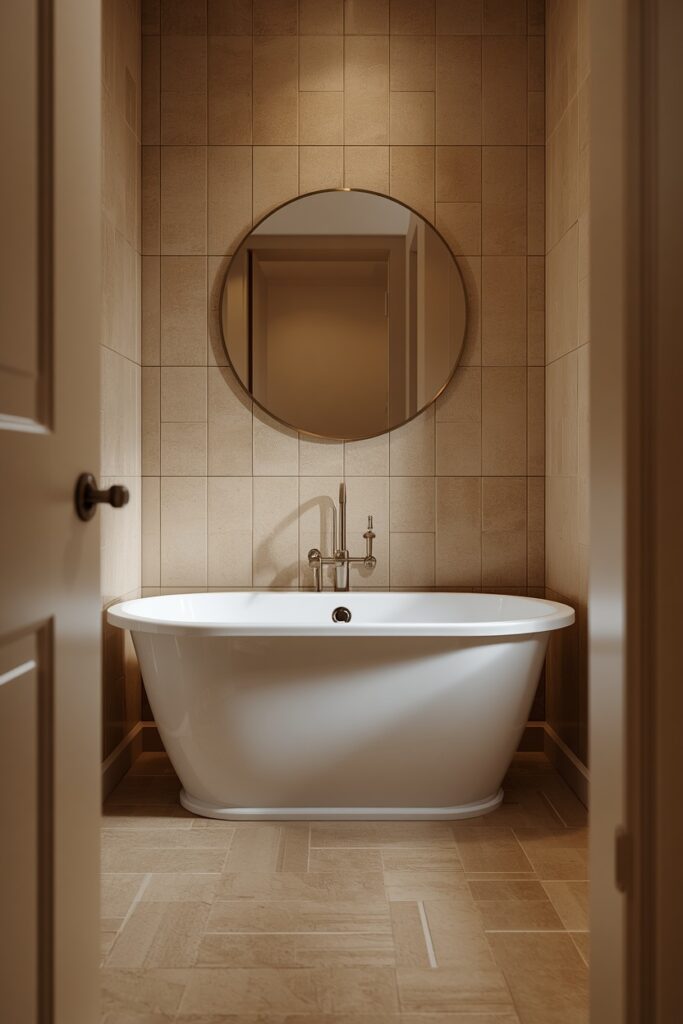
One caveat: compact tubs are shallow, so they suit soaking rather than full-immersion bathing.
12. Continuous Floor Tile From Bathroom to Shower
Running the same floor tile from the main bathroom area straight into the shower — with no threshold, no change in material, and no shower tray — creates a visual continuity that makes the room read as one unbroken space. This is the wet-room principle applied to the floor alone, and it requires the same waterproofing attention: a full tanked membrane under the tile, a gentle drainage slope toward the shower zone, and a linear or point drain set flush with the tile surface. Use a porcelain tile with an R11 slip rating in a 300 × 300 mm or larger format, and keep the grout colour matched to the tile. A frameless glass panel at the shower boundary contains the water without breaking the visual line. This approach suits bathrooms that are wide enough to separate the dry and wet zones with a glass panel but too small to accommodate a full separate shower enclosure.
13. Small Bathroom Ideas With Bold Patterned Floor
A bold patterned floor tile — geometric encaustic, a Moroccan star, or a graphic black-and-white check — gives a small bathroom more personality per square metre than any other single surface. Because the floor area is small, even a labour-intensive pattern like encaustic cement tile remains affordable: you are tiling perhaps 2 to 3 square metres rather than an entire kitchen floor. Keep the walls plain and light — white subway, large-format pale stone, or simple painted plaster — so the floor pattern is the star. A floating vanity in light timber or matte white lets the pattern read beneath it. Grout should match the dominant background tone of the tile so the pattern pops cleanly.
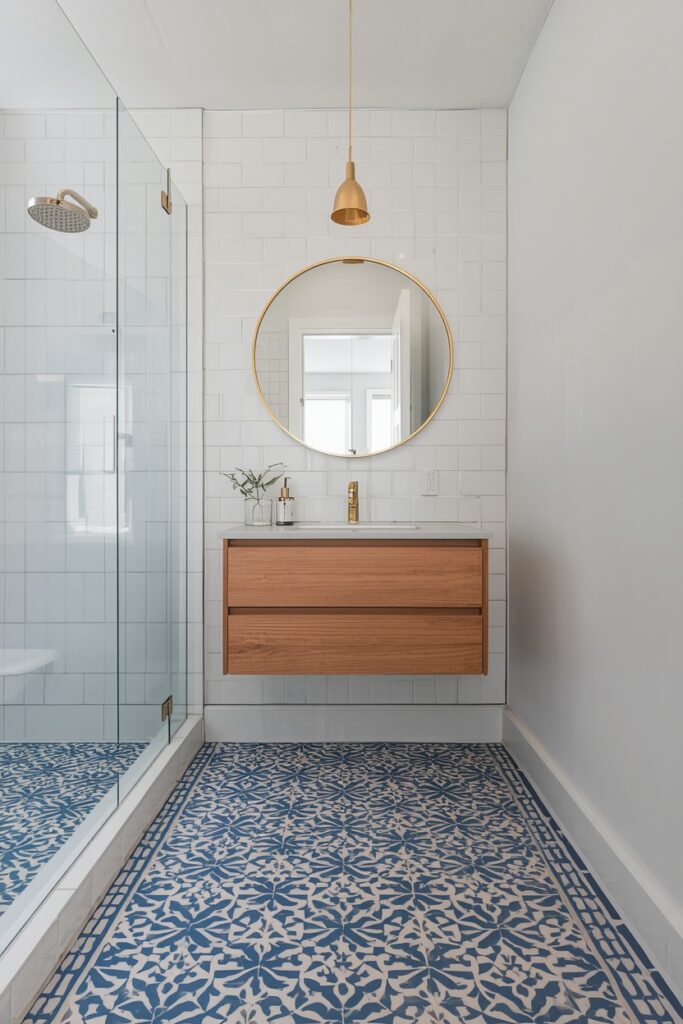
Seal cement tiles before and after grouting, and re-seal annually. This approach turns the floor into a design feature that photographs beautifully for property listings and gives the room a memorable identity that plain tile cannot achieve.
14. Sage Green Compact Bathroom
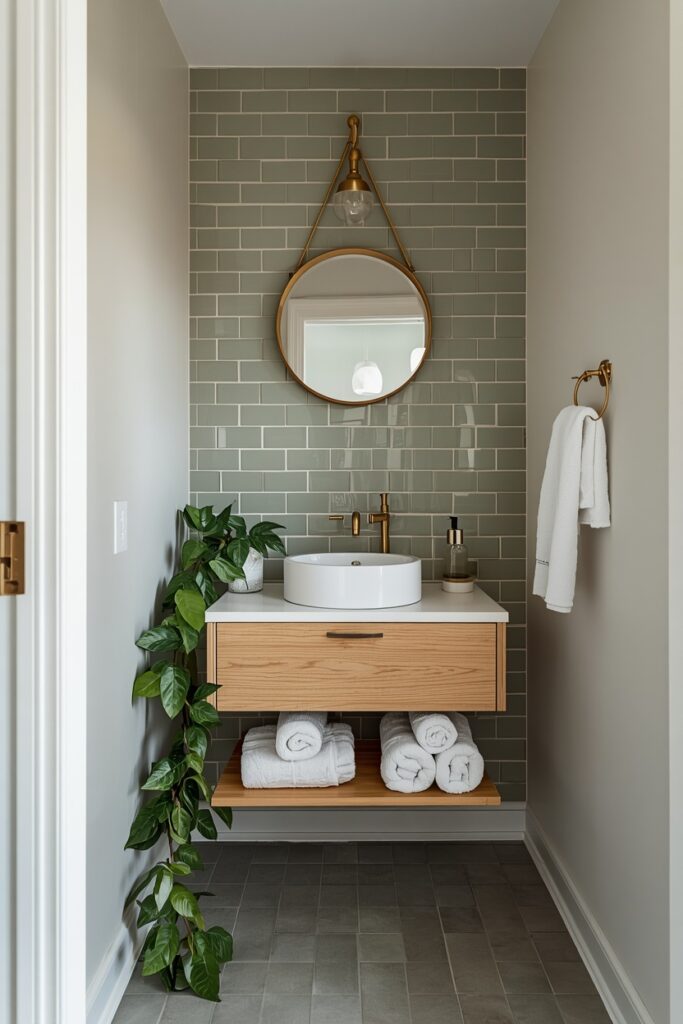
Sage green tile or paint in a small bathroom creates a calm, spa-like atmosphere without the coldness that blue-greens can bring. For walls, use a sage green subway tile or a large-format tile in a matte sage finish, running from floor to ceiling on the wet walls and paired with warm white on the remaining walls. The vanity should be in warm wood — light oak or walnut — with brass or matte gold hardware to pick up the green’s warm undertone. A round mirror with a thin brass frame, white towels, and a small trailing pothos or fern on a shelf complete the palette. The floor tile should stay neutral — a warm white or pale stone — so the green reads as an accent rather than an overwhelming wrap.
This palette suits both modern and traditional bathrooms and photographs well for resale listings. Under warm 2700K lighting, sage green glows gently; avoid cool-white bulbs, which push it toward a clinical teal.
15. Ladder Shelf Storage for Tight Bathrooms
A slim ladder shelf — 40 to 45 cm wide, leaning against the wall — provides vertical storage without the visual bulk of a wall cabinet or the installation demands of built-in shelving. Position it next to or above the toilet, and use it for rolled towels, a small plant, a candle, and one or two baskets for toiletries. Choose a ladder shelf in a material that matches the vanity: light oak, matte white metal, or bamboo.
Keep the styling minimal — overcrowded shelves in a small bathroom read as clutter rather than storage. A ladder shelf with three to four rungs provides enough surface area for daily essentials without dominating the wall it leans against.
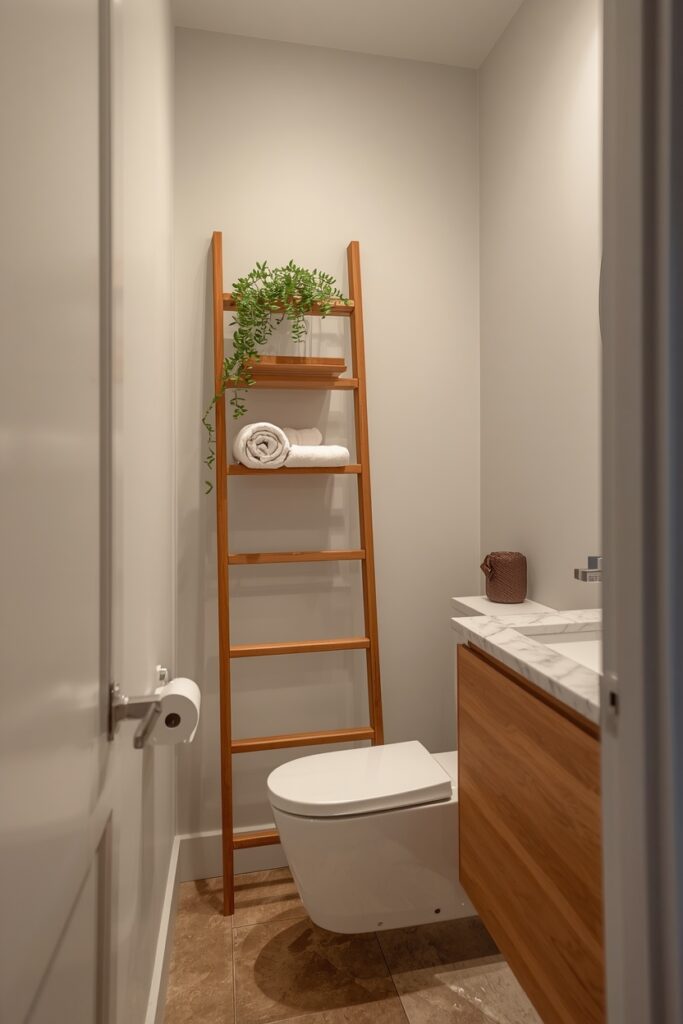
One note: secure it to the wall with a small bracket at the top to prevent it tipping forward, especially in homes with children or pets.
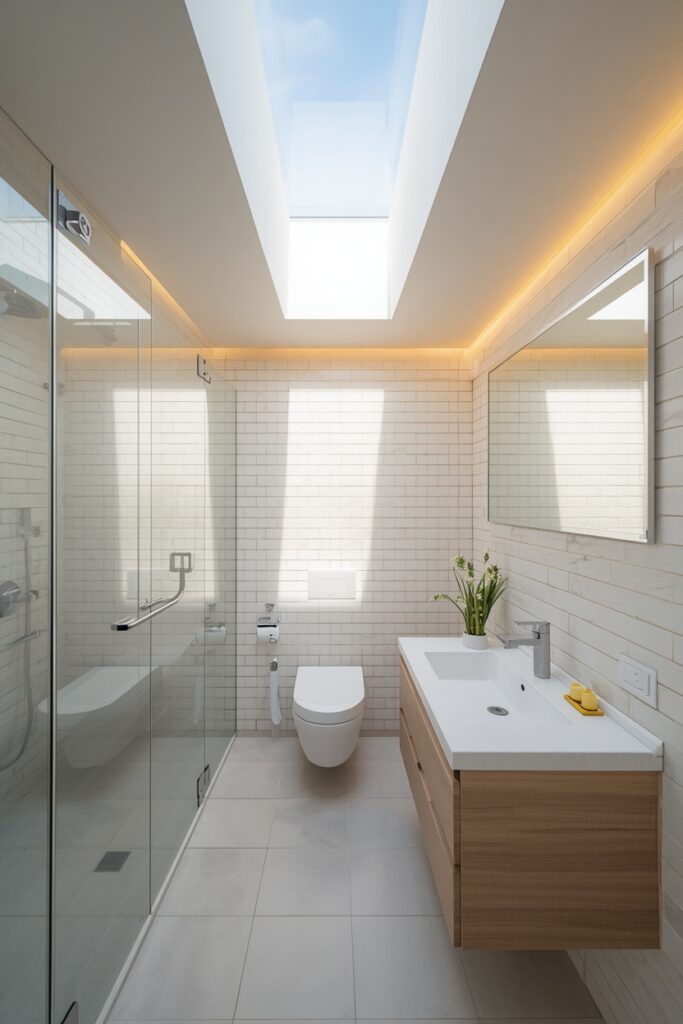
16. Skylight or Light Tube for Windowless Bathrooms
Natural light transforms a small bathroom more than any design trick, and in windowless interior bathrooms, a skylight or tubular daylighting device brings sunshine where it could not otherwise reach. A tubular skylight — a reflective tube from the roof to the ceiling, typically 25 to 35 cm in diameter — delivers natural light without the heat gain or privacy concerns of a traditional window. The installation requires roof access and clear attic space above the bathroom, but the result is a room that no longer depends entirely on artificial lighting during the day. Pair the natural light with light-coloured tile and a large mirror to amplify the effect. If a skylight is not structurally possible, an LED panel designed to mimic daylight — flush-mounted in the ceiling and tuned to a colour temperature that shifts throughout the day — provides a convincing alternative. This is a renovation decision, but for a bathroom that feels like a cave, it is transformative.
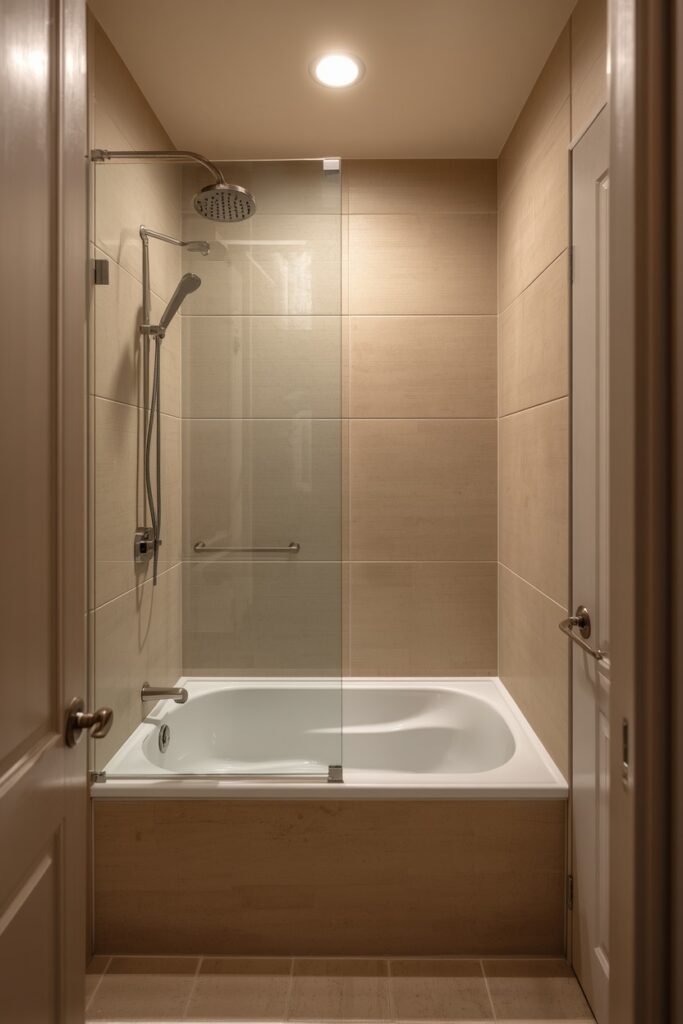
17. Compact Shower-Over-Tub Layout
When both a shower and a bathtub are non-negotiable but space only allows one wet zone, a shower-over-tub combination is the practical solution. Choose a compact alcove tub — 1500 mm long for a standard bathroom — and install a fixed rainfall showerhead on the wall above it with a handheld wand on a rail. A frameless glass bath screen (a single hinged or pivot panel rather than a curtain) keeps water contained while maintaining the visual openness. Tile the walls around the tub from the tub rim to the ceiling in a waterproof material, and use a matching or complementary tile on the floor. The tub should have a flat, non-slip bottom for safe standing during showers.
This layout fits comfortably in a bathroom as small as 3 × 1.8 metres. One aesthetic tip: choose a tub with a slim profile and an integrated apron panel in white or a matching tile colour rather than a bulky rolled-rim style, which makes the fixture look oversized in a small room.
18. Medicine Cabinet That Replaces the Mirror
A surface-mounted or recessed medicine cabinet with a mirrored front serves double duty: it is the bathroom mirror and the primary storage unit in one piece. In a small bathroom where wall space is limited, this two-for-one approach eliminates the need for a separate shelf or cabinet. Choose a recessed model if the wall depth allows (typically 10–12 cm recessed into the stud cavity), or a slim surface-mounted model (10–15 cm deep) if recess is not possible. A cabinet 60 cm wide and 70–80 cm tall provides enough interior shelving for medications, skincare, and grooming tools without dominating the wall. LED-lit models with built-in demister pads add task lighting and fog resistance.
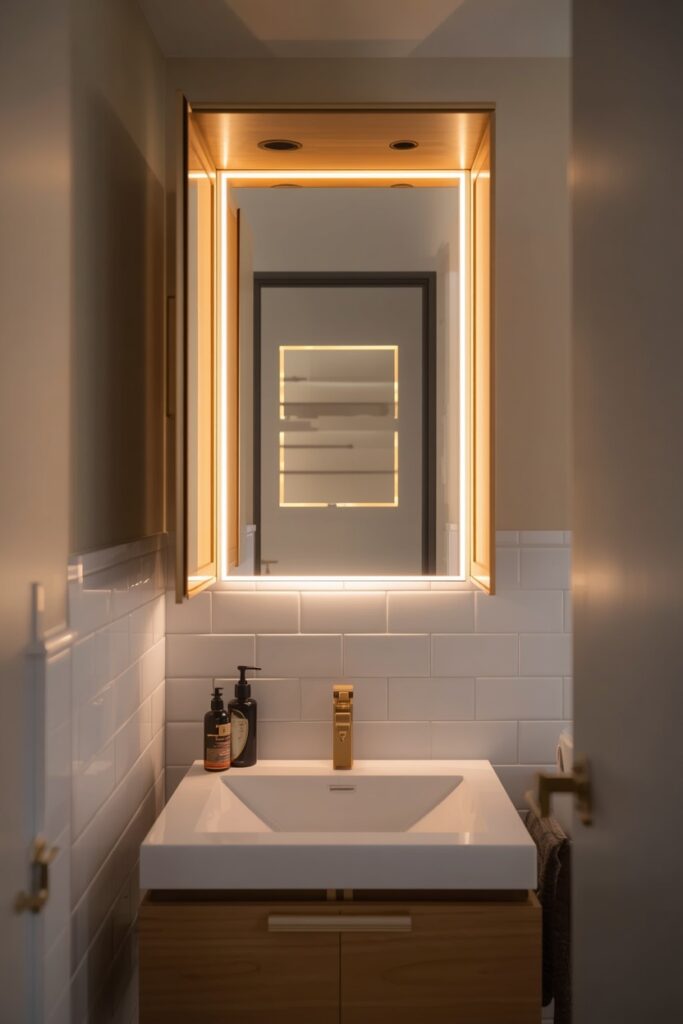
Keep the exterior frame minimal — a slim aluminium, brass, or black frame — so it reads as a mirror first and a cabinet second. This is one of the most practical upgrades for a small bathroom, especially in rentals where wall-mounted shelving may not be permitted.
19. Small Bathroom Ideas With a Cohesive Tile Wrap
Tiling a small bathroom in one continuous material — floor, walls, shower, and niche — creates the most visually expansive result because the eye cannot find a boundary. Choose a neutral tile in a mid-to-large format: a 300 × 600 mm porcelain in warm white, soft greige, or pale stone. Use matching grout in a close colour to minimise grid lines. Run the tile from the floor up every wall to the ceiling, including inside the shower, inside any niches, and on the front face of any half-walls or ledges.
The seamless wrap erases the visual fragmentation that multiple materials create and makes the room read as a single continuous volume. This approach demands careful tile planning: start layout from the most visible wall and work around so that cut tiles land in the least visible corners.
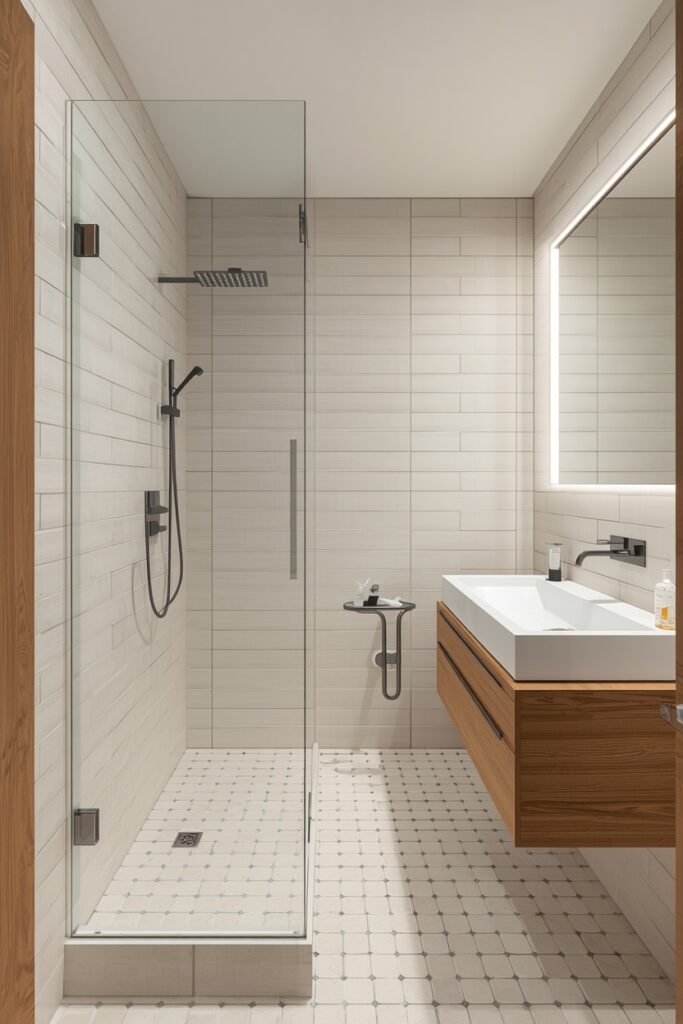
A frameless glass shower panel maintains the illusion by not interrupting the tile plane with a frame or curtain. The result is a small bathroom that reads serene and surprisingly spacious.
Where I’d Start if I Only Did Three Things
If I only did three things, I would start by replacing the vanity with a floating model — the exposed floor beneath it is the single biggest visual space-maker in a small bathroom. Second, I would install the largest mirror the wall can accommodate, because a big mirror in a small room genuinely tricks the eye into reading double the depth. Third, I would run one continuous tile from floor to ceiling on at least the wet walls, matching the grout colour to the tile, so the surfaces read as unbroken planes rather than fragmented squares.
Frequently Asked Questions
What small bathroom ideas make the biggest difference on a budget?
Three changes deliver the most impact per dollar: replace the mirror with the largest one the wall can hold, switch to a floating vanity (even a budget model creates visual space), and paint or re-grout the existing tile in a matching colour to reduce visual noise. These three upgrades cost a fraction of a full renovation and change how the room reads immediately.
What tile size is best for small bathroom floors?
Medium to large-format tiles — 300 × 300 mm or 300 × 600 mm — reduce the number of grout lines and make the floor read as a larger, less fragmented surface. In the shower zone, smaller mosaic tiles (50 × 50 mm or penny rounds) are necessary for the drainage slope, but outside the shower, larger tiles expand the visual plane.
Should I use the same tile on the floor and walls?
Using the same tile on both creates the strongest visual expansion because the eye reads the room as one continuous surface. Choose a porcelain in a neutral tone with matching grout. If you prefer variety, keep the floor and at least the wet walls in the same tile, and introduce a different treatment only on dry walls or as a niche accent.
How do I make a windowless small bathroom brighter?
Three strategies combined: install a tubular skylight or a daylight-mimicking LED ceiling panel, use glossy or semi-gloss light-coloured tile to reflect maximum artificial light, and mount the largest possible mirror to double the apparent light in the room. Warm white LED lighting at 3000K throughout provides a natural daylight quality without the harshness of cool-white fixtures.
Final Thoughts
The best small bathroom ideas share one principle: make every surface and fixture earn its place. Float the vanity to show the floor, hang the toilet to clear the corners, run one tile continuously to erase boundaries, and use the biggest mirror the wall allows. A compact bathroom designed with discipline reads as calm and purposeful — not small, just considered.