
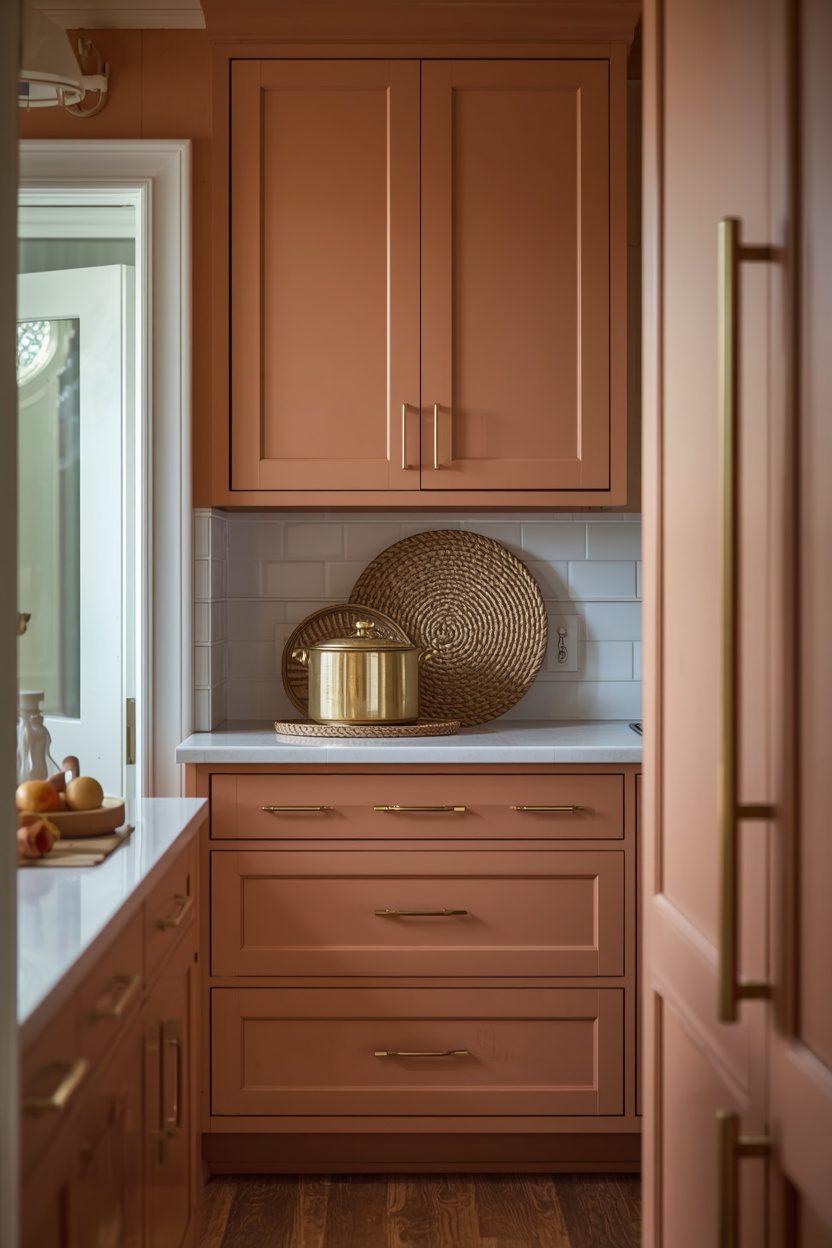
Not every kitchen needs a gut renovation — and not every budget allows one. The smartest kitchen upgrade ideas match the investment to the impact: some of the highest-return changes (swapping hardware, adding under-cabinet lighting, painting cabinets) cost a fraction of a full remodel, while others (new countertops, appliance upgrades, layout changes) require more budget but deliver transformative results. This guide ranks 15 upgrades from lowest cost to highest, so you can start where your budget allows and stack additional upgrades as funds permit.
Each idea below includes the realistic scope (what is involved), the approximate impact level, and the trade-offs you should weigh before committing. Some are weekend projects; others are multi-week renovations. All of them make a measurable difference in how your kitchen looks, functions, or both.
1. Swap All Cabinet Hardware in One Afternoon
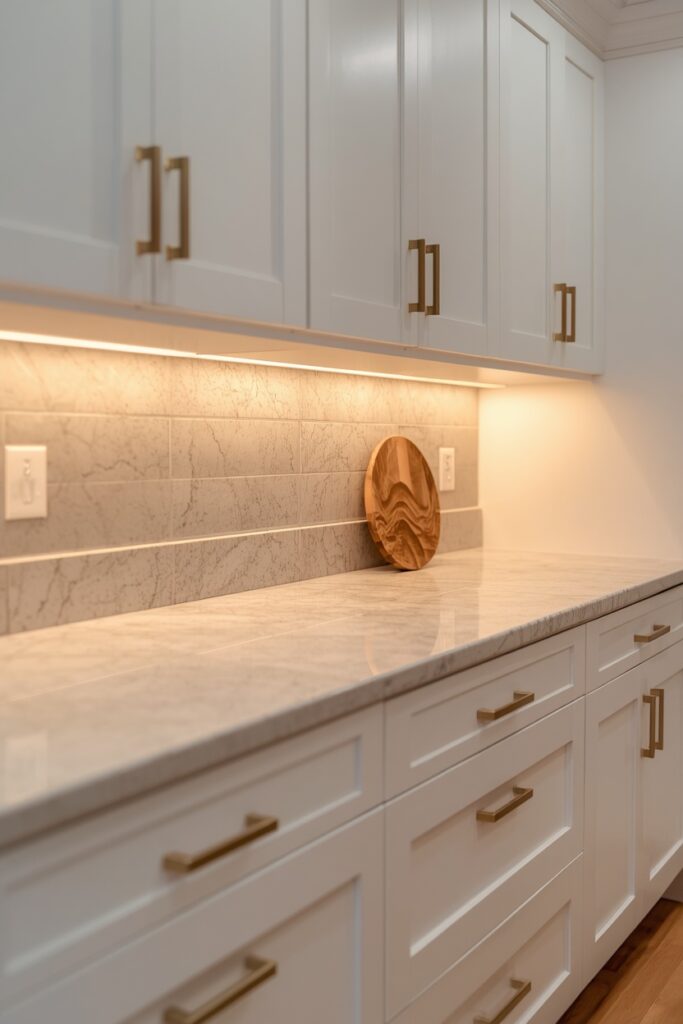
Replacing every drawer pull and cabinet knob is the single highest-impact, lowest-cost kitchen upgrade available. Choose one metal and one style that carries across every door and drawer: slim bar pulls in brushed brass, cup pulls in matte black, or round knobs in brushed nickel. Measure the existing hole spacing (centre-to-centre distance) before shopping — the most common spacings are 96 mm and 128 mm for pulls, and a single hole for knobs.
If you change from knobs to pulls (or vice versa), you will need to drill new holes and fill the old ones with wood filler and touch-up paint. The entire project takes one to three hours depending on the number of cabinets.
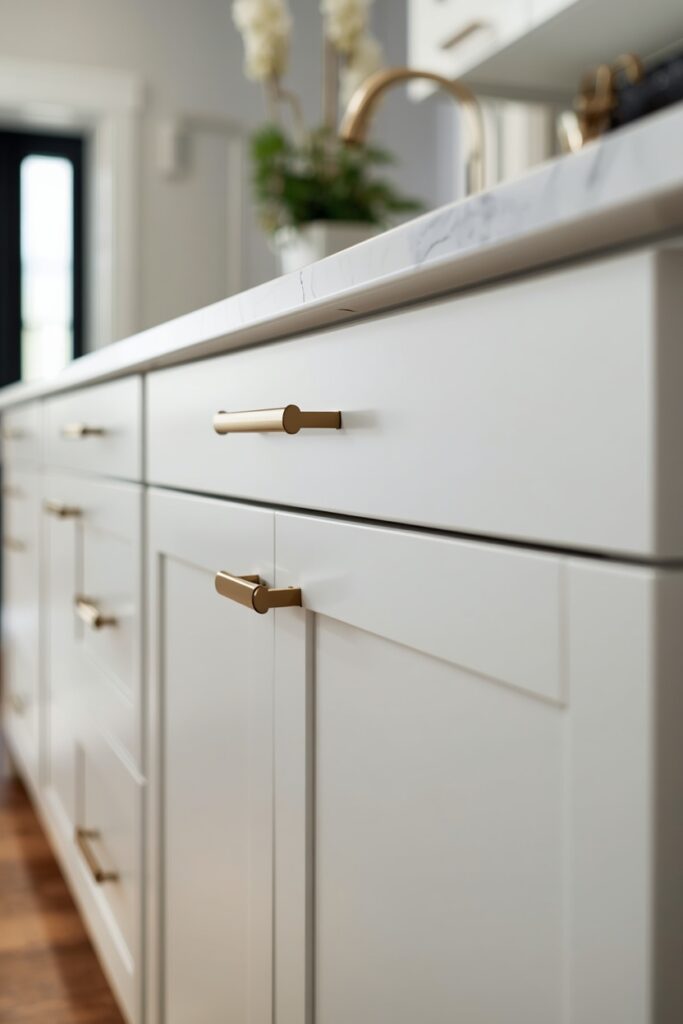
The visual shift is immediate: dated brass-tone hardware from the 1990s replaced with modern matte black or brushed brass changes the kitchen’s decade.
2. Install Under-Cabinet LED Strip Lighting
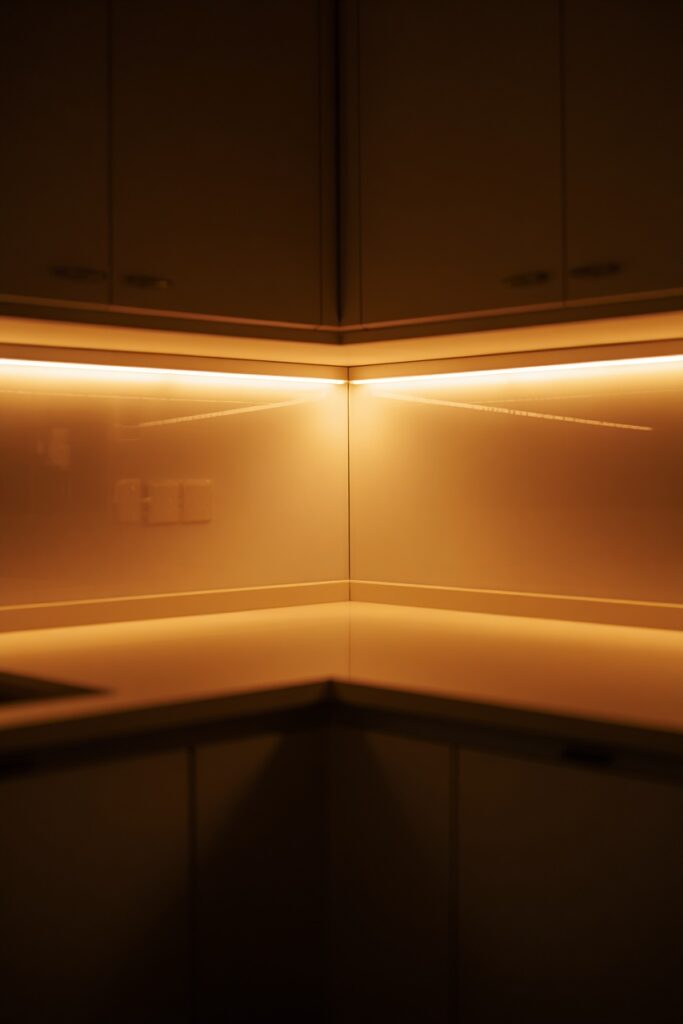
Under-cabinet LED strips — warm white (2700K–3000K), adhesive-backed, and connected to a simple plug or a hardwired dimmer — illuminate the countertop workspace and transform the kitchen’s evening ambiance in a single installation. Position the strips behind the front lip of the upper cabinets so the light source is hidden and the countertop receives a wash of warm, even light. Choose a strip with a high colour rendering index (CRI 90+) so food colours and countertop veining look accurate. Battery-powered or plug-in puck lights are the no-drill alternative for renters. This upgrade costs very little, installs in under an hour, and changes how the kitchen reads at night more than almost any other single addition. The countertop becomes a glowing work surface, the backsplash tile reveals its texture, and the overhead ceiling fixture can stay off entirely during evening cooking.
3. Add a Backsplash Where None Exists
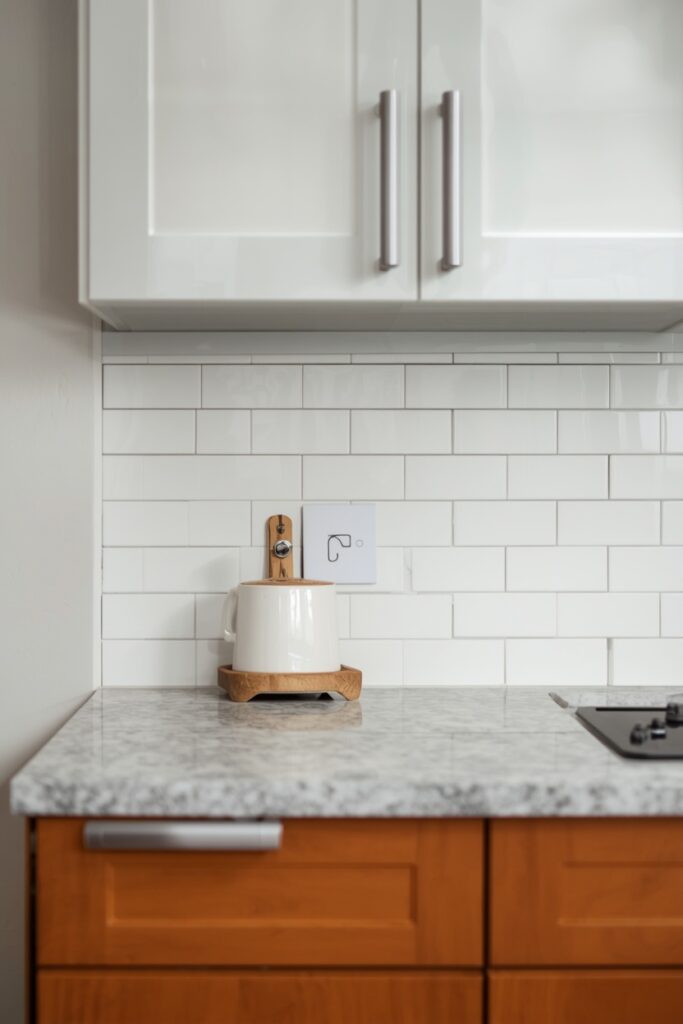
A kitchen without a backsplash — just painted drywall between the countertop and the upper cabinets — looks unresolved and stains within months of cooking. Adding even a simple subway tile backsplash transforms the wall from a maintenance liability into a design feature. Choose a standard 75 × 150 mm subway tile in white, warm white, or a soft colour, and install in a running bond pattern with matching grout. The material cost is modest for the typical backsplash area (roughly 1–2 square metres). Installation is a weekend DIY project for someone comfortable with thin-set mortar and a tile cutter, or a one-day job for a professional.
This upgrade makes the kitchen read as complete and cared-for — the visual equivalent of putting a frame around a picture. Peel-and-stick tile is the renter-friendly alternative, offering the look without permanent adhesion.
4. Paint the Cabinets in a New Colour
Painting existing cabinets is the most transformative mid-budget kitchen upgrade — a fraction of the cost of new cabinetry with a dramatic visual payoff when executed properly. The process requires discipline: remove doors and hardware, clean with a degreaser, sand with 150-grit, apply bonding primer, then two coats of cabinet-grade semi-gloss paint. Use a foam roller on flat surfaces and a quality brush for edges.
Popular colour choices include warm white for a clean refresh, sage green for an earthy accent, charcoal for sophistication, and navy for depth. Swap the hardware at the same time for maximum impact. Allow full cure time — 7 to 14 days — before rehanging doors and stacking heavy items inside.
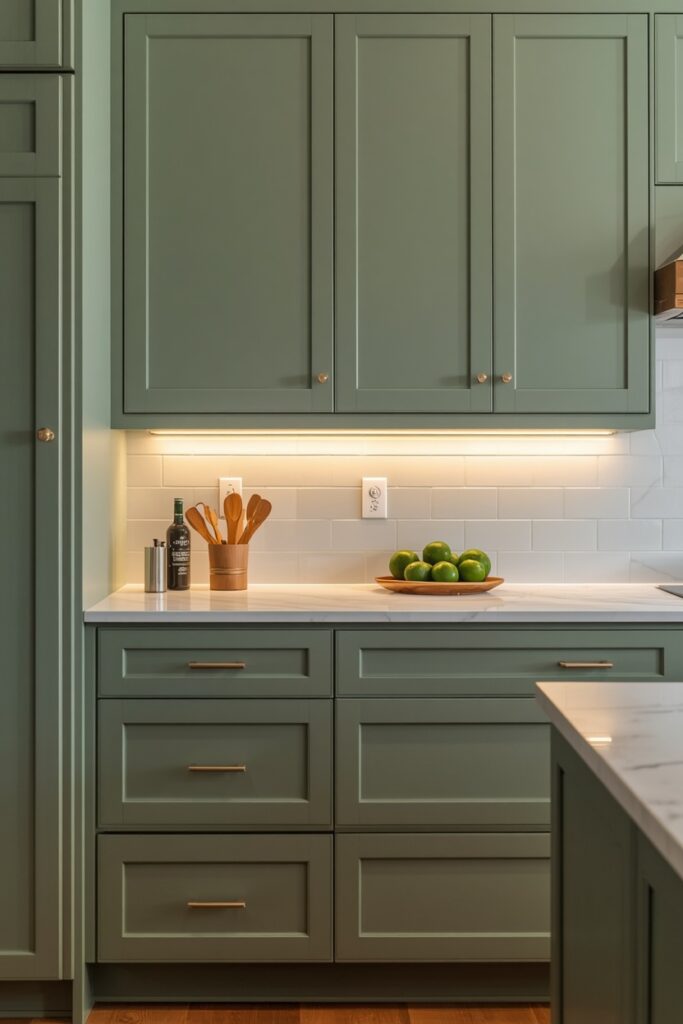
This upgrade suits anyone who wants a kitchen transformation without the demolition, plumbing disruption, and multi-week timeline of a full cabinet replacement.
5. Kitchen Upgrade Ideas With a New Faucet
Replacing the kitchen faucet is one of the most underrated upgrades — you touch it dozens of times daily, and a modern faucet changes both the look and the function of the sink zone. Choose a pull-down gooseneck model in a colour that matches your new or existing hardware: brushed brass, matte black, brushed nickel, or chrome. Features worth paying for: a magnetic docking head (clicks securely into place), a high-arc clearance (fits large pots under the spout), and a ceramic disc valve (lasts longer than rubber washers). Most faucet replacements are DIY-friendly with basic tools and a plumber’s wrench — the swap takes one to two hours.
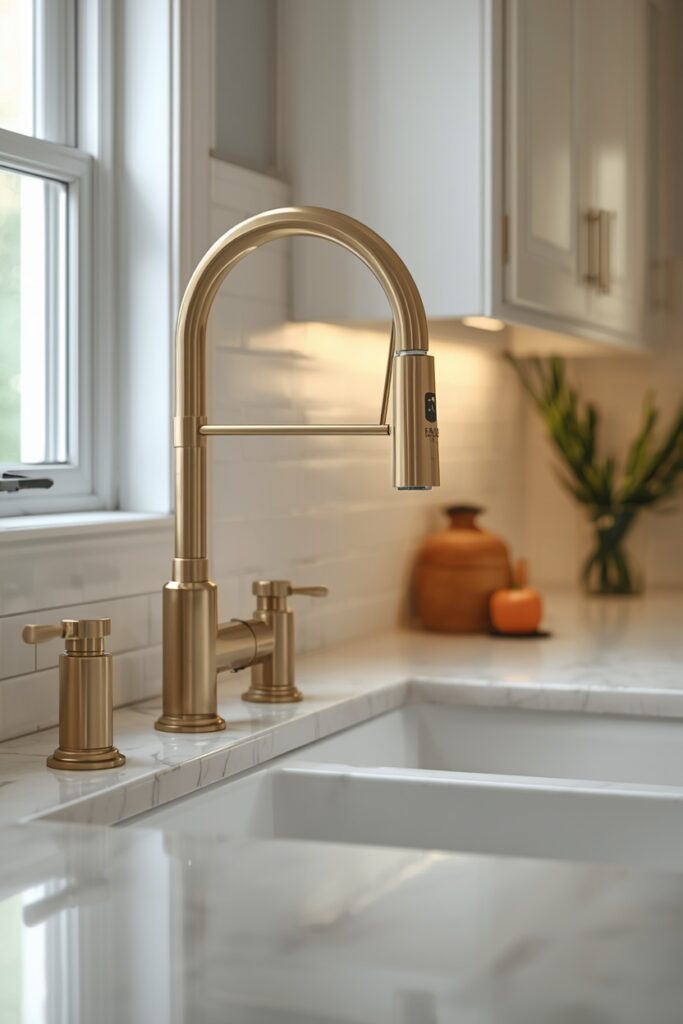
The visual impact is outsized because the faucet is a focal point whenever you face the sink. A quality faucet in a modern profile paired with new cabinet hardware creates a coordinated upgrade that reads as a planned renovation rather than a piecemeal fix.
6. Replace the Light Fixture Over the Sink or Island
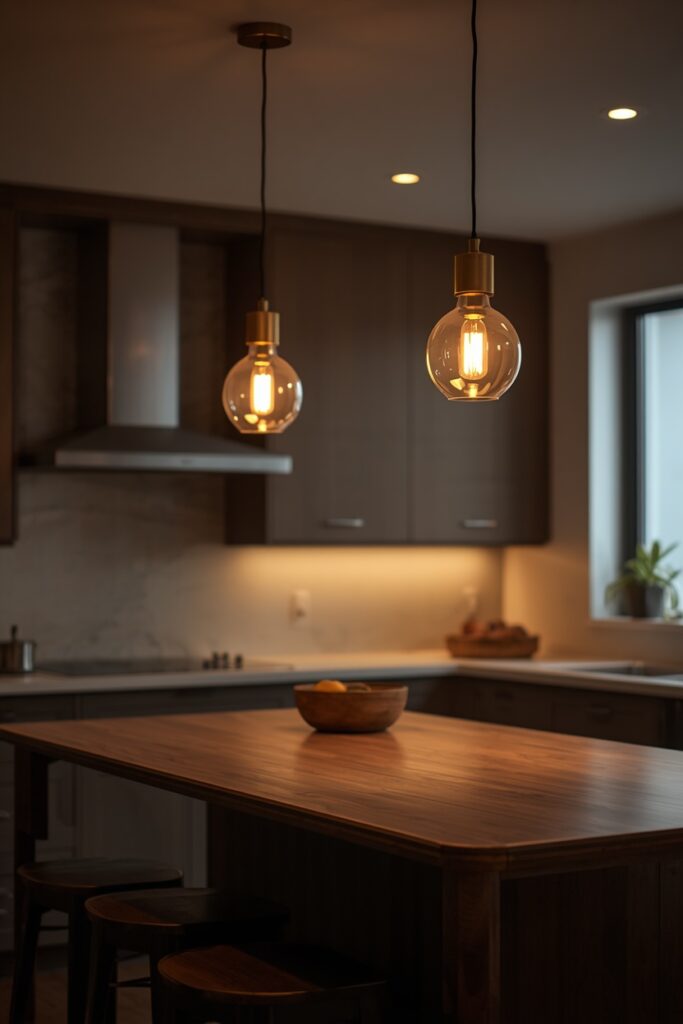
Swapping a dated flush-mount or a basic builder-grade pendant for a statement light fixture changes the kitchen’s visual centre of gravity. Over an island, install two or three matching pendants hung 75–85 cm above the countertop — globe, cone, or drum shapes in brass, matte black, or woven rattan. Over the sink, a single pendant or a slim linear light replaces the recessed can that leaves the washing zone in shadow. Choose warm-white LED bulbs (2700K) and install a dimmer switch so the lighting shifts between work mode and evening ambiance. The fixture should scale to the surface below: a pendant roughly one-third the width of the island, or a fixture 15–20 cm smaller than the sink width. This swap is electrically straightforward if the existing junction box supports the new fixture’s weight — turn off the breaker, remove the old fixture, connect the new one to the existing wires.
7. Add Open Shelving to Replace Two Upper Cabinets
Removing two upper cabinets flanking a window or above the sink and replacing them with open floating shelves opens the kitchen visually and adds display space for curated items. Use shelves in a material that complements the cabinetry: natural oak against white cabinets, walnut against sage or navy, or matte black metal brackets on any colour. Mount two or three shelves per section, spaced 30 cm apart. Style with everyday items that look good on display — matching mugs, stacked white bowls, a small plant, a cookbook — and leave about a third of the shelf space empty. This upgrade suits kitchens where the upper cabinets make the room read heavy or dark.
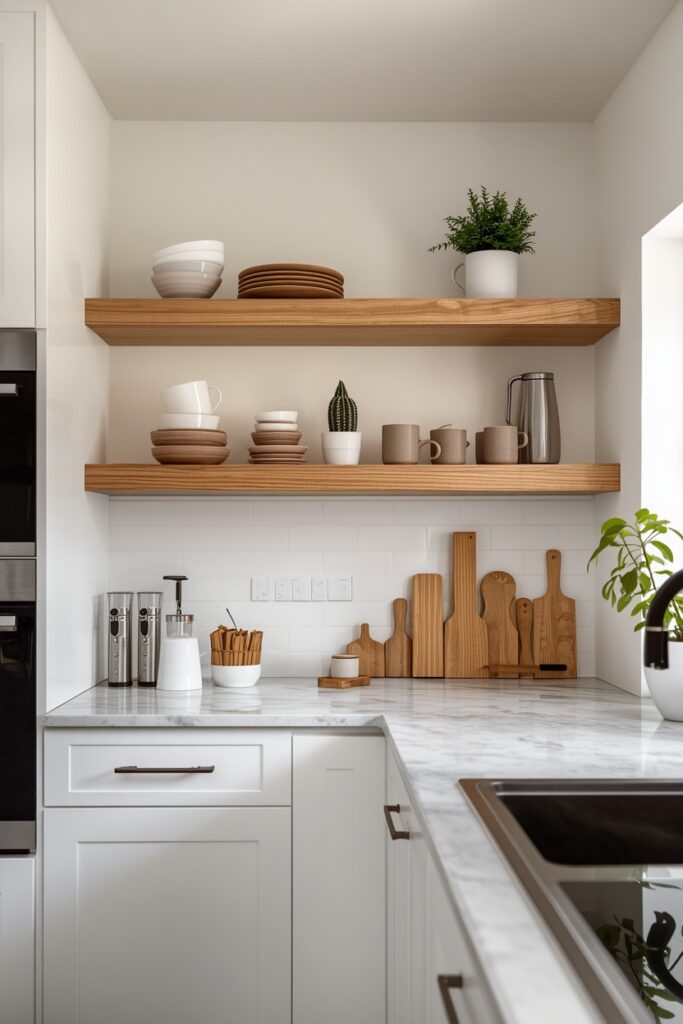
The trade-off is storage reduction and dust exposure — open shelves collect kitchen grease faster than closed cabinets, requiring weekly wiping. Reserve the remaining closed cabinets for practical storage.
8. Upgrade the Countertops
New countertops — quartz, marble, butcher block, or concrete — change the kitchen’s primary horizontal surface and have a disproportionate impact on the room’s overall quality perception. Quartz is the most practical upgrade: non-porous, stain-resistant, and available in patterns that replicate marble veining without the sealing demands. Butcher block adds warmth at a lower cost but requires periodic oiling and is vulnerable to water damage around the sink. Marble delivers the most visual beauty but demands regular sealing and tolerates etching from acidic foods. The countertop swap requires professional templating and installation for stone materials — the fabricator measures, cuts the slabs offsite, and installs in one day.
Budget for disconnecting and reconnecting the sink and cooktop during the swap. This is a mid-to-high budget upgrade, but the per-dollar impact is among the highest in any kitchen renovation because the countertop sits at eye level and you interact with it constantly.
9. Install a Pot Filler Above the Range
A pot filler — a wall-mounted faucet on an articulated arm positioned above the cooktop or range — eliminates the task of carrying heavy water-filled pots from the sink to the stove. It swings out when needed and folds flat against the wall when not in use. Choose a model in a metallic that matches your primary faucet and hardware.
Installation requires running a cold-water supply line to the wall behind the range — a moderate plumbing scope that is easiest during a backsplash or wall renovation. The pot filler is a convenience upgrade that suits serious home cooks and anyone who regularly boils large pots of water for pasta, stock, or canning. It also reads as a professional-kitchen feature that elevates the cooking zone visually.
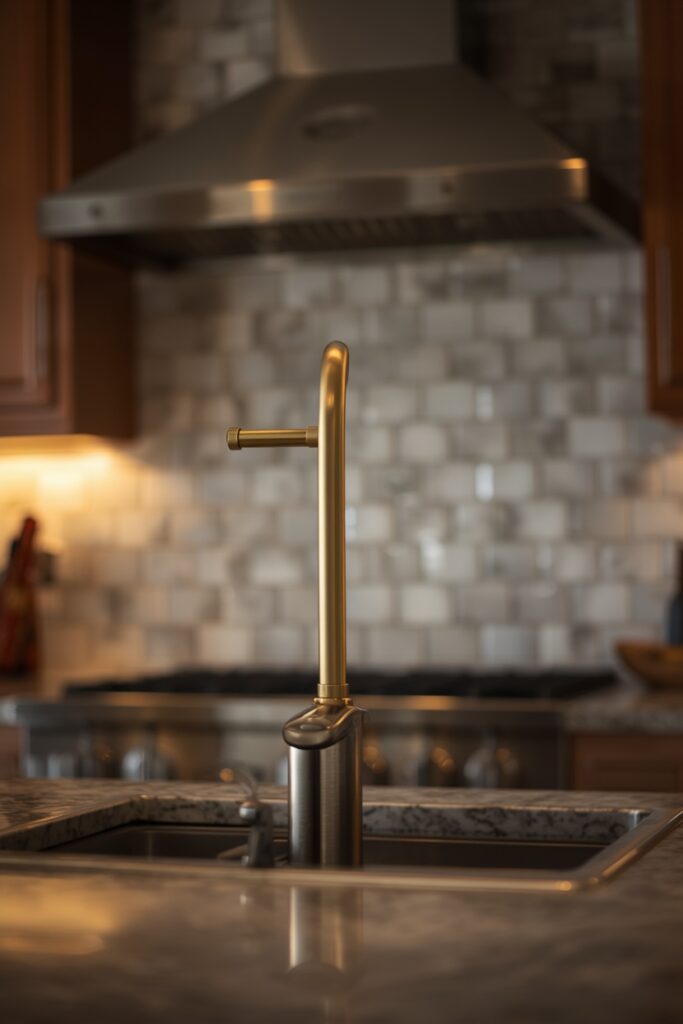
One note: the pot filler only supplies water — you still need to drain pots at the sink, so it does not replace the main faucet.
10. Kitchen Upgrade Ideas With New Appliances
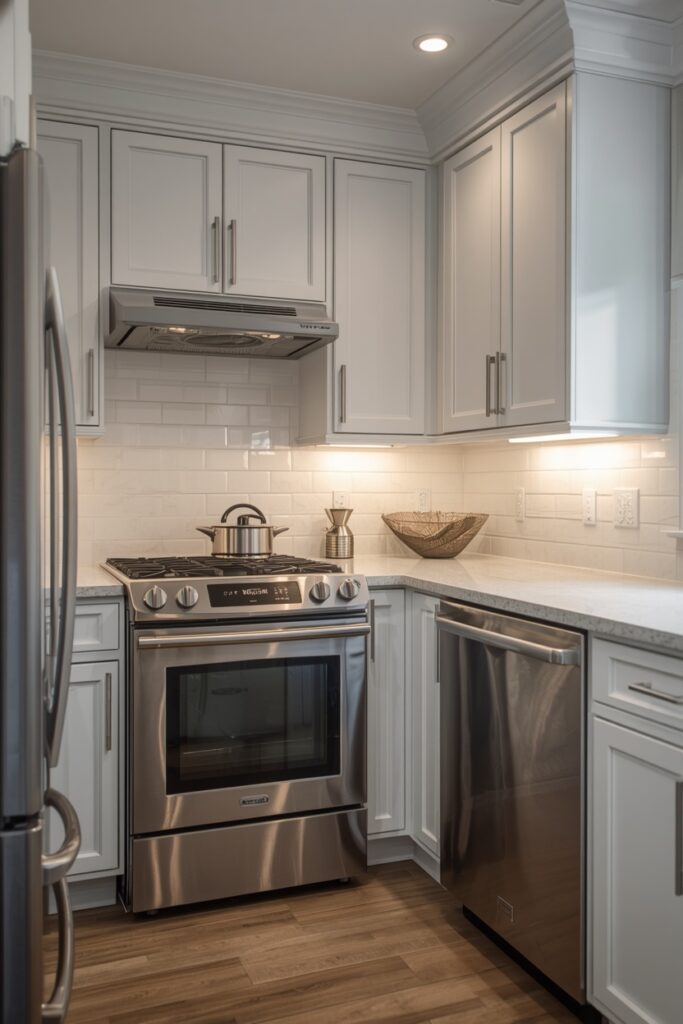
Replacing dated appliances — especially the refrigerator, range, and dishwasher — with a coordinated set in a single colour (stainless steel, matte black, or panel-ready) unifies the kitchen’s visual language. Choose appliances from the same brand or colour family so the handles, display panels, and proportions share a design language. Stainless steel is the most universally compatible choice; matte black suits modern kitchens; panel-ready models hide behind cabinet-matching panels for a seamless look. Prioritise the appliance you use most: a cook upgrades the range first, a family with kids upgrades the refrigerator, and a busy household upgrades the dishwasher. Energy-efficient models (look for the highest energy rating available in your market) reduce utility bills and often qualify for rebates. Appliance upgrades are modular — you can replace one at a time as budget allows, as long as the colour and style match your target set.
11. Add a Kitchen Island or Rolling Cart
Adding a freestanding island or a rolling kitchen cart provides extra prep surface, storage, and sometimes seating without the cost of a built-in. A rolling cart (80 × 50 cm with locking castors) suits kitchens too narrow for a permanent island — roll it in when cooking, push it aside when not needed. A freestanding island (120–180 cm wide) with butcher-block or stone top works in kitchens with at least 90 cm clearance on all sides. Add pendant lighting above a permanent island to define it as a zone.
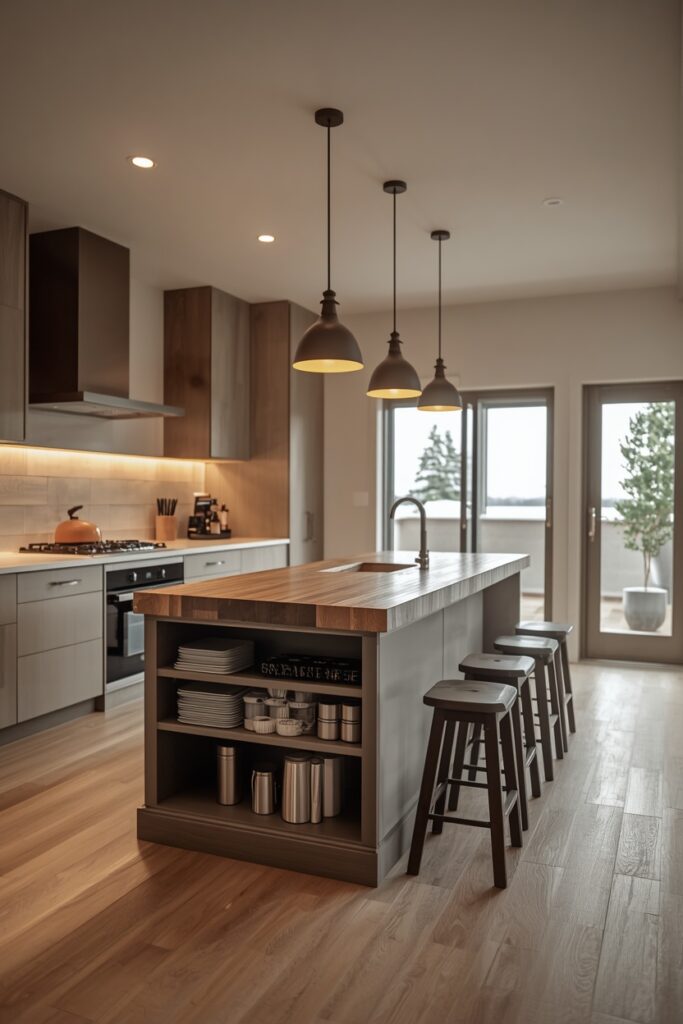
This upgrade suits kitchens with adequate floor space but no existing island — it adds function without plumbing, electrical work, or structural changes. The island also serves as a visual anchor that gives the kitchen a social centre for guests and family to gather around.
12. Upgrade Interior Cabinet Organisation
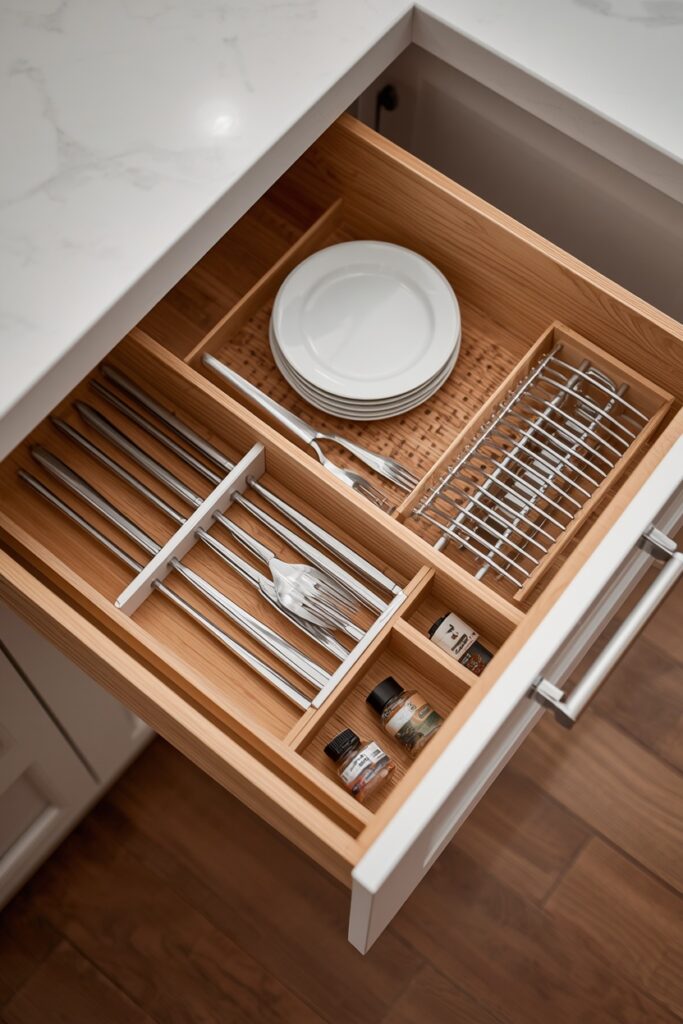
The inside of a cabinet matters as much as the outside — fitted interior organisers turn chaotic storage into a system that saves time daily. Add pull-out drawer inserts for pots and pans, peg-board dividers for plates, custom utensil dividers, pull-out spice racks inside narrow cabinets, lazy-susan turntables in corner cabinets, and concealed pull-out waste bins. These accessories are available from manufacturers like Rev-A-Shelf and Blum, and most install inside existing cabinets without replacing the cabinetry itself. Soft-close drawer slides and cabinet hinges — replaceable on most existing cabinets — eliminate the daily slam and make every interaction with the kitchen quieter and more polished.
This is the upgrade that nobody sees but everyone notices in daily use: a well-organised kitchen reduces countertop clutter because everything has a designated home behind a door.
13. Replace the Kitchen Floor
A new floor changes the room’s entire foundation — and in a kitchen, the floor must be both beautiful and practical. Large-format porcelain tile (600 × 600 mm or larger) in a stone or concrete look gives a modern, low-maintenance surface with minimal grout lines. Wood-look porcelain planks deliver the warmth of timber without the warping and water-damage risk.
Luxury vinyl plank (LVP) offers the fastest installation (click-lock floating floor over existing surfaces) and the most forgiving maintenance at the lowest price point. Natural stone (slate, limestone, marble) delivers the most character but requires sealing. When choosing a kitchen floor, specify slip resistance (R10 minimum, R11 near the sink) and test the colour against your cabinet and countertop samples under your actual kitchen lighting.
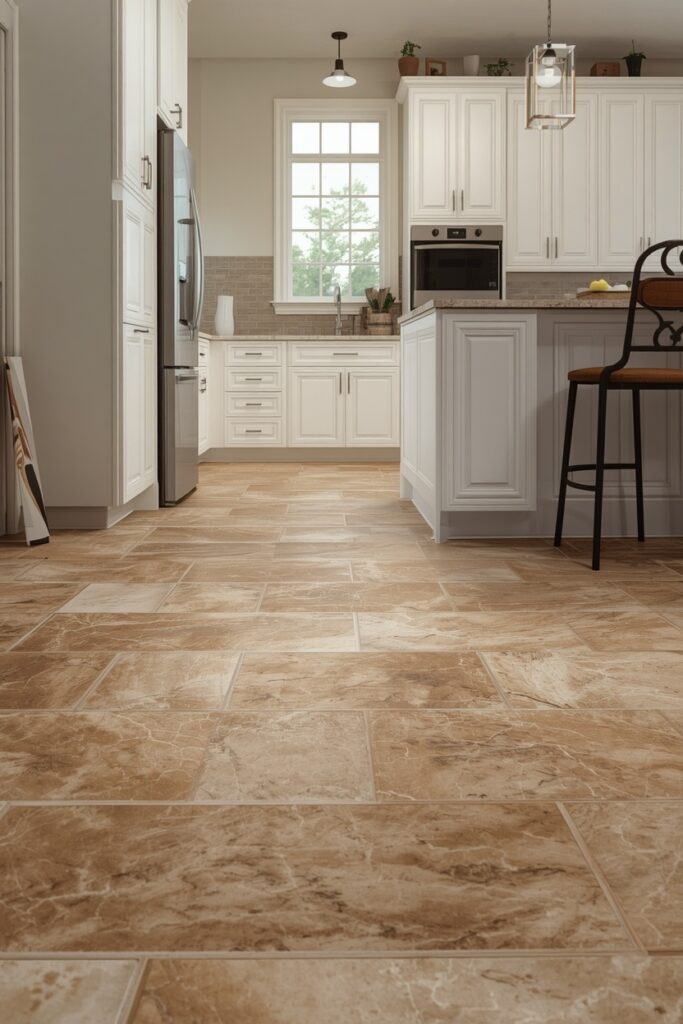
A floor upgrade is a medium-to-high investment but is the most permanent change on this list — a well-chosen floor lasts 15–25 years.
14. Open Up the Kitchen Layout
Removing a non-structural wall between the kitchen and the dining or living room — or widening an existing doorway into a pass-through — opens the kitchen to the social spaces of the home and changes how the household interacts during cooking and entertaining. This is the highest-impact layout change and the one that most dramatically increases the home’s perceived size. Before any demolition, confirm that the wall is non-load-bearing with a structural engineer — removing a load-bearing wall requires a steel beam and a significantly larger budget. The newly open plan may require extending the kitchen’s flooring into the adjacent room for visual continuity. Relocating light switches, outlets, and potentially plumbing adds to the scope. This is a renovation-level project that typically takes one to three weeks, but the result — an open, connected kitchen — is the most requested layout in modern home design and consistently returns value at resale.
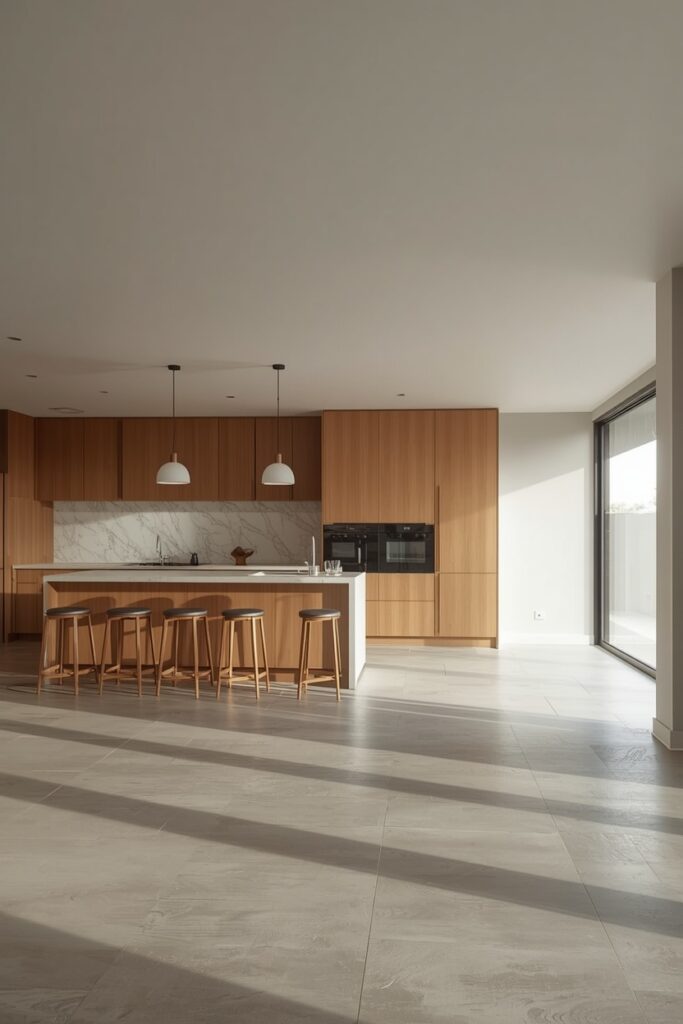
15. Full Kitchen Upgrade Ideas With Complete Renovation
A full kitchen renovation — new cabinets, new countertops, new appliances, new flooring, new backsplash, and potentially new plumbing and electrical — is the most expensive and most transformative upgrade. The process starts with a design plan: layout, cabinet style, countertop material, appliance selection, and lighting plan should be finalised on paper before any demolition begins. Hire a kitchen designer or use a detailed planning tool to map every dimension, clearance, and workflow before committing. The renovation timeline typically runs four to eight weeks for a standard kitchen, longer if structural changes or custom cabinetry are involved.
Living without a kitchen during the renovation requires planning: set up a temporary cooking station with a microwave, an electric kettle, and a portable induction burner in another room. The investment is significant, but a well-planned full renovation returns the highest percentage of its cost at resale of any home improvement project — and it transforms the daily experience of the room you use most.
Where I’d Start if I Only Did Three Things
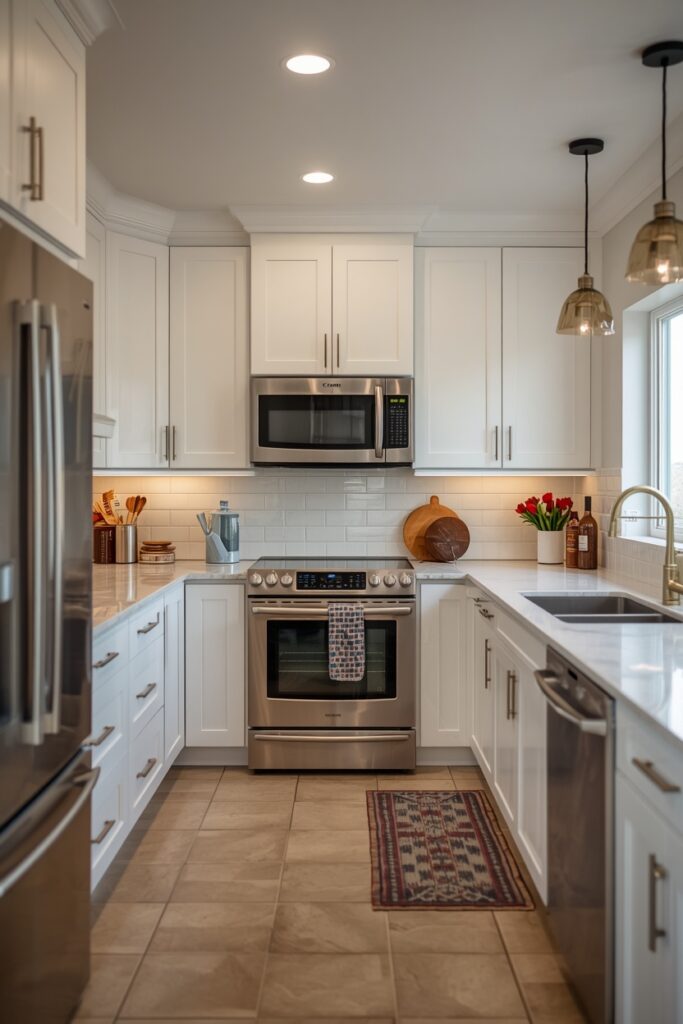
If I only did three things, I would start by swapping all the cabinet hardware to one coordinated metal and style — it is the fastest, cheapest, highest-return upgrade in any kitchen. Second, I would install under-cabinet LED strip lighting at 2700K, because it changes how the kitchen reads every evening and costs almost nothing. Third, I would paint the cabinets in a fresh colour with new hardware installed simultaneously — the combined effect of new paint and new pulls reads as a full kitchen renovation to anyone who walks in.
Frequently Asked Questions
What kitchen upgrade ideas have the highest return on investment?
Hardware replacement, cabinet painting, and under-cabinet lighting offer the highest impact per dollar because they change the kitchen’s visual character with minimal cost and no structural work. Countertop upgrades and appliance replacement are the next tier — higher cost but proportionally high impact. A full renovation returns the most value at resale but requires the largest upfront investment.
Can I upgrade my kitchen without a full renovation?
Absolutely — most of the upgrades on this list are standalone projects. Swap the hardware, add LED strips, paint the cabinets, replace the faucet, and upgrade the light fixture, and the kitchen will look and function dramatically better without any demolition, plumbing changes, or week-long disruption.
What order should I upgrade my kitchen in?
Start with the changes that set the colour direction: paint the cabinets and choose hardware first. Then add lighting (under-cabinet LEDs, new pendants). Then upgrade surfaces (countertops, backsplash, floor) that need to coordinate with the new cabinet colour. Save appliances for last since they are the most independent visual element.
How long does a full kitchen renovation take?
A standard kitchen renovation — new cabinets, countertops, backsplash, flooring, and appliances without structural changes — typically takes four to eight weeks from demolition to completion. Add two to four weeks if structural work (wall removal, plumbing relocation) or custom cabinetry is involved. Plan for at least two weeks without a functional kitchen.
Final Thoughts
The smartest kitchen upgrade ideas match the budget to the impact — and the upgrades with the highest return are often the cheapest. Start with hardware and lighting, move to paint and surfaces, and scale up to countertops, appliances, and layout changes as budget allows. Every upgrade on this list stacks with the others, so a phased approach over months or years builds toward the same result as a full renovation, one project at a time.