
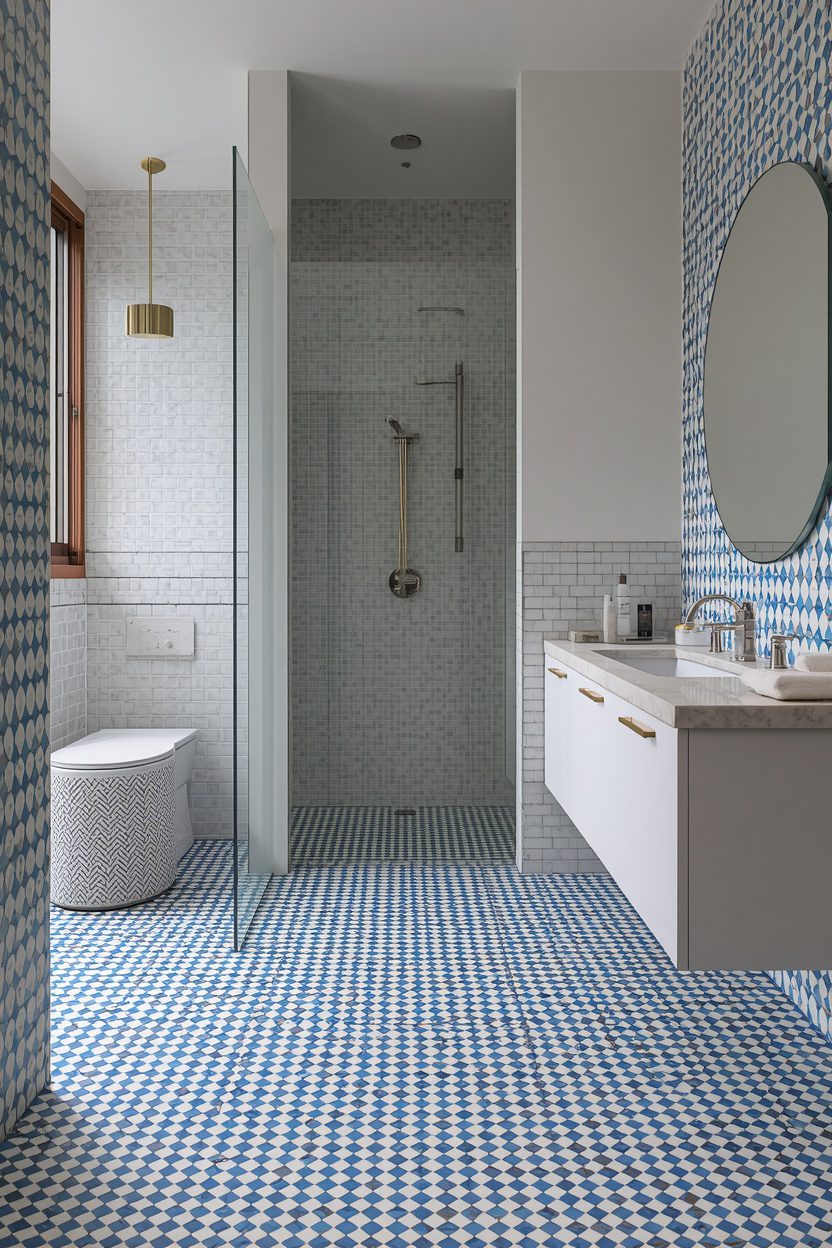
Tile covers more surface area in a bathroom than in any other room — floors, walls, shower enclosures, niches, and sometimes the tub surround — and yet most bathroom tile ideas treat each surface as a separate decision rather than a coordinated system. The result is a bathroom with three or four different tiles that were each attractive alone but argue with each other on the wall. This guide takes the opposite approach: every idea below maps the floor tile, the wall tile, the shower treatment, and the accent niche as one connected scheme.
Each of the 15 ideas specifies the tile material and format, the grout colour, the slip-resistance rating for wet areas, and the maintenance each material demands. I have also flagged where professional installation is essential versus where a confident DIY-er can manage — because the wrong tile in a shower that leaks is a far more expensive mistake than the tile itself.
1. Large-Format Porcelain Floor-to-Ceiling Wrap
Running one large-format porcelain tile — 600 × 1200 mm or 600 × 600 mm — from the floor up every wall to the ceiling creates the most visually expansive bathroom because the eye cannot find a boundary between surfaces. Choose a warm white, soft greige, or pale stone-look tile in a rectified format so the grout joints stay minimal (2 mm). Match the grout colour to the tile for a near-seamless result. On the floor, specify an R11 slip rating for the shower zone and R10 for the dry zone.
On the walls, a standard smooth surface is fine. This tile requires no sealing and cleans with a damp cloth, making it the lowest-maintenance option on this list.
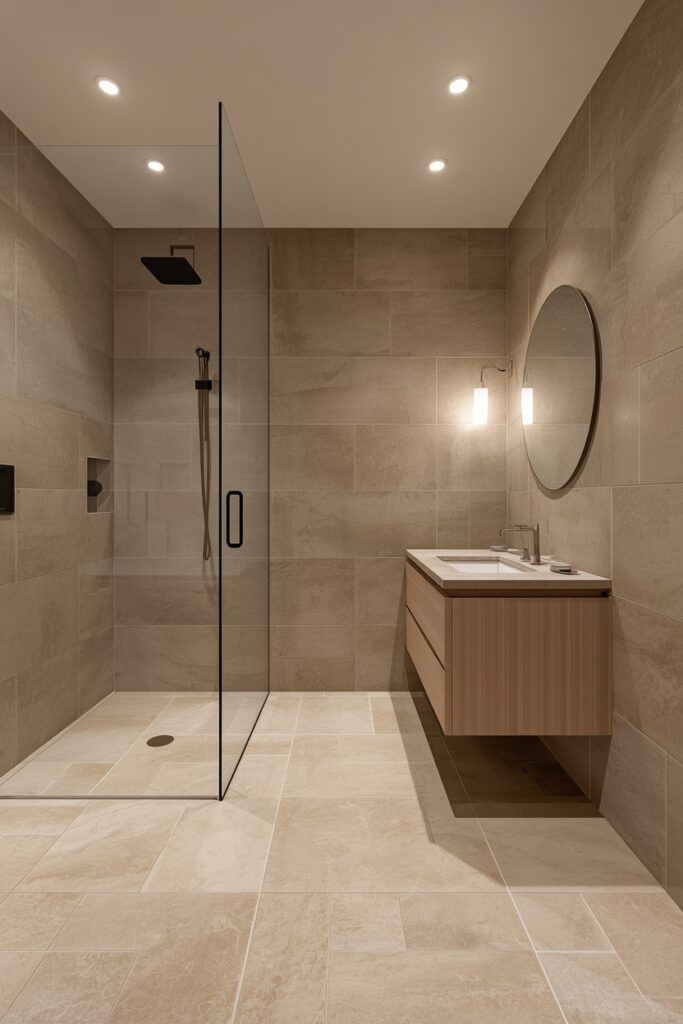
The seamless look demands precise planning: start the layout from the most visible wall and work around so cut tiles land in corners. A frameless glass shower panel maintains the illusion by not interrupting the tile plane.
2. Zellige Shower Walls With Porcelain Floor
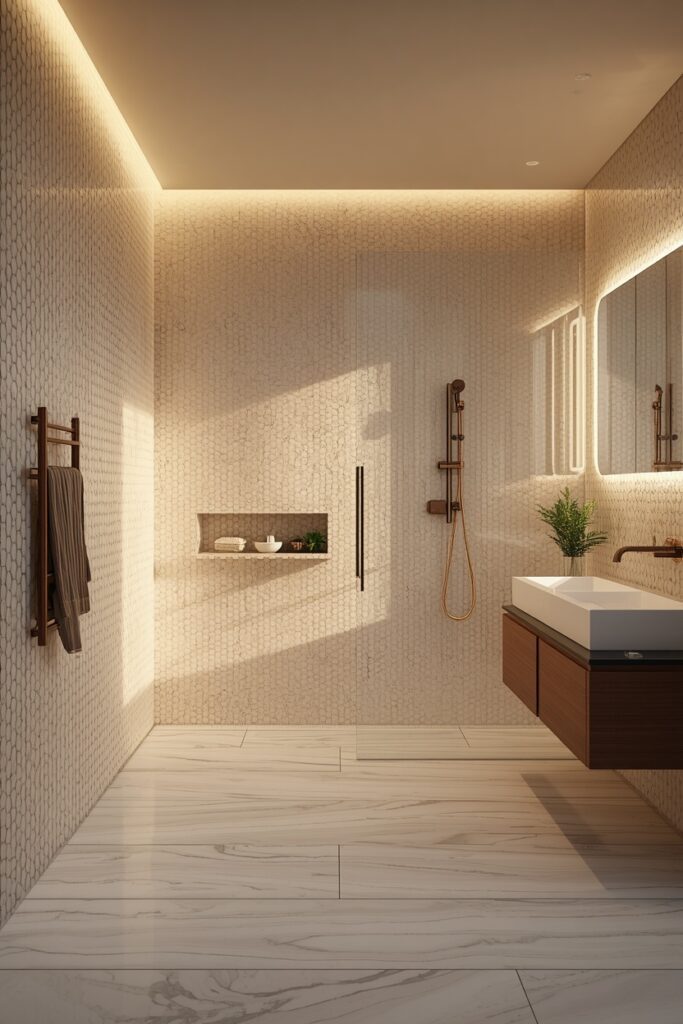
Zellige tile on the shower walls — handmade Moroccan glazed terracotta in a 4 × 4 inch or 2 × 6 inch format — creates a shimmering, organic texture that transforms the shower into the bathroom’s focal surface. Each tile catches light differently due to the irregular glaze, producing a rippling luminosity that factory tiles cannot replicate. Pair zellige shower walls with a large-format porcelain floor tile in a warm neutral — the porcelain provides the durability and slip resistance the floor needs (R11 in the wet zone), while the zellige provides the character above. Use a matching grout on the zellige (1 mm joints) to let the tile edges create the visual pattern. Zellige is softer than porcelain and will develop minor chips over time — most homeowners consider this part of the charm. Seal the zellige before and after grouting with a penetrating sealer rated for wet areas, and re-seal every 12 months.
3. Marble Hexagon Floor With Subway Walls
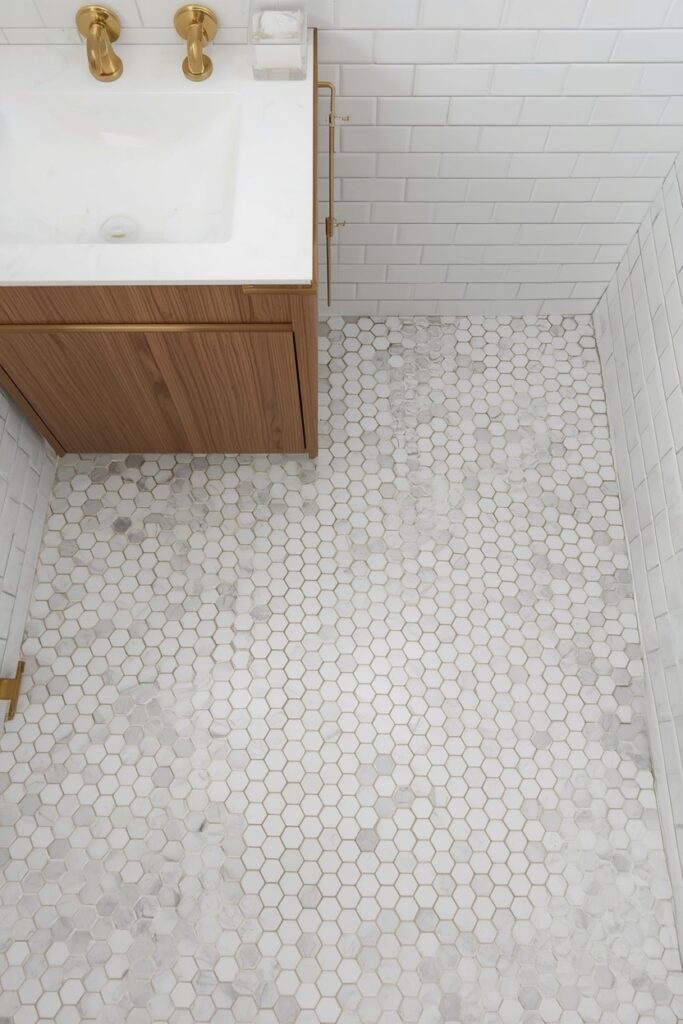
Honed marble hexagons on the floor — 50 mm or 75 mm across — paired with a classic white subway tile on the walls creates a bathroom that reads both timeless and refined. The hexagonal pattern adds geometric interest underfoot while the subway walls provide a clean, bright backdrop. Choose a Carrara or Bianco marble for the hexagons with light gray veining, and match the wall tile grout to the marble grout colour for visual continuity. The marble must be sealed at installation and annually thereafter — a penetrating impregnating sealer protects against water staining and soap buildup. The subway tile requires minimal maintenance.
Use honed marble rather than polished for better grip when wet — honed surfaces provide a natural R10 slip rating that polished marble cannot match. This combination suits classic, transitional, and coastal bathrooms.
4. Terrazzo Floor With Plain White Walls
Terrazzo tile on the bathroom floor — pre-cast 300 × 300 mm or 600 × 600 mm tiles with marble, quartz, or glass chips in a cement or resin base — brings a busy, colourful pattern that hides dirt and wear exceptionally well. Choose a warm palette: cream base with blush and terracotta chips, or pale gray base with white and green chips. Pair with plain white walls — either a large-format white porcelain or a simple painted plaster above the tile line — so the floor carries the visual interest. Grout should match the terrazzo base colour closely for a near-seamless look. Porcelain terrazzo-look tiles offer the aesthetic with zero maintenance, while genuine cement terrazzo requires sealing.
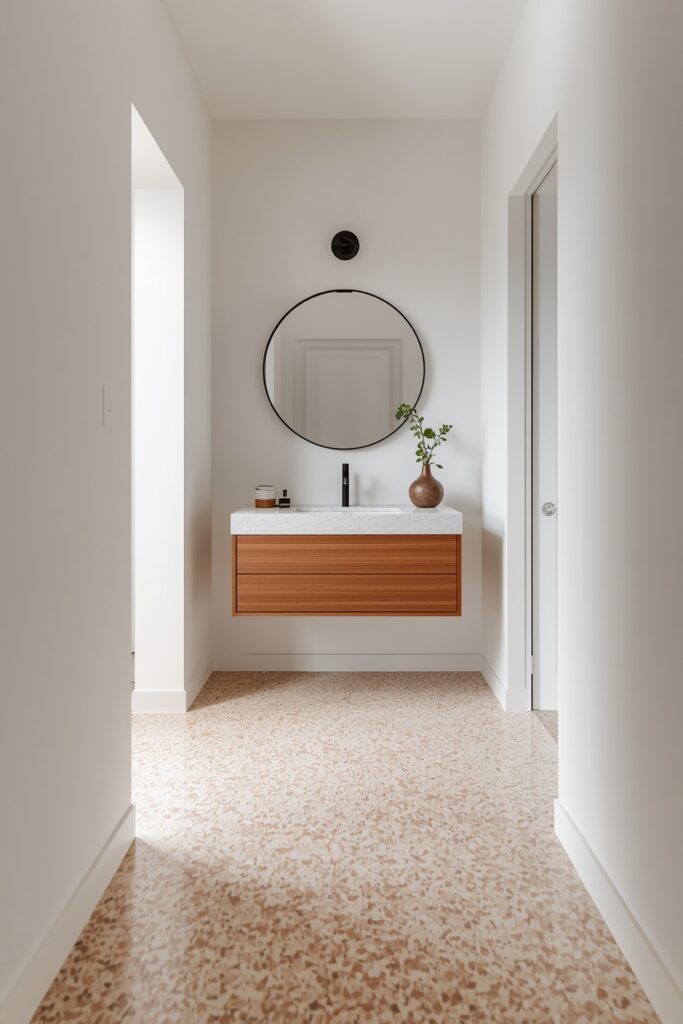
In the shower zone, a small-format terrazzo mosaic on mesh allows the drainage slope that large tiles cannot achieve. This combination gives the bathroom a playful, contemporary character that suits both primary baths and powder rooms.
5. Bathroom Tile Ideas With Vertical Stack Bond
Stacking tiles vertically — a straight-stack bond with no offset — creates a modern, graphic grid that draws the eye upward and makes walls read taller. Use a rectangular tile in a 75 × 150 mm or 75 × 300 mm format in a single colour: warm white, soft sage, or pale blue-gray. The straight vertical alignment emphasises the grid, so tile spacing must be precise — a 1.5–2 mm grout joint with matching grout colour keeps the pattern clean.
Run the vertical stack from floor to ceiling on at least the shower walls and the wall behind the vanity. A contrasting floor tile — large-format porcelain or a stone-look in a complementary tone — anchors the room so the vertical walls do not float. This pattern is achievable as a DIY project because the straight stack eliminates the offset cuts that running bond requires.
The layout reads crisp and contemporary and suits bathrooms with lower ceilings, where the vertical lines visually add height.
6. Stone-Look Porcelain for Low-Maintenance Luxury
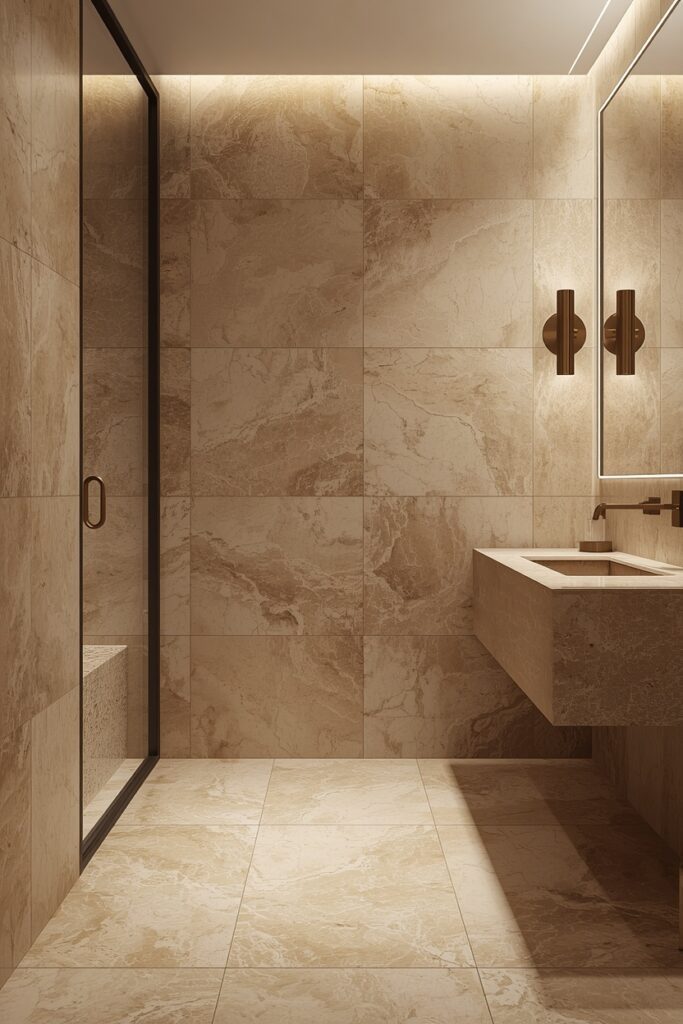
Stone-look porcelain tiles replicate the veining, colour variation, and surface texture of natural marble, travertine, or limestone without the sealing, staining, and etching risks of real stone. Choose a large format — 600 × 600 mm or 600 × 1200 mm — in a warm vein pattern. Use them on the floor and walls for a wrapped stone effect, or on the floor only with a complementary solid-colour wall tile above. Grout should match the tile’s dominant background colour for a seamless stone slab illusion. On the floor, specify a textured or matte surface with an R10 or R11 slip rating — polished porcelain is dangerously slippery when wet, no matter how beautiful it looks in a showroom. These tiles require no sealing, resist staining, and clean with a pH-neutral cleaner. For the most realistic stone effect, choose tiles with variation between pieces — sets labelled V3 or V4 on the PEI scale have enough colour variation that no two tiles look identical.
7. Penny Round Shower Floor With Large Wall Tile
Penny round mosaics — 20 mm diameter circles on mesh sheets — are the classic choice for shower floors because their small size and high grout ratio allow the drainage slope that large tiles cannot achieve without visible lippage. Choose a matte or textured glaze in white, soft gray, or pale sage for slip resistance. Pair the penny-round shower floor with large-format wall tiles (300 × 600 mm or larger) in a complementary colour — the contrast in scale between the tiny floor circles and the large wall rectangles creates visual interest. Use matching grout on both surfaces to unify the palette.
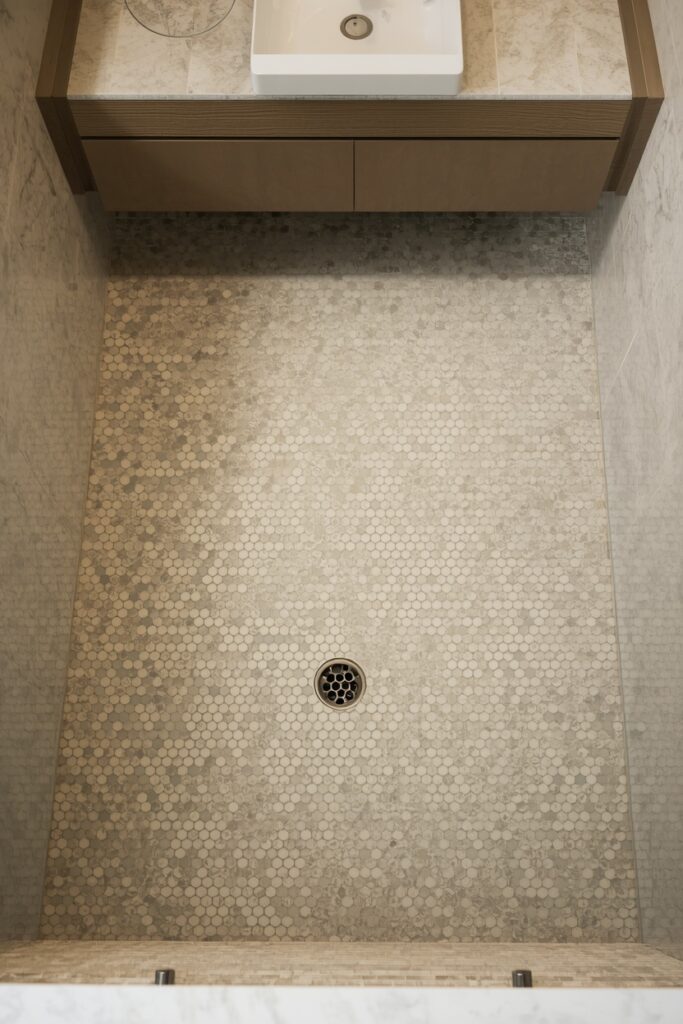
Seal the grout on the penny-round floor with a penetrating sealer at installation — the high grout ratio means more surface to protect against mildew and soap staining. Outside the shower, the main bathroom floor can continue the large-format wall tile for seamless floor-to-wall continuity.
8. Herringbone Feature Wall Behind Vanity
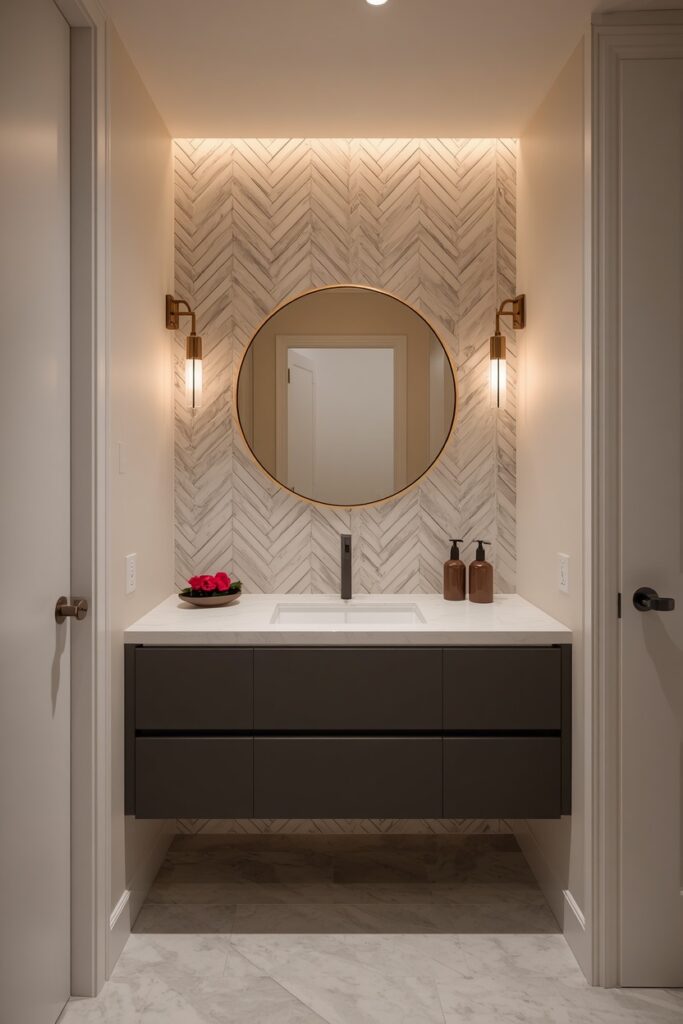
A herringbone tile arrangement on the wall behind the vanity — from countertop height to the ceiling — creates a dynamic focal surface that elevates the vanity zone. Use a slim rectangular tile (50 × 150 mm or 25 × 150 mm) in marble, porcelain, or ceramic, laid at a 45-degree herringbone angle. The pattern radiates energy and draws the eye to the vanity and mirror, making them the room’s centrepiece. Keep the remaining walls simple — a large-format tile in a matching colour or painted plaster — so the herringbone reads as a deliberate accent rather than an all-over treatment. Grout should match the tile for a tonal look or contrast gently for more pattern definition.
This feature wall suits both small and large bathrooms because it occupies a single surface. The herringbone layout requires more cuts and more waste than a straight lay — budget 15–20 percent extra material beyond the measured area.
9. Dark Floor With Light Walls for Grounded Contrast
A dark floor tile — charcoal, slate, or deep navy porcelain — paired with light walls creates a grounded, high-contrast bathroom where the floor anchors the room visually while the walls stay bright and open. Choose a large-format dark tile (600 × 600 mm) in a matte or textured surface for the floor, and a warm white or very pale gray tile on the walls. The contrast should be clear — a two-shade difference between floor and wall reads muddy, while a full dark-to-light jump reads defined.
Use a dark grout on the floor and a matching light grout on the walls so each surface reads cleanly. This combination suits both modern and traditional bathrooms and photographs well because the dark floor creates a strong visual base.
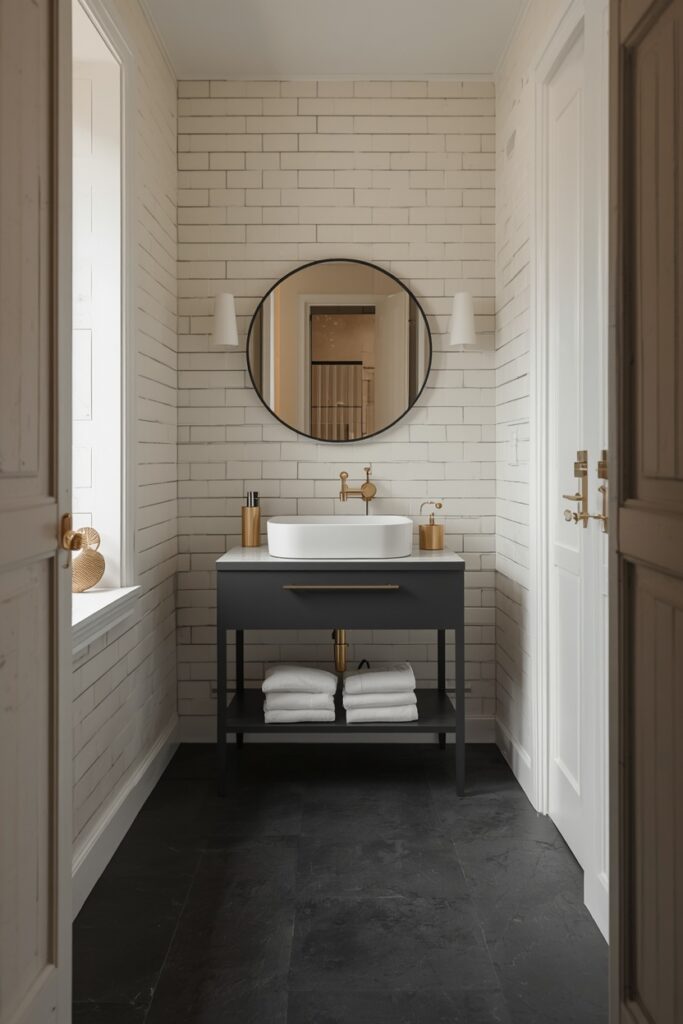
One practical advantage: dark floor tiles hide water spots, hair, and minor dirt far better than light floors, making them a low-visual-maintenance choice for busy bathrooms.
10. Bathroom Tile Ideas With a Decorative Niche
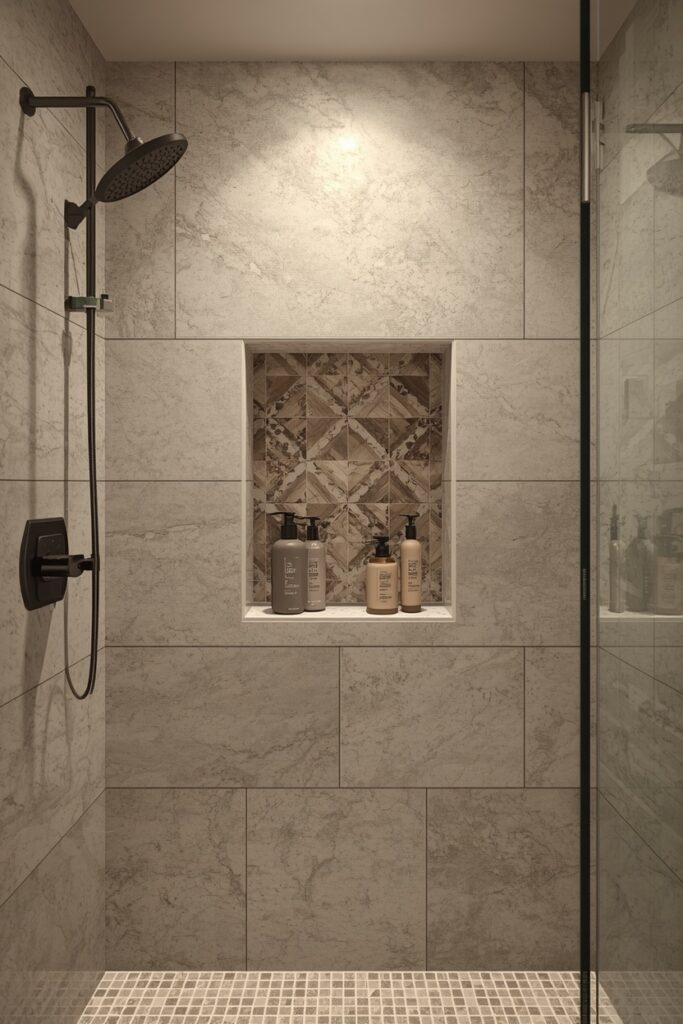
A recessed niche in the shower — lined with a tile that contrasts with the surrounding wall — creates a small but impactful design moment. While the shower walls might be a large-format porcelain in warm white, the niche interior gets a different treatment: marble mosaic, metallic penny rounds, a zellige in a complementary colour, or a patterned cement tile. The contrast draws the eye and gives the niche a framed, intentional quality. Size the niche to fit standard bottles (35 cm wide, 30 cm tall, 10 cm deep) and slope the bottom shelf 2–3 degrees toward the shower for drainage. Waterproof the niche interior fully before tiling — the back, sides, top, and bottom shelf must all be membraned. This is a low-cost, high-impact way to introduce a second tile material without tiling an entire wall in it.
11. Fluted Tile for Textural Shower Walls
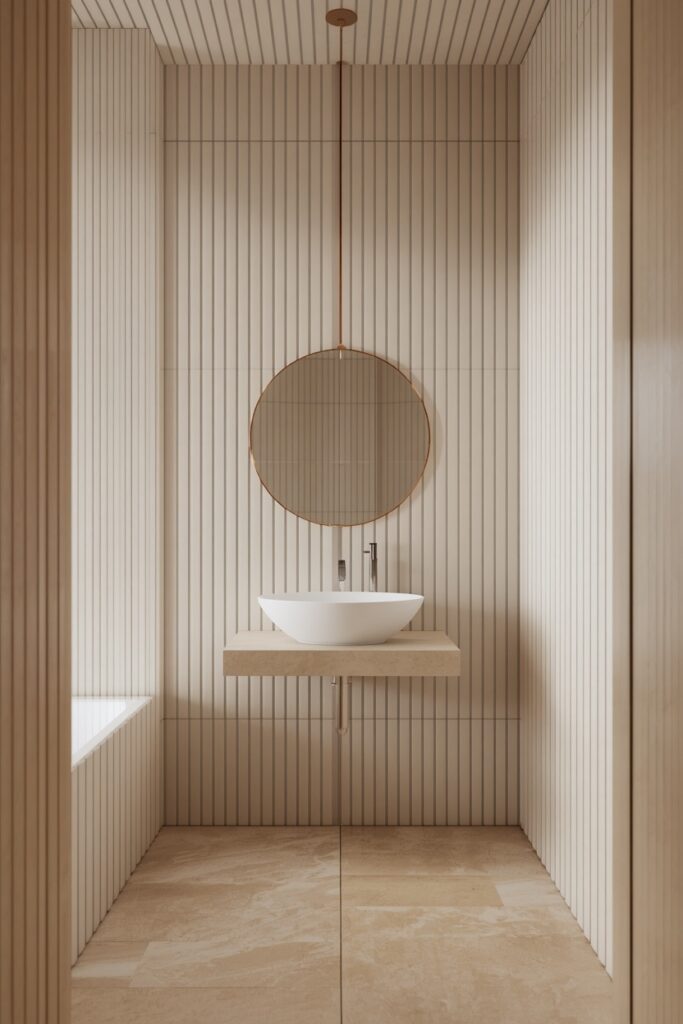
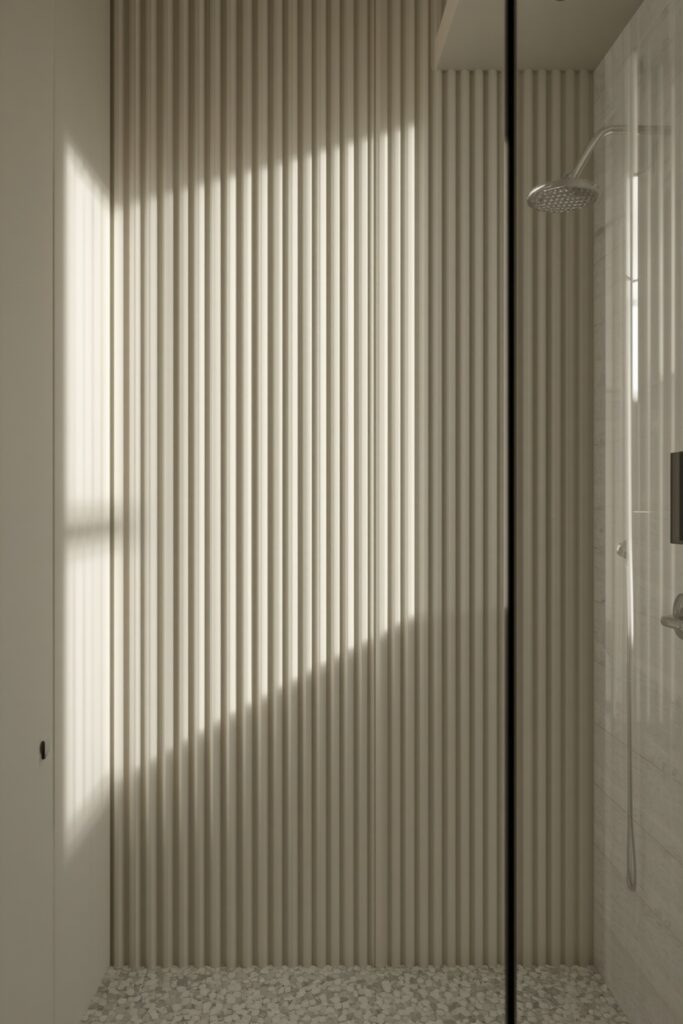
Fluted tile — a flat tile with vertical ridges moulded into the surface — adds three-dimensional texture to shower walls that catches water and light in a way smooth tiles cannot. Each ridge casts a tiny shadow, creating a ripple effect that changes as you move through the shower. Use a large format (100 × 300 mm or 100 × 400 mm) in a matte glaze, laid vertically so the ridges run from top to bottom. Colour should be neutral: warm white, soft gray, or pale sage. Pair with a smooth flat tile on the remaining walls and a standard porcelain on the floor.
Grout should match the tile colour so the vertical lines dominate. One cleaning consideration: the grooves require more attention than a flat tile surface — use a soft brush rather than a flat cloth to clean between the ridges, and apply a penetrating sealer to protect the grout lines in the grooves from mildew buildup.
12. Encaustic Cement Tile Floor for Pattern Impact
Encaustic cement tiles on a bathroom floor — 200 × 200 mm handmade tiles with bold geometric patterns pressed in pigmented cement — turn the ground plane into the room’s defining visual. Because the bathroom floor area is small (often 2–4 square metres), even an expensive cement tile remains affordable here, and the pattern impact per square metre is among the highest of any material. Keep the walls plain and light — white subway, large-format pale porcelain, or painted plaster — so the floor pattern is the star.
Grout should match the tile’s background colour for the cleanest pattern read. Cement tiles must be sealed before grouting, grouted with unsanded grout, and sealed again after — they are porous and will stain without this regimen. Re-seal annually.
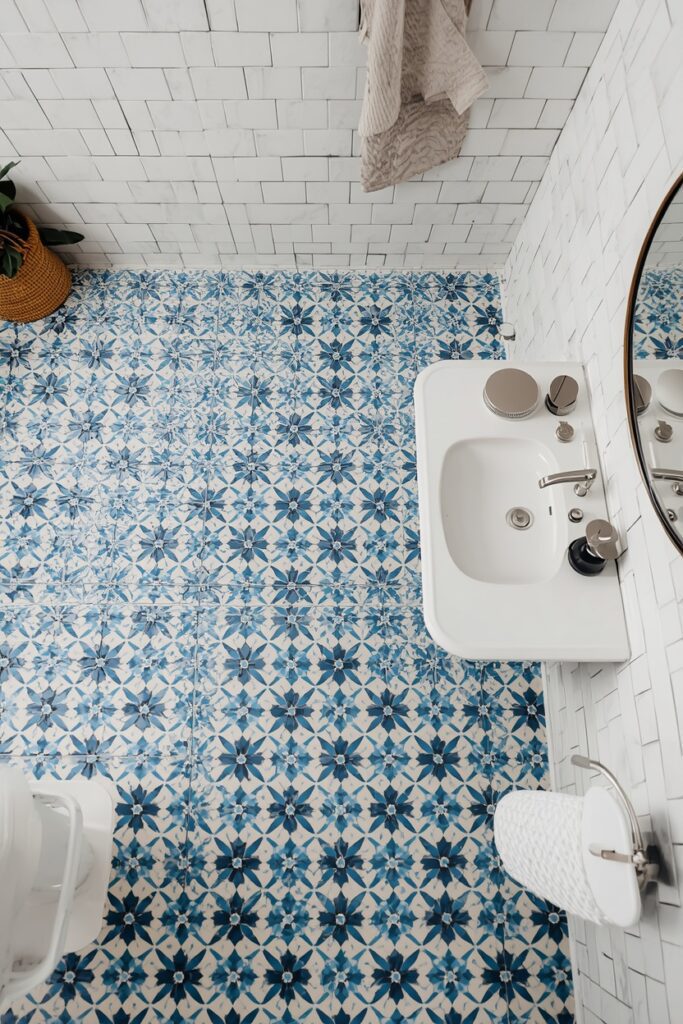
In the shower zone, use a complementary solid-colour tile rather than continuing the pattern, because the drainage slope complicates the pattern alignment and the heavy moisture exposure accelerates sealer breakdown.
13. Natural Slate for Rustic Bathrooms
Natural slate tile brings a rugged, textured surface to a bathroom floor that is impossible to replicate with porcelain imitations. Each tile carries unique layered striations and colour variation — from charcoal to rust to deep green — that give the floor an authentic, grounded character. Choose calibrated slate (gauged to a consistent thickness) for easier installation, and a cleft surface for maximum texture. Pair with plain white or cream wall tiles to let the slate’s natural character lead. Seal at installation with a natural stone sealer and re-seal every 12–18 months. Slate’s natural surface provides reasonable wet-grip but should still be tested for slip resistance before committing to shower use.
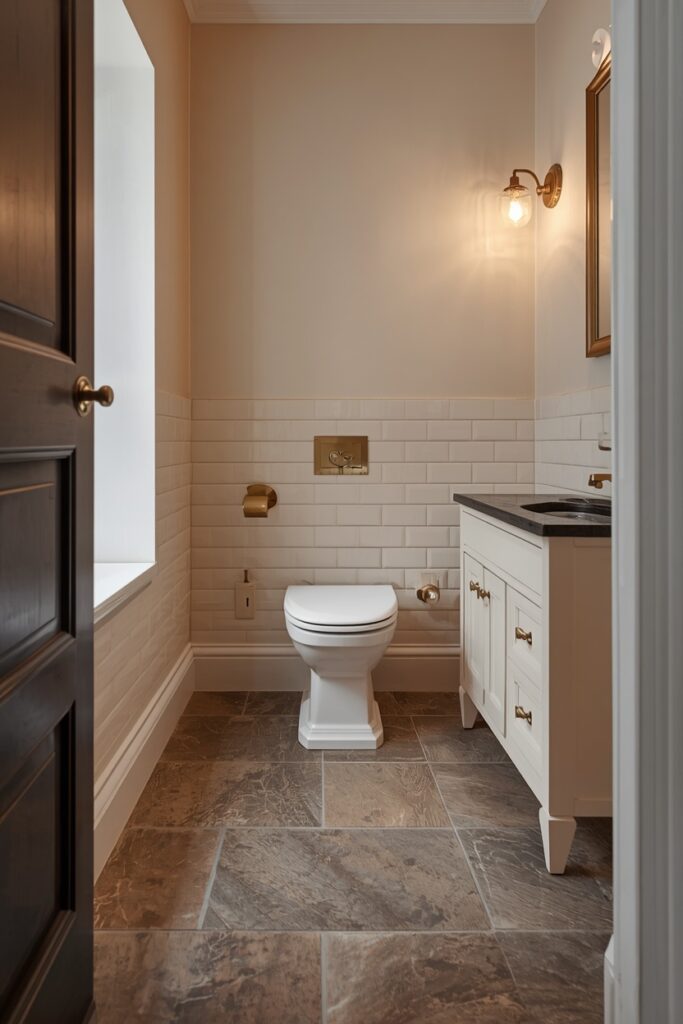
On the bathroom floor outside the wet zone, slate is practical and durable. In the shower, a honed or calibrated slate with a verified R11 slip rating is essential — unverified cleft slate in a shower is a liability. Pair with cream or sage cabinetry and aged-brass hardware for a cohesive rustic palette.
14. Glass Mosaic Accent Strip in Shower
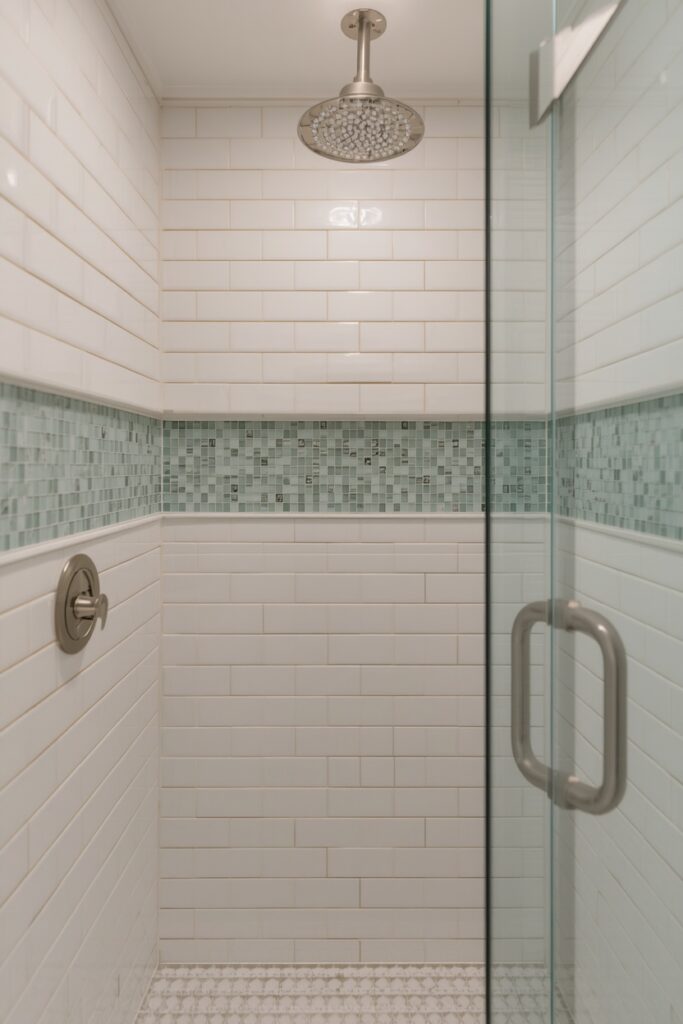
A horizontal accent strip of glass mosaic tile — running at eye level across the shower wall — adds a band of colour and reflectivity without committing to an entire wall of specialty tile. Use a strip 5–10 cm tall in a single colour (pale aqua, soft blue, champagne) or a linear mosaic blend of two to three tones. The glass tiles reflect light and create a subtle sparkle that elevates a plain tiled shower. The surrounding tile stays simple: a neutral subway, a large-format porcelain, or a zellige in a complementary colour. Position the accent strip at roughly 120–140 cm from the floor — standing eye level — and run it continuously around the shower walls so it reads as an unbroken band. Grout should match the surrounding tile rather than the glass, so the band pops as a distinct stripe. Glass tile is non-porous and does not require sealing, making it one of the most maintenance-free accent options in a wet zone.
15. Bathroom Tile Ideas With a Two-Tone Split
Splitting the bathroom wall tile at a horizontal line — a darker or bolder colour below and a lighter colour above — creates a chair-rail effect that adds architectural interest without any moulding or trim. The split typically sits at 90–100 cm from the floor, dividing the wall into a sturdier visual base and a lighter upper zone. Popular combinations include sage below with warm white above, charcoal below with pale gray above, and navy below with cream above. Install a slim pencil tile or a metal trim strip at the split line for a clean transition, or butt the two tiles directly for a more seamless look. The lower tile should be the more durable and splash-resistant material since it sits in the zone that takes the most water contact.
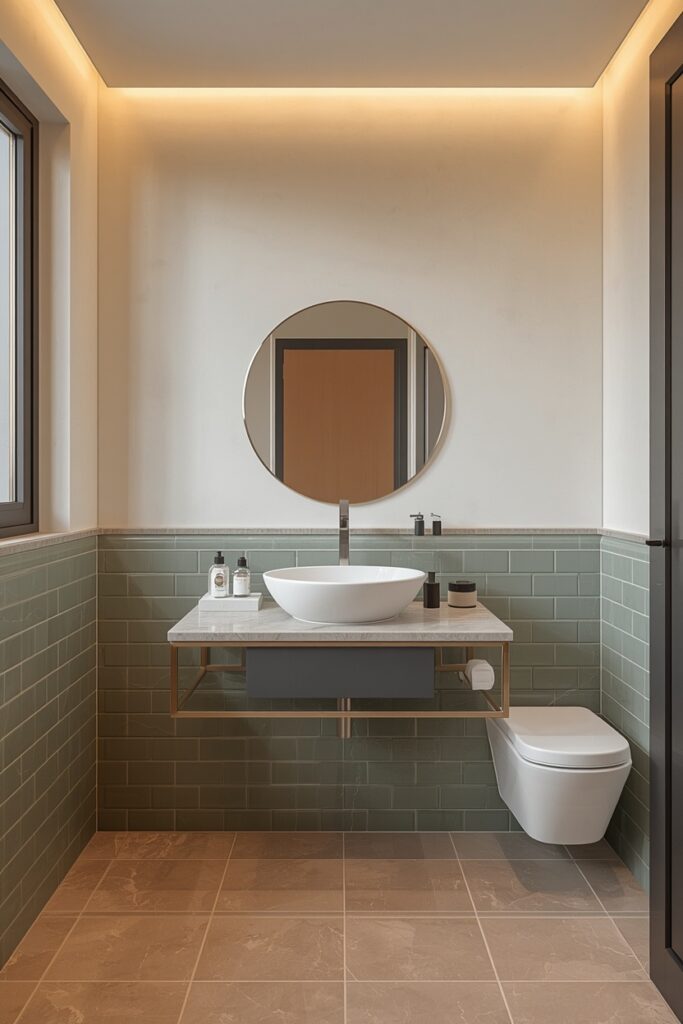
Run the lower tile continuously around the room, including behind the vanity and toilet, for a cohesive band. This treatment suits bathrooms that want colour or pattern without the commitment of a full-wall treatment, and it can be achieved with two standard tile types at standard cost.
Where I’d Start if I Only Did Three Things
If I only did three things, I would start by choosing the floor tile first — it is the surface that needs to be both beautiful and safe (slip-rated), so it narrows the field quickly. Second, I would hold physical samples of my floor and wall tile together under my bathroom lighting before ordering, because undertone clashes invisible on screen become obvious in person. Third, I would specify R11 slip rating in the shower zone and R10 in the dry zone before falling in love with any surface, because a gorgeous tile that is dangerously slippery when wet is a liability no design choice can justify.
Frequently Asked Questions
What bathroom tile ideas are easiest to maintain?
Large-format porcelain tiles with matching grout are the lowest-maintenance option — non-porous, no sealing required, and fewer grout lines to clean. Avoid natural stone in the shower unless you are committed to annual sealing. Glass tile and glazed ceramic are also low-maintenance options for walls and accents.
Can I use the same tile on my bathroom floor and walls?
Yes — using the same tile creates the strongest visual expansion because the eye reads one continuous surface. Ensure the tile has an appropriate slip rating for the floor (R10 minimum, R11 in the shower). Many tiles come in both floor-rated and wall-rated versions in the same colour and format.
What tile is safest for a shower floor?
Small-format mosaics — penny rounds, 50 × 50 mm squares, or hexagons — in a matte or textured glaze with an R11 slip rating are the safest choice. Their small size and high grout ratio allow the drainage slope the floor needs, and the textured surface provides grip when wet and soapy.
How do I coordinate floor and wall tile without matching?
Share the same undertone — both warm or both cool — and keep the format contrast clear: large-format on one surface, small-format or patterned on the other. Use the same grout colour across both surfaces to tie the room together visually, and test physical samples together under your actual bathroom lighting before ordering.
Final Thoughts
The strongest bathroom tile ideas treat every tiled surface — floor, walls, shower, and niches — as one connected scheme rather than separate decisions. Choose the floor tile first (it must be slip-safe and durable), then select a wall tile that shares its undertone, and introduce an accent material in one small zone — a niche, a feature wall, or an accent strip — to add character without visual chaos. Test physical samples under your actual lighting, specify slip ratings for every wet surface, and seal anything porous at installation.