
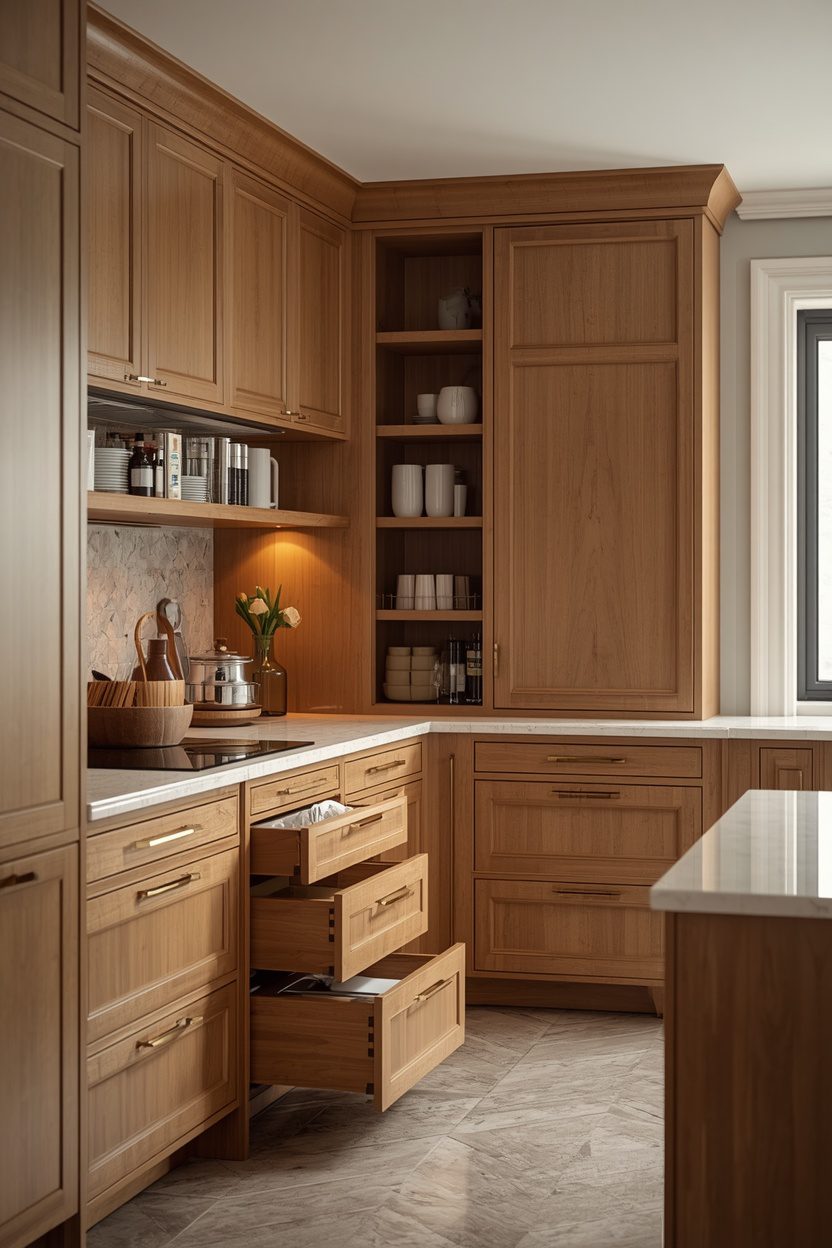
Kitchen units — the base cabinets, wall cabinets, tall larder units, and corner solutions that form the skeleton of every fitted kitchen — determine how much you can store, how efficiently you cook, and whether the layout supports your daily routine or fights it. Most kitchen units ideas focus on the door colour and forget the unit behind it, but the configuration of the box itself — its depth, its interior fittings, its position in the workflow — is what separates a kitchen that functions from one that frustrates.
Each of the 16 ideas below covers a specific unit type, configuration, or layout strategy with real dimensions, interior fittings, and placement guidance. Some suit new kitchen installations; others are retrofits that upgrade an existing layout without replacing the entire run. Pick the ideas that solve your specific storage or workflow problem.
1. Deep Drawer Base Units Instead of Door Cabinets
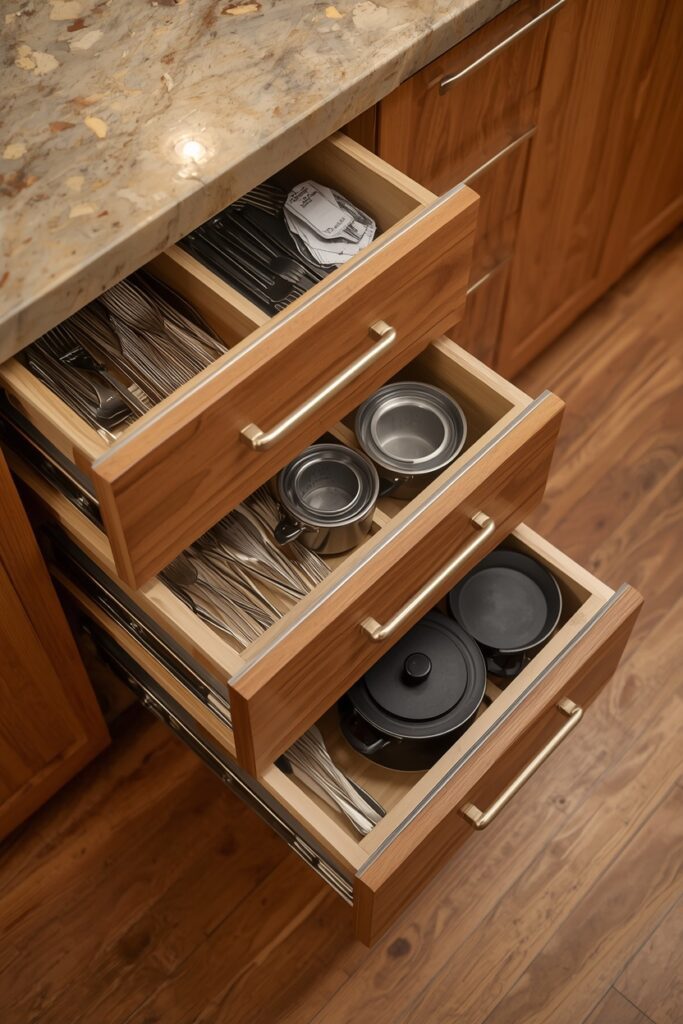
Replacing traditional base cabinets (a door with a fixed shelf behind it) with deep drawer units transforms how you access everything below the countertop. A standard 60 cm wide base unit fits three full-extension drawers: a shallow top drawer (10 cm internal height) for utensils, a mid-depth drawer (20 cm) for pots and lids, and a deep bottom drawer (30 cm) for heavy items like mixers and baking sheets. Full-extension slides allow you to see the entire drawer contents at a glance, eliminating the crawl-and-reach that door cabinets demand. Soft-close mechanisms prevent slamming. This is the single most impactful base-unit upgrade for daily cooking efficiency — it turns dark, inaccessible cabinet interiors into fully visible, fully accessible storage. Most cabinet manufacturers offer drawer-base configurations in standard widths (40, 50, 60, 80, 90 cm) that replace door units within the same cabinet run.
2. Tall Larder Unit for Pantry Storage
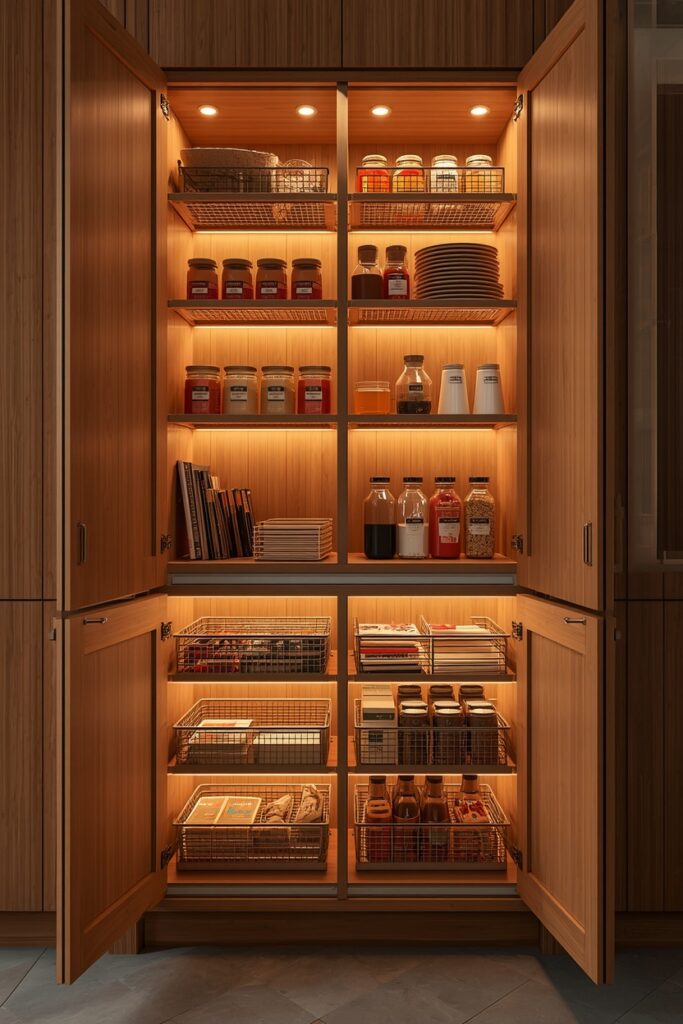
A tall larder unit — a floor-to-ceiling cabinet (200–240 cm tall, 50–60 cm wide) with full-height doors and internal shelving — provides the concentrated storage that a separate pantry room offers, within the footprint of a single cabinet. The interior should be fitted with adjustable shelves spaced 20–30 cm apart, allowing reconfiguration as your storage needs change. Pull-out internal drawers or wire baskets on slides add accessibility — you can see and reach items at the back without moving everything in front. Position the larder near the preparation zone so ingredients flow from storage to countertop in one step. A double-door larder (90–100 cm wide) doubles the capacity and allows both doors to open simultaneously for a full view of the contents.
Internal LED strip lighting that activates when the doors open illuminates every shelf level. This unit replaces the need for a separate pantry closet and keeps all dry goods, spices, and cooking staples in one organised location.
3. Corner Carousel Unit for Dead Space
Corner cabinets are the most wasted space in most kitchens — the deep L-shaped interior is dark, hard to reach, and typically becomes a graveyard for forgotten items. A corner carousel (lazy susan) — two or three circular shelves that rotate on a central pole — brings the back of the corner to the front with a spin. Choose a full-circle carousel for a blind-corner unit (the shelves extend into the adjacent cabinet bay) or a half-circle carousel for a standard corner unit.
The shelves should be solid (not wire) to prevent small items from falling through, with a raised rim to stop items sliding off during rotation. An alternative to the carousel is a LeMans pull-out — a pair of kidney-shaped trays that swing outward through the cabinet opening, providing full access to the corner depth.
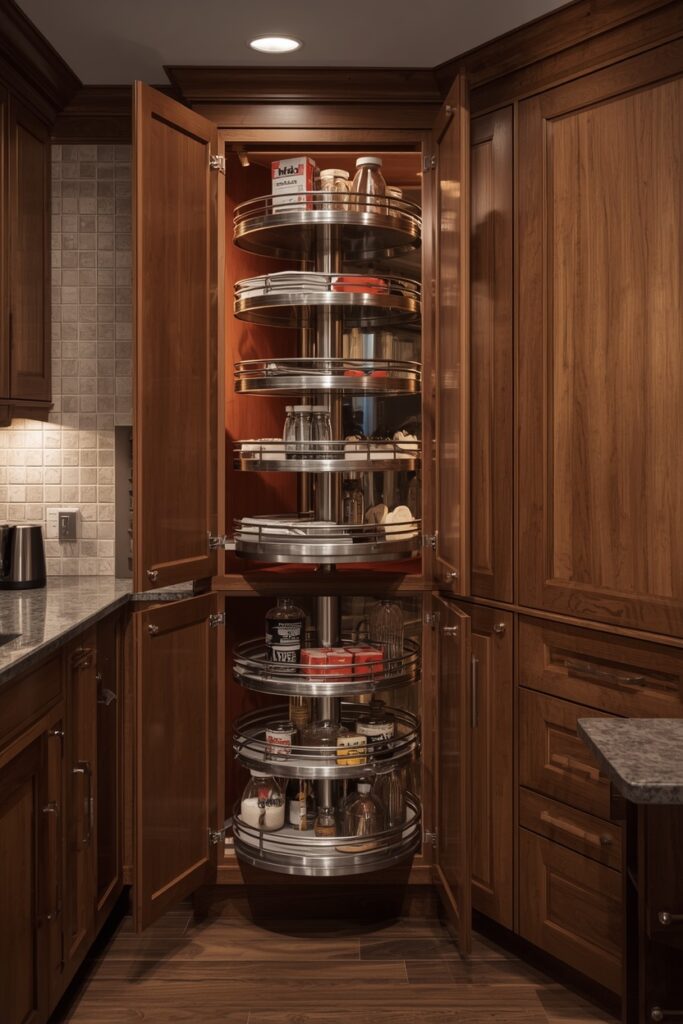
Both solutions turn dead corner space into usable storage and are available as retrofit kits for existing corner cabinets.
4. Wall Units With Lift-Up Doors
Standard wall units with side-hinged doors swing outward into the kitchen and can collide with adjacent cabinet doors or the cook’s head when left open. Lift-up doors — hinged at the top and swinging upward on gas-strut mechanisms — clear the workspace entirely and stay open hands-free while you retrieve items. Bi-fold lift-up doors (the door panel folds in half as it rises) suit lower ceilings where a single-panel lift would hit the ceiling. The gas struts should be rated for the door’s weight so the mechanism opens smoothly and holds position without slamming. This upgrade is available on most standard wall unit widths (40–90 cm) from major cabinet manufacturers.
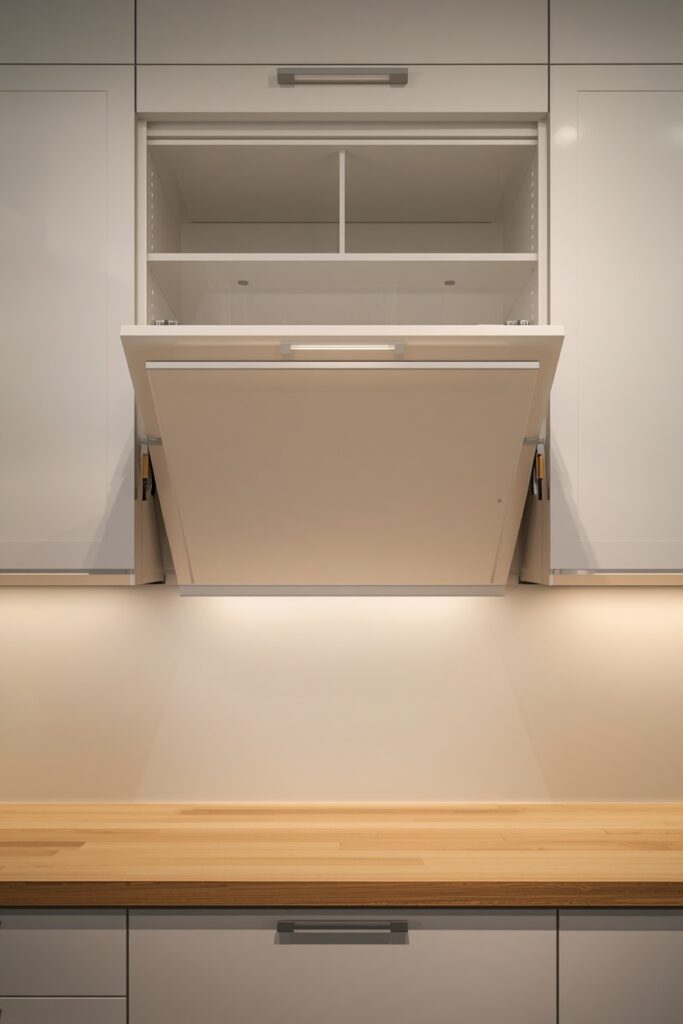
The visual result is a clean upper zone — when all lift-up doors are open, the entire contents of the wall cabinets are visible and accessible simultaneously, which speeds meal prep and puts-away. Close them gently and the struts lower the doors slowly and silently.
5. Kitchen Units Ideas With a Built-In Appliance Tower
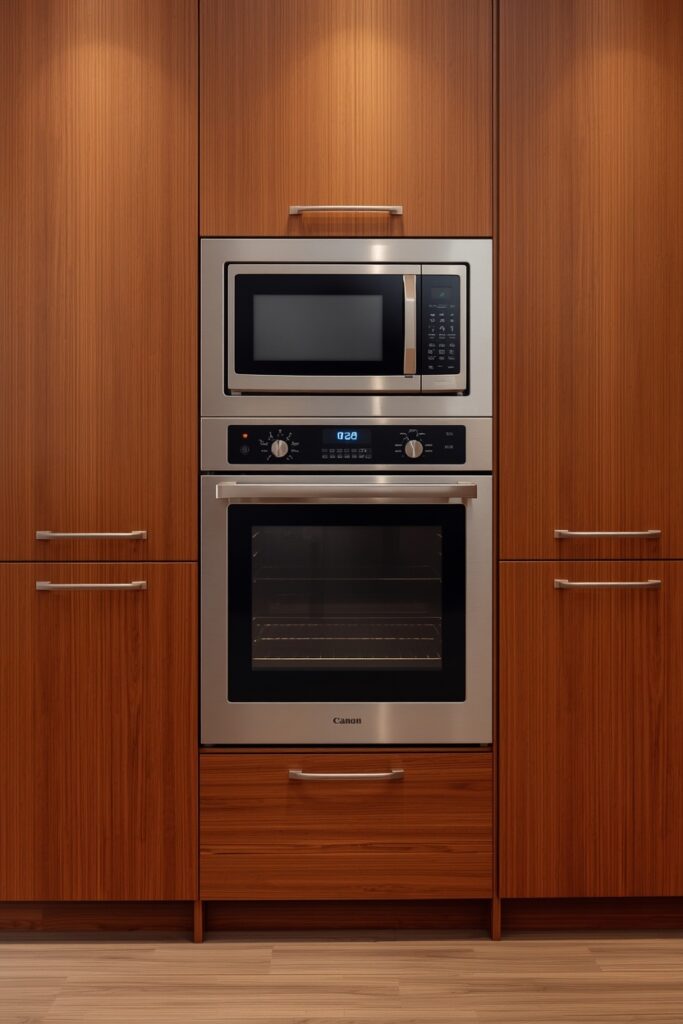
Stacking the oven and microwave (or a steam oven) in a tall unit column — mounted at ergonomic heights — frees up countertop space and base-cabinet storage that a conventional under-counter oven occupies. The oven should sit with its centre at roughly elbow height (90–100 cm from the floor) for comfortable loading and unloading. The microwave or steam oven mounts above or below the main oven within the same tall unit. A storage drawer at the base of the column holds baking trays and oven accessories. This configuration requires a tall unit (200–240 cm) at least 60 cm wide, with precise cutouts for the appliance dimensions. The electrical and gas connections route through the back of the unit. The result is a purpose-built cooking column that separates the hot-cooking zone from the countertop prep zone, creating a cleaner workflow and reducing the risk of reaching over hot surfaces.
6. Handleless Push-to-Open Units
Handleless cabinets — using push-to-open mechanisms (tip-on touch latches) or integrated J-pull grooves — give the kitchen a seamless, furniture-like appearance with no protruding hardware. Push-to-open mechanisms work on both doors and drawers: press the panel face and the latch releases, allowing the door or drawer to spring open slightly for gripping. J-pull grooves — a routed channel along the top or bottom edge of the door — provide a finger grip without any visible handle. Both options suit flat-panel (slab) cabinet doors for the cleanest modern look. The absence of handles means no hardware to coordinate, no protruding edges to catch on clothing, and a continuous surface that is easy to wipe clean.
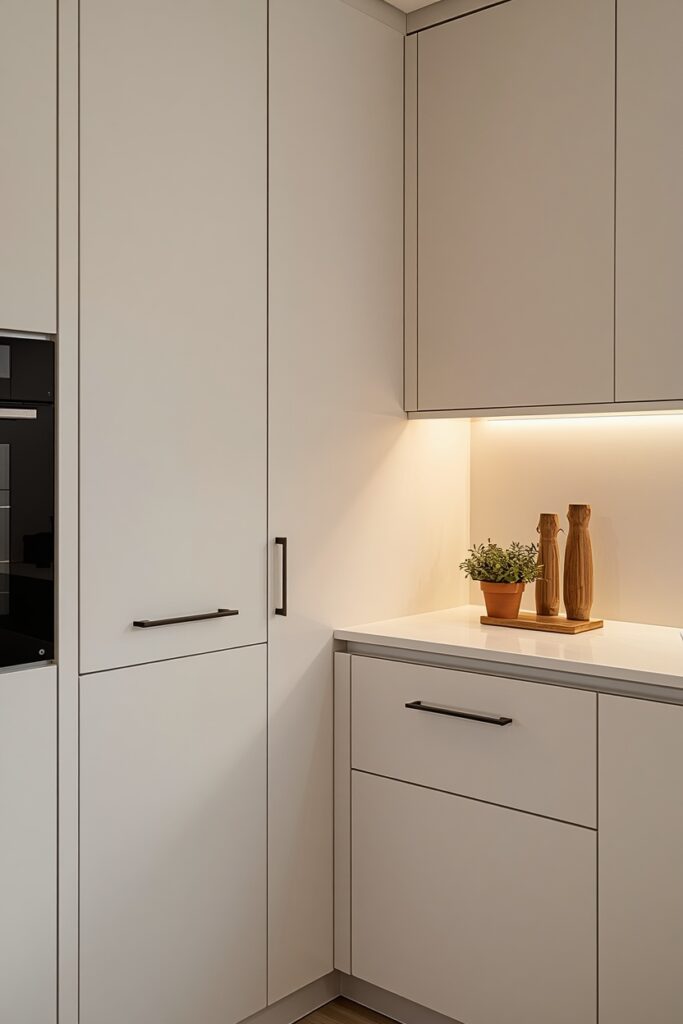
One trade-off: push-to-open mechanisms show fingerprints at the touch point, especially on matte or dark surfaces — a microfibre cloth becomes a daily essential. Handleless upper cabinets with lift-up doors and handleless base drawers create the most seamless kitchen possible.
7. Pull-Out Waste and Recycling Unit
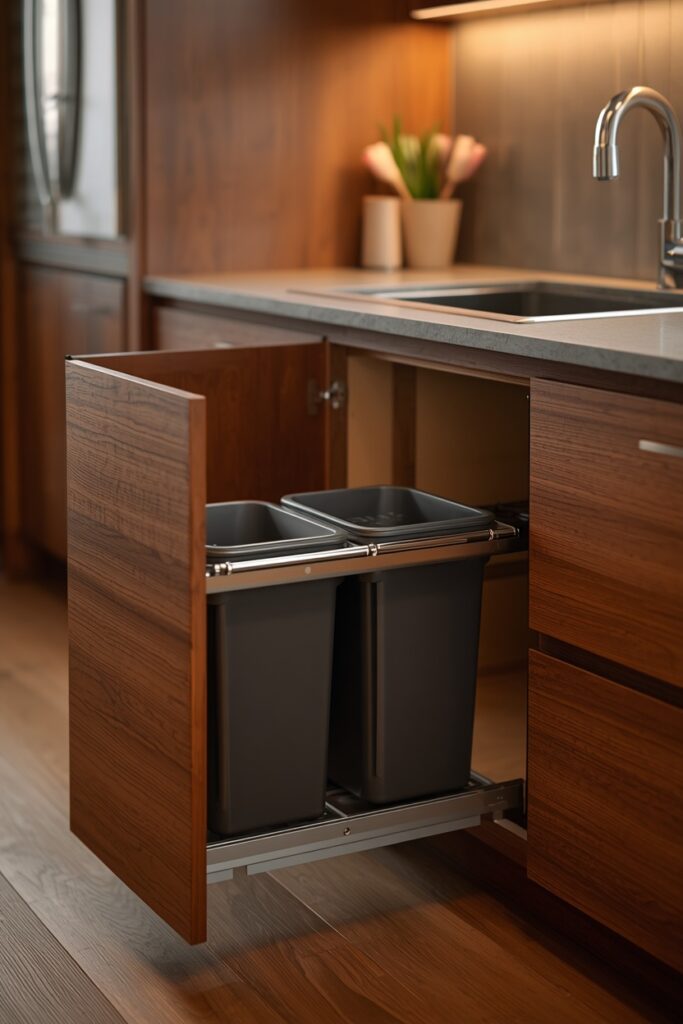
A pull-out waste bin concealed behind a cabinet door — typically a 30 or 40 cm wide base unit near the sink — hides the bins and keeps the kitchen floor clear of freestanding rubbish containers. The internal frame holds two or three bins (general waste, recycling, and optionally compost) on a sliding mechanism that pulls out when the door opens. Choose bins with at least 15-litre capacity each so they do not need daily emptying. The unit should sit beside or beneath the sink for convenient scraping during meal prep. Soft-close slides prevent the bin frame from slamming back.
This is one of the easiest retrofits — pull-out bin kits are available in standard base-cabinet widths and install inside an existing unit with four screws and 20 minutes. The visual upgrade is significant: bins disappear entirely, and the kitchen floor gains the clean, uncluttered look that freestanding bins prevent.
8. Galley Kitchen Unit Layout for Narrow Spaces
A galley kitchen — units on two parallel walls with a walkway between — is the most space-efficient layout for narrow rooms (180–300 cm wide). The cooking zone (range and extraction) sits on one wall, and the washing zone (sink and dishwasher) sits on the opposite wall, with the preparation area (countertop space) between them on both sides. The aisle should be at least 90 cm wide for one cook and 120 cm for two.
Upper wall units on both sides provide maximum storage density. To prevent the galley from reading as a corridor, keep the colour palette light and the countertop material continuous so both sides read as one system. A slim rolling cart in the aisle provides extra prep surface during cooking and stores at one end when not in use.
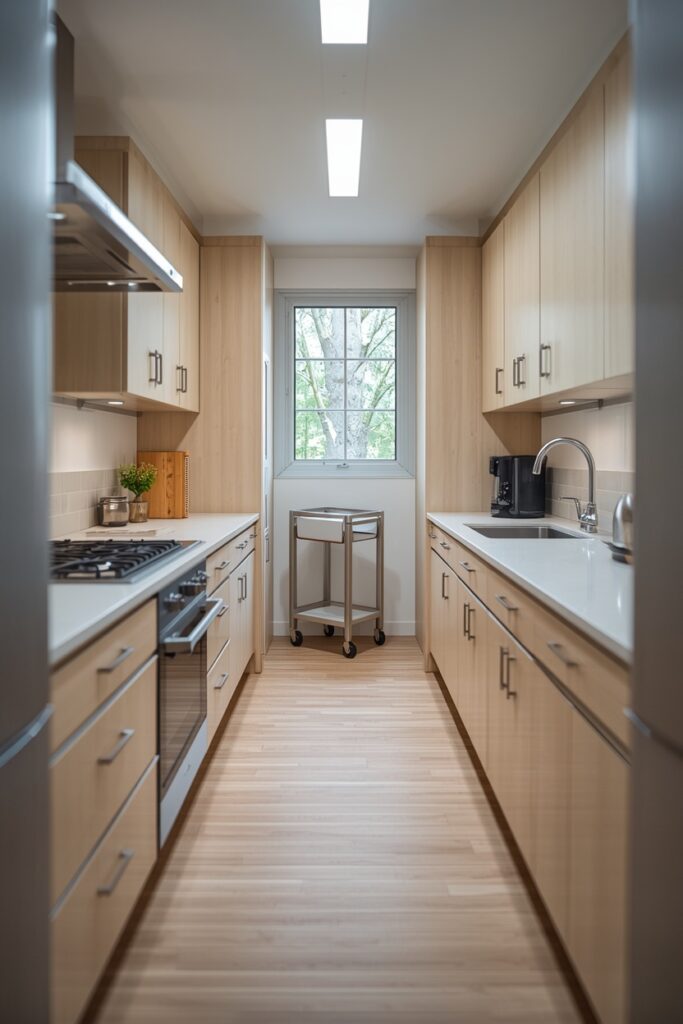
The galley layout maintains the work-triangle principle (sink, stove, fridge within arm’s reach) better than any other layout because everything is close.
9. L-Shaped Unit Layout With Workflow Zones
An L-shaped layout — units on two adjacent walls forming an L — is the most versatile kitchen configuration because it supports a work triangle (sink, stove, fridge) along the two arms while leaving the open side free for an island, a dining table, or clear floor space. Position the sink and dishwasher on one arm, the cooktop and oven on the other arm, and the refrigerator at the end of one arm. Countertop space between each appliance zone serves as the prep area. Upper wall units follow the L and provide continuous overhead storage. The corner where the two arms meet is the potential dead zone — solve it with a carousel, a LeMans pull-out, or a diagonal corner unit with a full-width door. This layout suits rooms at least 300 × 300 cm and adapts to both open-plan and enclosed kitchens. It provides the best balance between storage capacity, workflow efficiency, and social openness.
10. Modular Freestanding Units for Flexibility
Modular freestanding kitchen units — individual cabinets, shelving pieces, and worktops that are not built-in or wall-fixed — offer the flexibility to rearrange, move, or replace individual pieces without disrupting the entire kitchen. This approach suits renters, people in temporary homes, and anyone who values adaptability over permanence. Choose units in a consistent material family (all natural wood, all white, or all black metal with wood shelves) so the collection reads as a unified kitchen rather than a random assortment. A freestanding butcher-block island on castors, an open metal shelving unit for pantry storage, and a standalone sink unit with a portable dishwasher beside it create a fully functional kitchen from modular pieces.
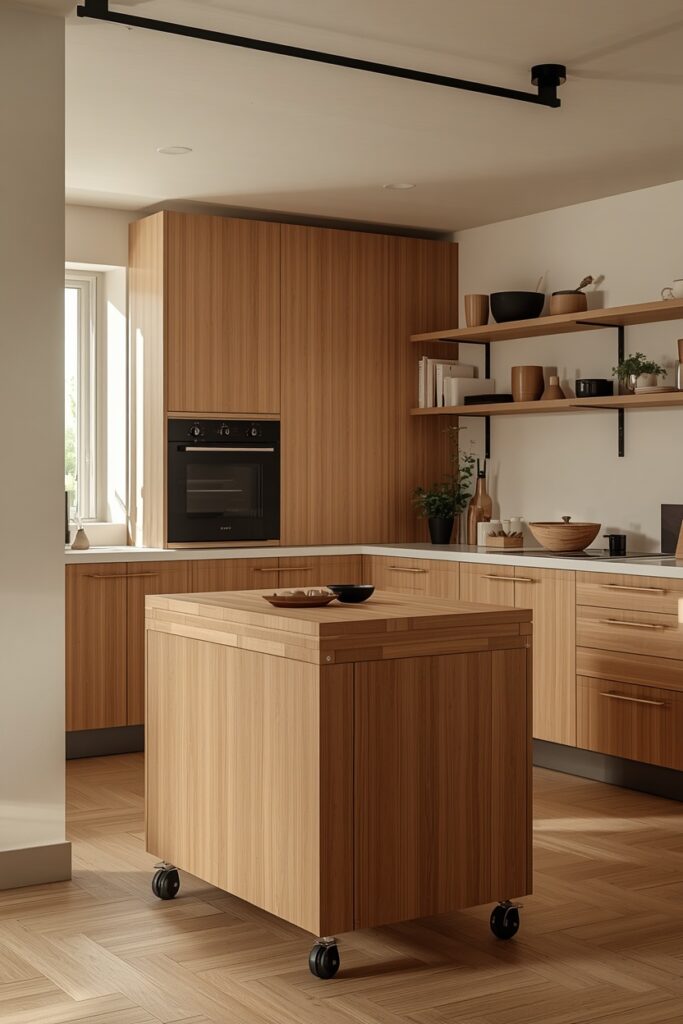
The trade-off is seamlessness — freestanding units leave gaps between pieces and do not provide the continuous countertop run that built-in kitchens offer. Close the gaps with matching filler strips if the visual break bothers you.
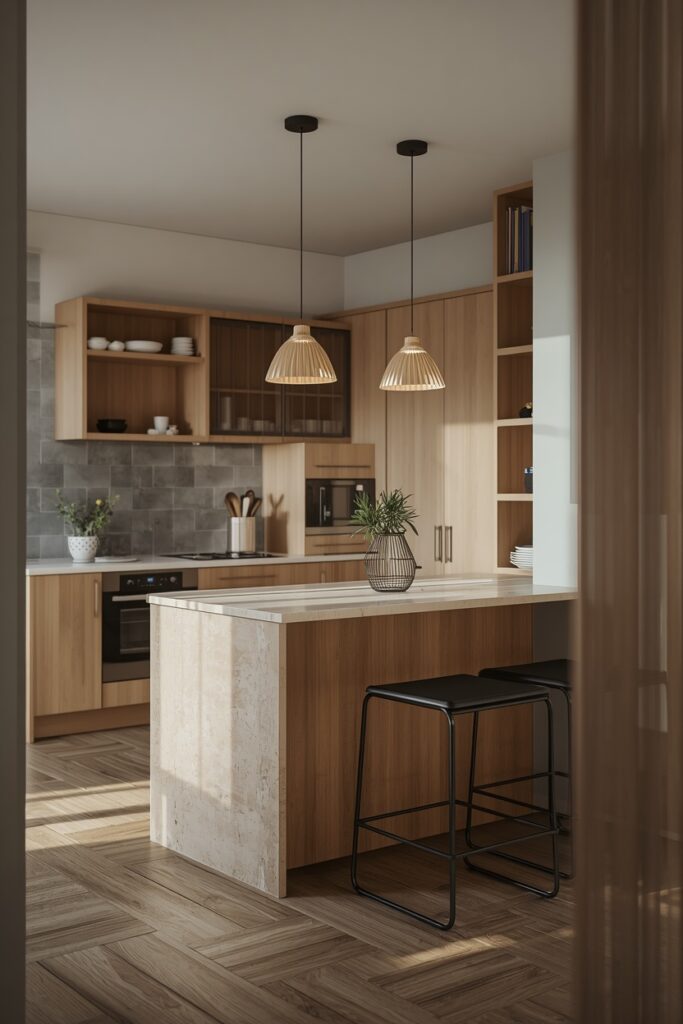
11. Kitchen Units Ideas With Integrated Breakfast Bar
Extending a base unit’s countertop into a cantilevered overhang (25–30 cm) on one side creates a breakfast bar that seats two to four without adding a separate table. The bar can extend from the island, from the end of a peninsula, or from the edge of a standard base-unit run. Bar-height overhangs (107 cm) pair with bar stools; counter-height overhangs (90 cm) pair with counter stools. Support the overhang with concealed brackets or a support leg at the far end to prevent flexing. This integrated approach saves the floor space a separate table would consume and creates a casual dining zone within the kitchen layout.
The base unit below the bar remains fully functional — drawers and cabinets on the kitchen-facing side provide storage while the seating side stays open for legs. This is one of the simplest ways to add seating to a kitchen that lacks room for a dedicated dining table.
12. Slim Pull-Out Spice and Bottle Rack
A slim pull-out rack — 15 to 20 cm wide, full height — fits into the narrow gap beside a range, refrigerator, or at the end of a cabinet run, turning dead filler space into a vertical storage column. The rack slides out on full-extension ball-bearing slides, revealing tiered shelves or wire baskets that hold spice jars, oil bottles, vinegars, and condiments. Position it beside the cooktop for at-hand access during cooking.
The pull-out frame should be sturdy enough to hold the combined weight of full bottles without flexing. This is a new-build or retrofit option — the slim pull-out unit replaces the filler panel that normally covers the gap between the last cabinet and the wall or appliance.
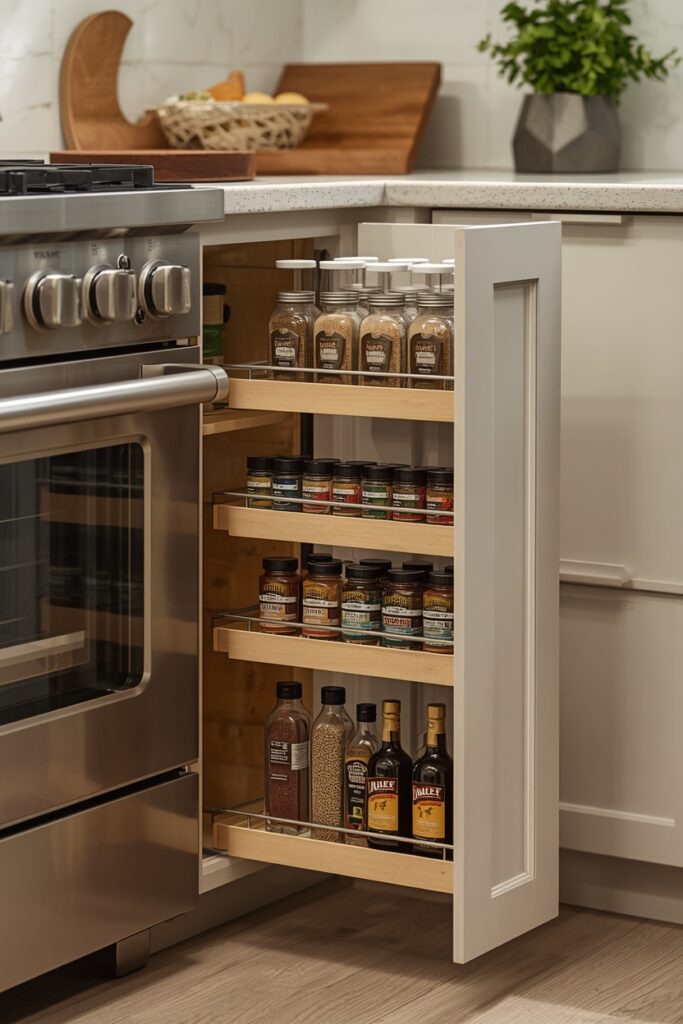
Off-the-shelf pull-out spice rack kits are available in 15 and 20 cm widths from most kitchen accessory suppliers and install inside an existing cabinet opening or a custom-built narrow carcass.
13. Under-Sink Unit With Pull-Out Cleaning Caddy
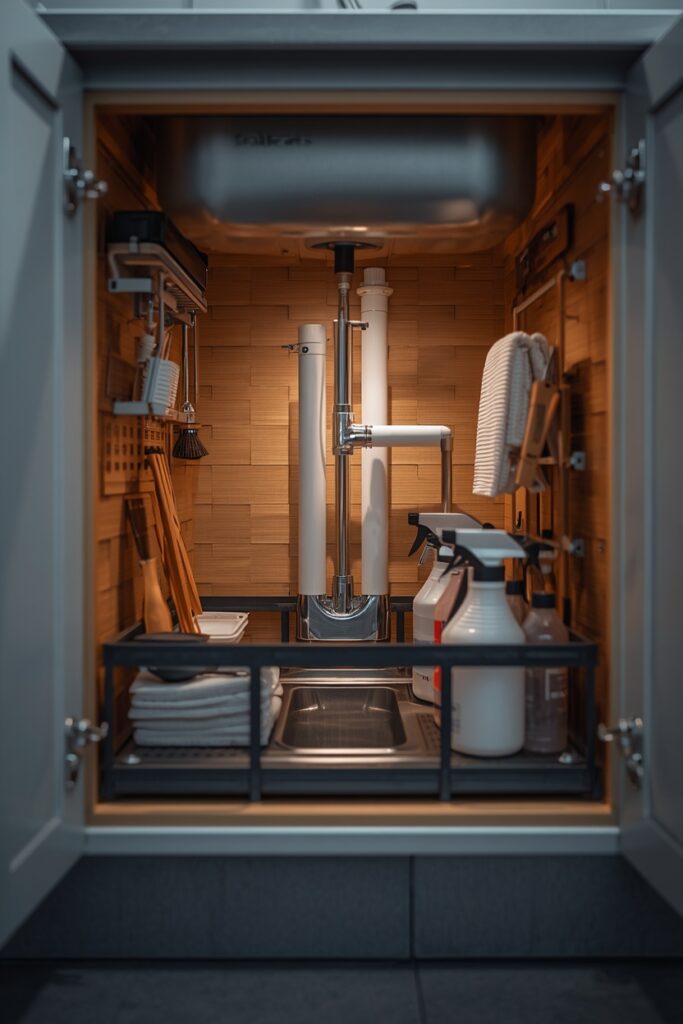
The under-sink unit is the most cluttered cabinet in most kitchens — pipes and plumbing fittings take up the back half, and cleaning supplies get shoved in around them. A pull-out cleaning caddy — a U-shaped shelf system that wraps around the plumbing — organises sprays, sponges, brushes, and bags on a sliding frame that brings everything into view. The caddy should have a waterproof base tray in case of minor leaks. A mounted towel bar on the inside of the cabinet door holds rubber gloves and dishcloths. This is one of the cheapest and most immediately rewarding retrofits — a single pull-out caddy kit transforms the most chaotic cabinet in the kitchen. Install it in 15 minutes with a screwdriver and the included hardware. Keep a small battery-powered LED puck light inside the cabinet to illuminate the dark interior — most under-sink areas have no light source at all.
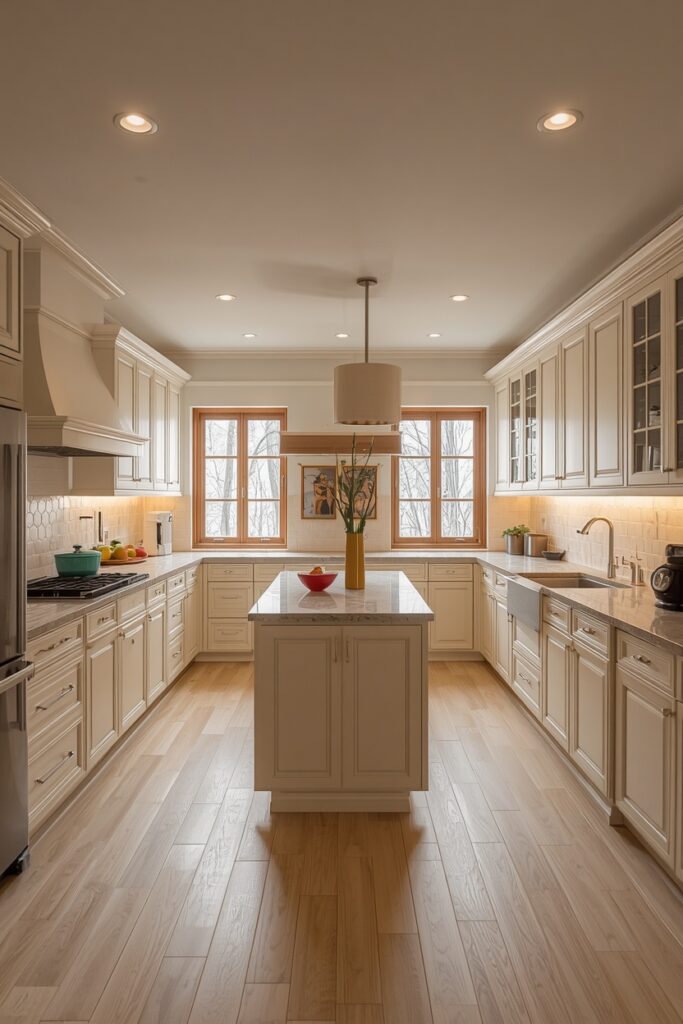
14. U-Shaped Kitchen Layout for Maximum Storage
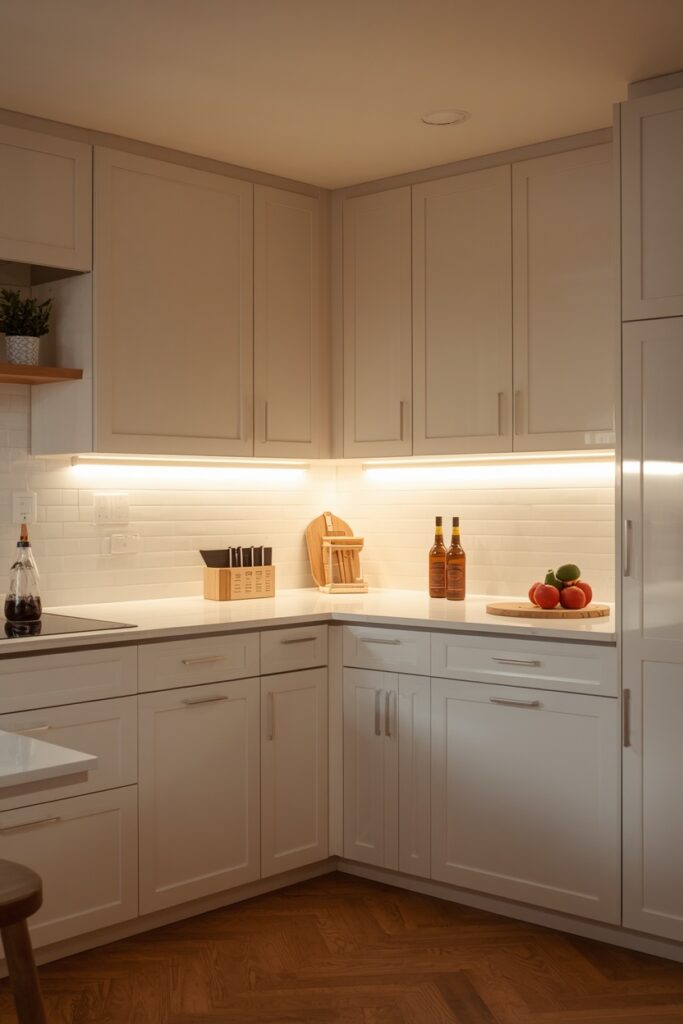
A U-shaped kitchen — units on three walls — provides the highest storage capacity and the most countertop surface of any layout. The three arms of the U each handle one workflow zone: one for washing (sink, dishwasher), one for cooking (range, oven), and one for storage (fridge, larder). The work triangle stays compact because no single arm is more than a few steps from another. Upper wall units on all three walls double the storage volume. The room should be at least 250 × 300 cm to fit a U-layout with at least 120 cm of clear floor space between the facing runs.
In an open-plan home, one arm of the U can serve as a peninsula separating the kitchen from the living or dining area. The trade-off is that two cooks struggle in a U-shaped kitchen — the enclosed layout suits one primary cook with minimal counter traffic.
15. Replacement Unit Fronts Without New Carcasses
If the existing cabinet boxes (carcasses) are structurally sound but the doors and drawer fronts are dated, replacing only the fronts — doors, drawer faces, and sometimes end panels — delivers a visual transformation at roughly 40–60 percent of the cost of entirely new cabinets. Measure each door and drawer opening precisely and order new fronts in your chosen style and colour: shaker, flat-panel, beadboard, or fluted. New hinges (soft-close, 110-degree or 170-degree opening) and new drawer slides (full-extension, soft-close) upgrade the hardware experience at the same time. This approach retains the existing layout, plumbing, and electrical connections, which eliminates the most expensive and disruptive parts of a kitchen renovation.
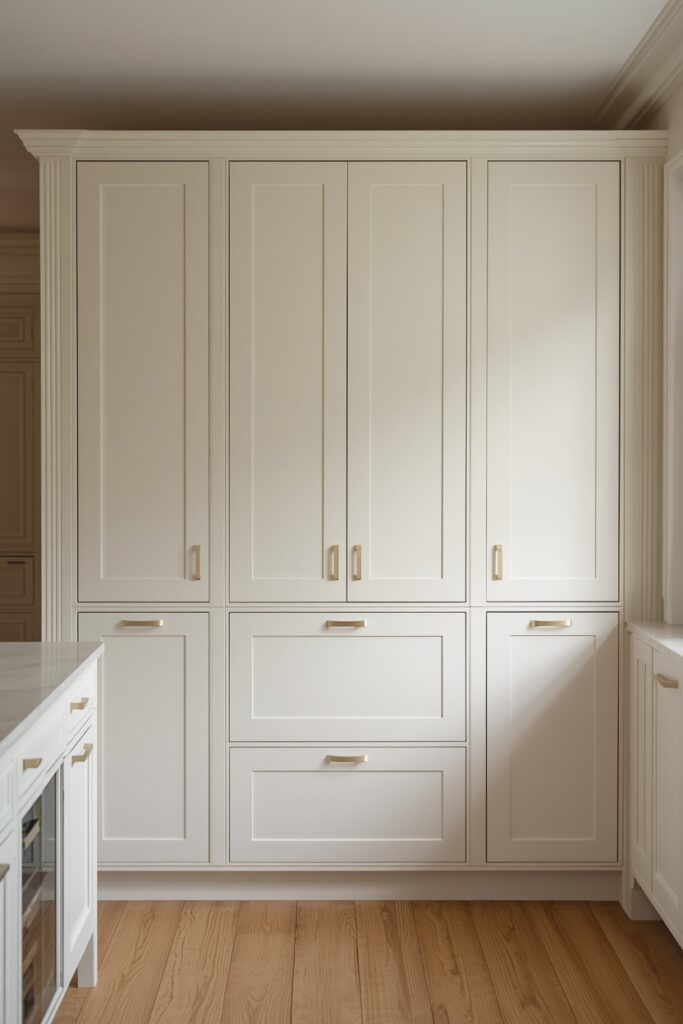
Pair the new fronts with new handles and a fresh countertop for a complete visual overhaul. The project typically takes one to two days of installation after the new fronts arrive.
16. Kitchen Units Ideas With Integrated Appliance Housing
Integrating appliances — refrigerator, dishwasher, microwave, coffee machine — behind matching cabinet panels turns the kitchen into a seamless wall of cabinetry where no appliance disrupts the visual flow. Panel-ready appliances are designed to accept a custom door panel that matches the surrounding units. The refrigerator becomes invisible behind a tall panel door; the dishwasher hides behind a base-unit panel; the microwave sits inside a wall unit with a matching drop-down door.
This approach demands careful planning at the design stage: the appliance dimensions must match the cabinet openings exactly, and the hinge type must handle the combined weight of the door panel plus the appliance door. The result is the cleanest possible kitchen — a room of cabinetry that reveals its working parts only when opened.
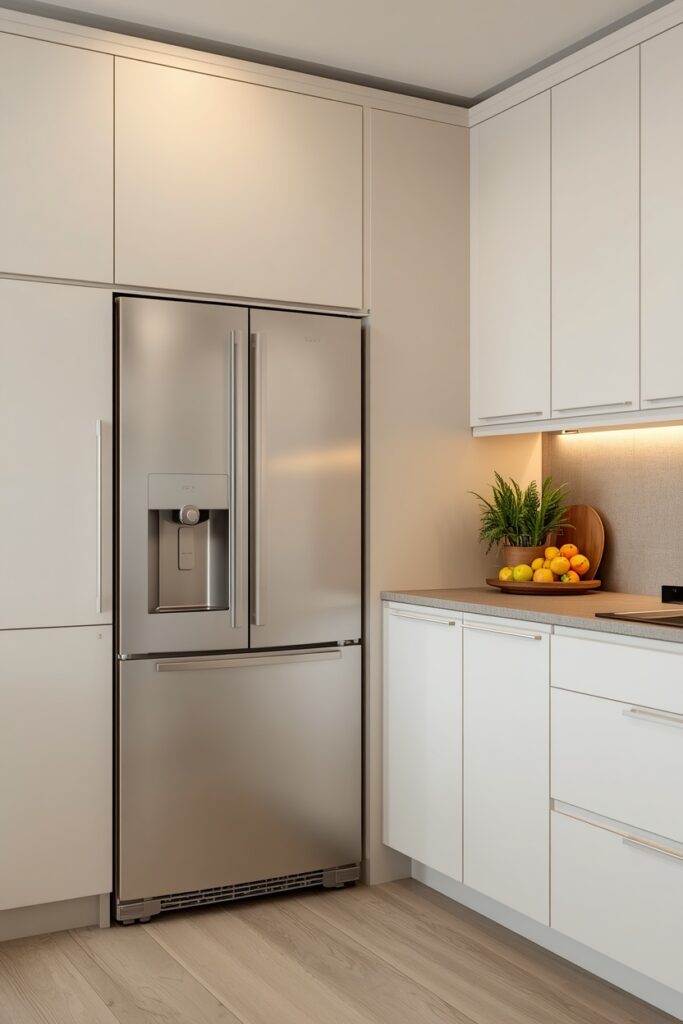
This is a premium specification, typically ordered through a kitchen designer, but it elevates the kitchen from functional workspace to architectural furniture.
Where I’d Start if I Only Did Three Things
If I only did three things, I would start by replacing every base-unit door cabinet with deep-drawer units — the visibility and accessibility difference is transformative for daily cooking. Second, I would solve the corner cabinet with a carousel or a LeMans pull-out, because dead corner space is the biggest storage waste in most kitchens. Third, I would install a pull-out waste bin inside a base unit beside the sink, because moving the bins off the floor instantly makes the kitchen read cleaner and more designed.
Frequently Asked Questions
What kitchen units ideas maximise storage in a small kitchen?
Tall larder units use vertical space for pantry storage. Deep drawer base units hold more accessible items than door cabinets. Wall units with lift-up doors provide overhead storage without obstructing the workspace. A slim pull-out spice rack fills the gap beside the range. Together, these four unit types maximise every centimetre of available space.
Should I choose base unit doors or drawers?
Drawers outperform doors in almost every use case. Full-extension drawers let you see and reach everything inside, while door cabinets hide items at the back in a dark, hard-to-reach interior. Reserve doors for under-sink units (where plumbing limits drawer depth) and appliance housing, and use drawers everywhere else.
Can I replace just the kitchen unit fronts without new cabinets?
Yes — if the existing carcasses are structurally sound, replacing the doors, drawer fronts, hinges, and handles delivers a visual transformation at roughly half the cost of new cabinets. Measure each opening precisely and order new fronts in your chosen style. The project takes one to two days of installation.
What is the best corner unit solution?
A LeMans pull-out (kidney-shaped trays that swing outward) provides the best access to corner depth. A full-circle carousel is the next-best option and is more widely available. Both are significant upgrades over a fixed-shelf corner cabinet, which wastes roughly 30 percent of the available corner space.
Final Thoughts
The strongest kitchen units ideas focus on how the units work from the inside out — deep drawers over door cabinets, carousel corners over dead ones, pull-out systems over stacked shelves. Choose the unit configurations that solve your specific storage and workflow problems, and let the door style and colour follow. A kitchen where every unit is configured for access and efficiency transforms daily cooking from a chore into a routine you do not fight.